
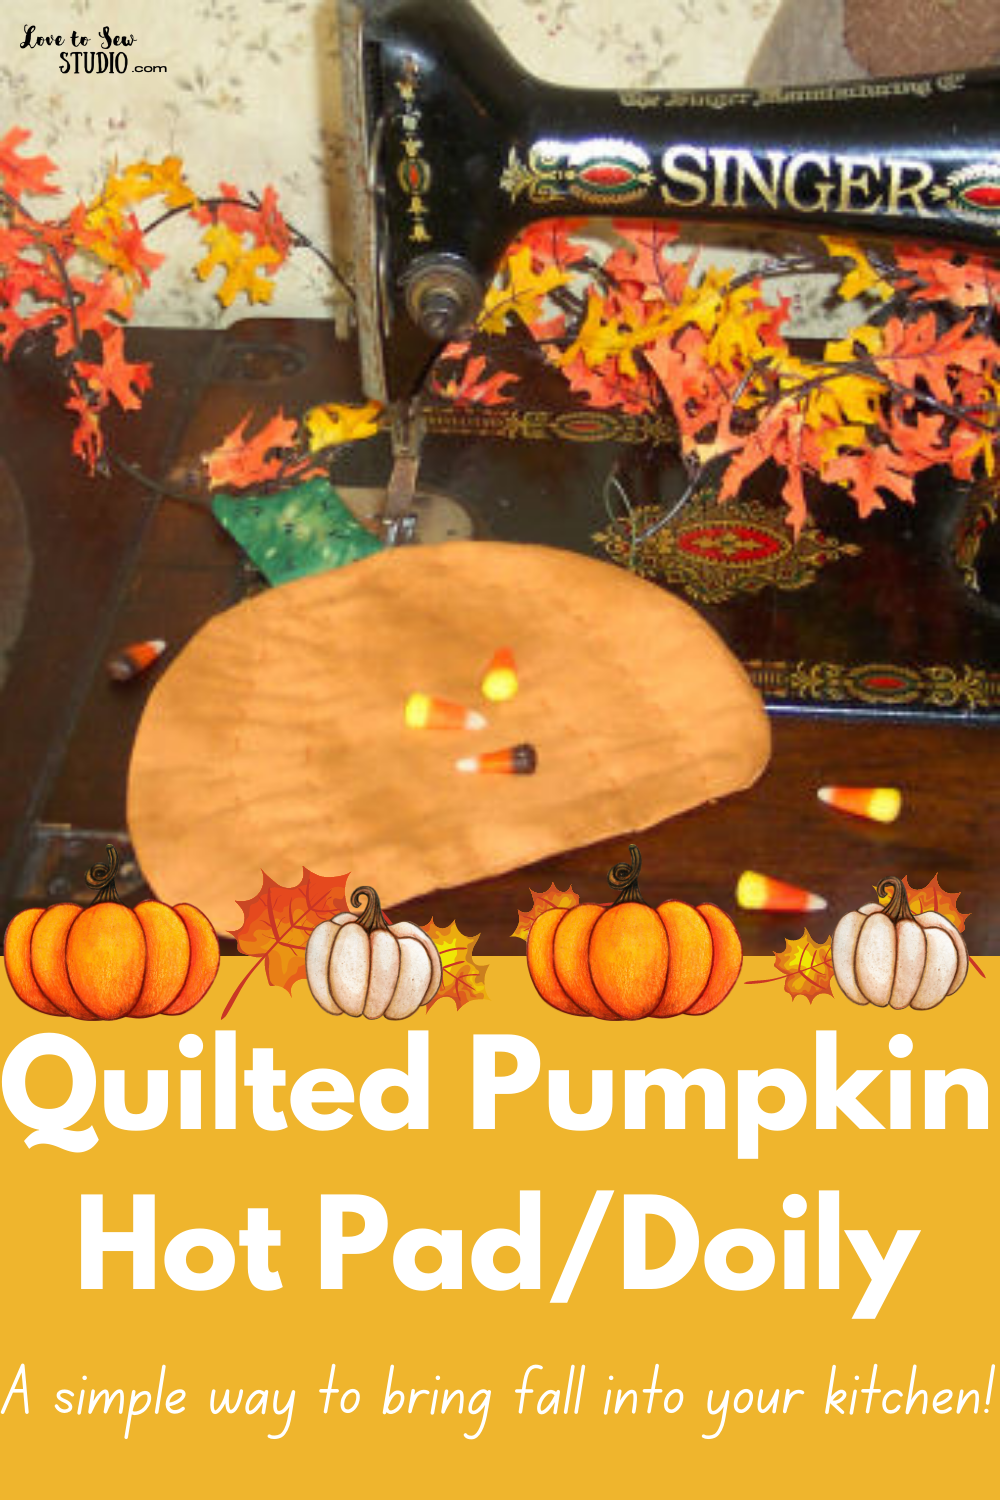
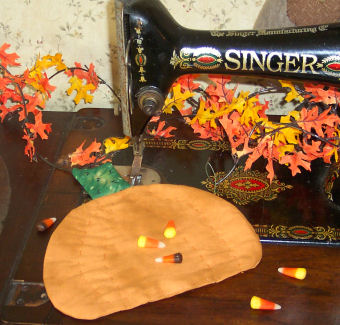
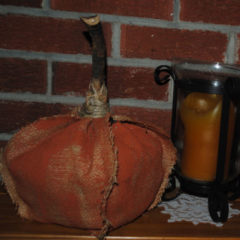
This quilted pumpkin can be used as a hot pad or doily. It is both practical and decorative which is one of my favorite things about it! That way I can incorporate fall into my life even in the kitchen. It was also easy and fun to make which is always a bonus in my book.
This post contains affiliate links. You can read my full disclosure HERE.
I LOVE MY QUILTED PUMPKIN HOT PAD/DOILY AND I BET YOU WILL TOO! HERE IS WHAT YOU WILL NEED TO MAKE IT:
- small pieces of autumn fabric
- green scrap fabric measuring about 4″x4″
- quilt batting (warm & natural is our favorite)
- basic sewing supplies
Feel free to use our free Quilted Pumpkin Hot Pad/Doily Pattern!
Quilted Pumpkin Hot Pad/Doily – Step 1
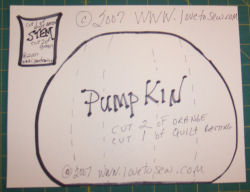
The first thing you are going to do is pin and cut out all of your pieces. You can use our free Quilted Pumpkin Hot Pad/Doily Pattern! You are going to want to cut out two pumpkin pieces from orange fabric as well as one from quilt batting. Then you want to cut two of the stem piece from green fabric and 1 of quilt batting.
Quilted Pumpkin Hot Pad/Doily – Step 2
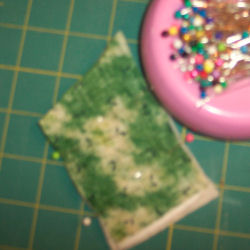
Then you are going to play your quilt batting stem on the table. Following that place your two green fabric stem pieces pretty side together on top of the quilt batting piece. Pin your stem pieces in place making sure to leave the bottom open so that you can turn it later. Then stitch around the stem using 1/4″ seam or your pressure foot as your guide. Remember don’t sew the bottom of your stem close. After that trim the edges of your stem but be careful that don’t cut your seam. Turn your stem pretty sides out through the hole you left at the bottom. Press you stem flat.
Quilted Pumpkin Hot Pad/Doily – Step 3
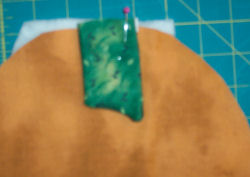
Next you are going to place your stem on the pretty side of one of your pumpkin pieces. Make sure that you put your stem facing down like in the picture above. Pin it in place and stitch across to hold the stem in place.
Quilted Pumpkin Hot Pad/Doily – Step 4
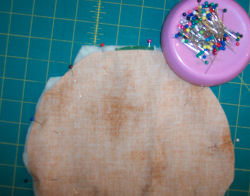
Now you are going to sew all of your pumpkin layers together. Start by putting your quilt batting pumpkin piece on the table. Then your two fabric pumpkin pieces on top pretty sides together. Make sure that your stem is tucked down in between your two fabric pieces. Pin around your pumpkin leaving about a 5″ opening at the bottom so you can turn it later. Stitch around you pumpkin using a 1/4″ seam or pressure foot edge. Trim your seams making sure not to cut into your stitches.
Quilted Pumpkin Hot Pad/Doily – Step 5
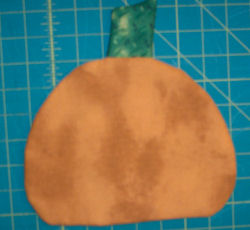
After trimming your seams turn your pumpkin right sides out and press it flat. Then hand sew your opening at the bottom closed.
Quilted Pumpkin Hot Pad/Doily – Step 6
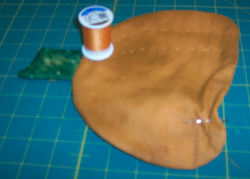
The last thing you are going to do is hand stitch lines onto your pumpkin using a running stitch.
You Quilted Pumpkin Hot Pad/Doily is now finished and ready to be used!

PIN IT FOR LATER
Leave a Reply