
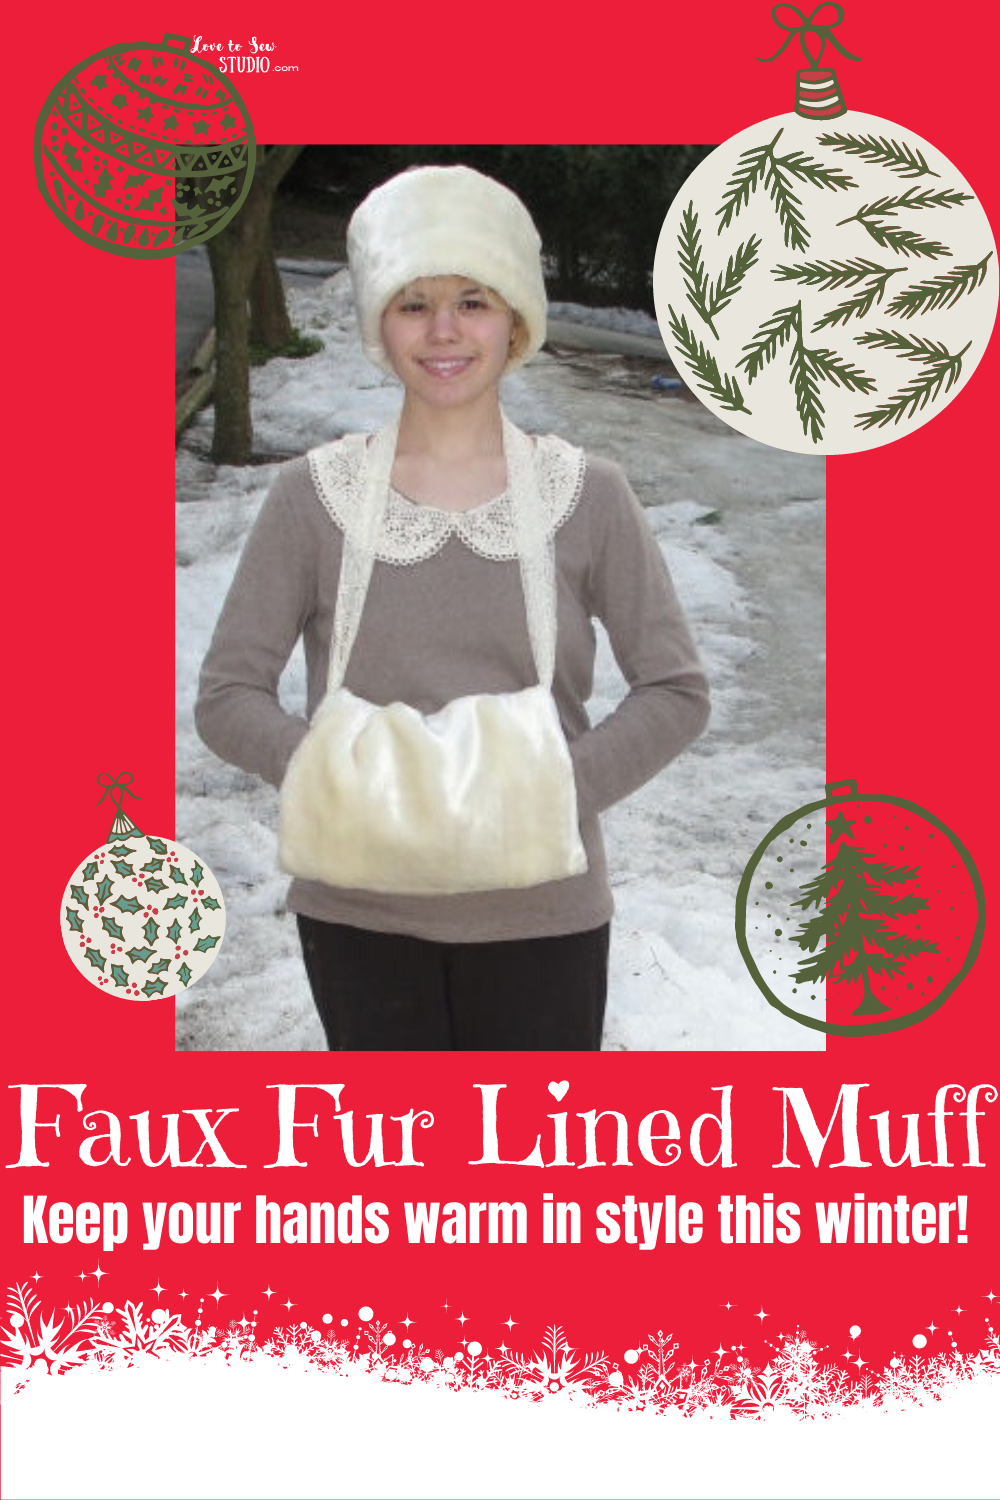
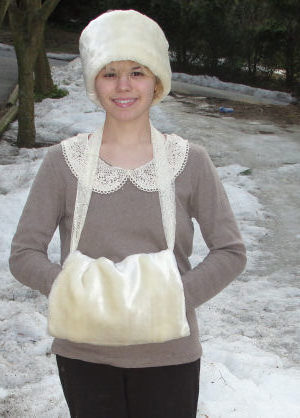
What a better way to keep your hands warm this winter than with this muff that is lined with faux fur! I have really bad circulation so my hands are always cold. This faux fur lined muff is the perfect way to add an extra layer around my hands while also looking chic and fashionable. I feel so fancy and dressed up when I put on my muff when I go out.
This post contains affiliate links. You can read my full disclosure HERE.
THIS FAUX FUR LINED MUFF IS PERECT FOR THE FRIGID WINTER MONTHS! HERE IS WHAT YOU WILL NEED TO MAKE IT:
- 15″x18″ of faux fur
- 12″x18″ quilt bating
- 12″x18″ fabric for lining (satins and brocades work well)
- lace, ribbon, or extra lining fabric
- basic sewing supplies
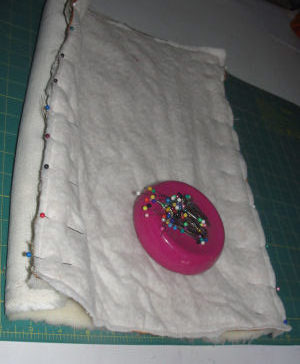
Faux Fur Lined Muff – Step 1

Start by having your lining piece pretty sides up and putting a piece of quilt batting under it. Then straight stitch or use a fancy embroidery stitch to sew rows diagonally across that are two inches apart. Your lining is now quilted if your prefer for your lining to not be quilted you can just sew your quilt batting on by stitch around the edges.
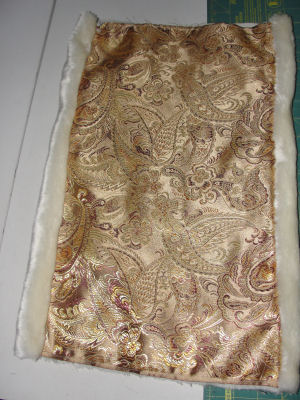
Faux Fur Lined Muff – Step 2
Next you are going to pin and sew your faux fur and your lining pieces pretty sides together using a 5/8 seam allowance. Do the same thing for both seams so that it creates a loop.
Faux Fur Lined Muff – Step 3
Then you are going to turn your muff right sides outs that the fur is facing you.
Faux Fur Lined Muff – Step 4
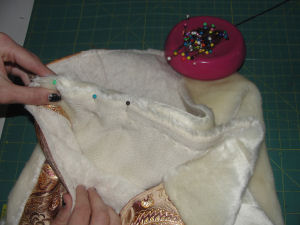
After turning your fur right sides out match the two short fur ends together, pin, making sure that you don’t catch your lining. This at first seems awkward. Refer to photograph to ensure you are doing this step correctly. Stitch.
Faux Fur Lined Muff – Step 5
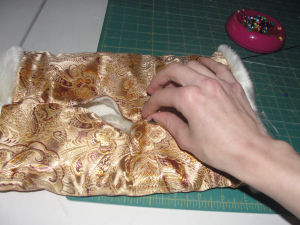
Now you are going to turn the muff so that the fur is on the inside and lining is on the outside. Hand sew that lining closed.
Faux Fur Lined Muff – Step 6
Finally you are going to use your extra lining fabric to a 3″ strip that is long enough to go around your neck and rest at your waist going through the muff. Don’t forget to leave room for a seam allowance. Tri-fold the fabric and sew. Then slip the strip through your muff and sew the edges together. You can also use ribbon or lace instead of fabric. If you so desire, decorate your muff by hand-stitching on pearls, lace, feathers, etc.
Your Faux Fur Lined Muff is now finished and ready to stylishly keep your hands warm!

PIN IT FOR LATER
Leave a Reply