
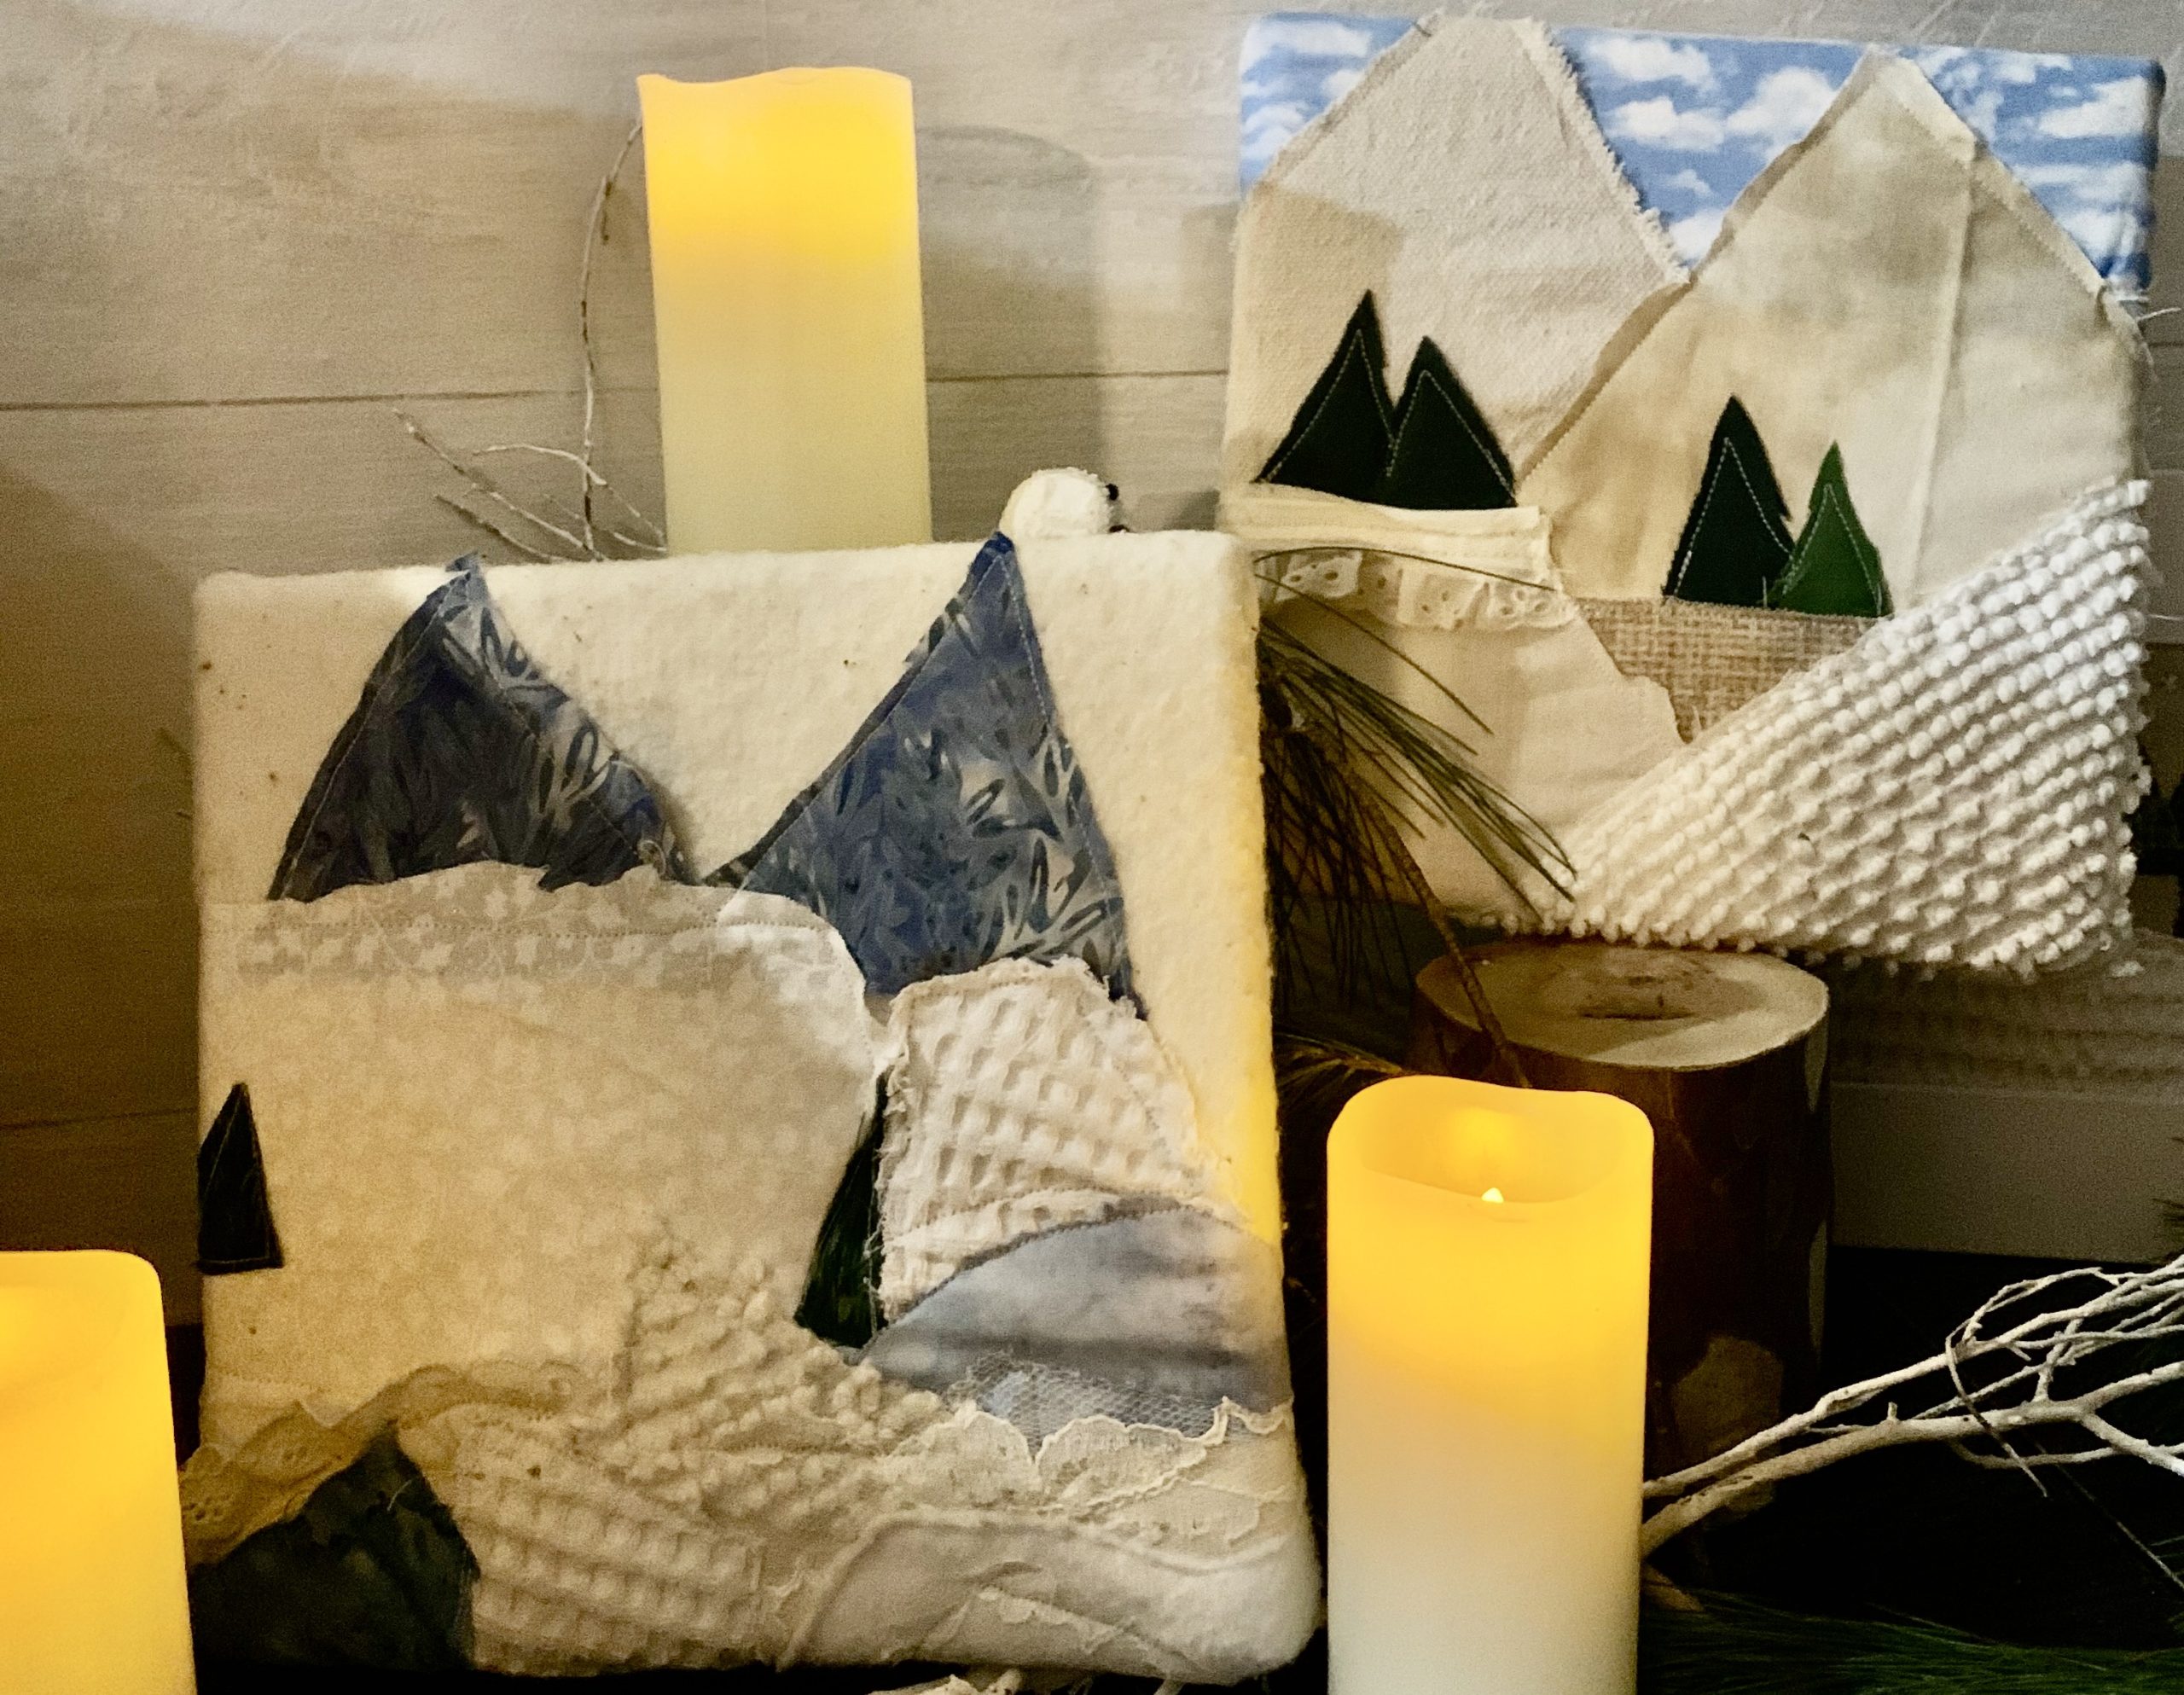
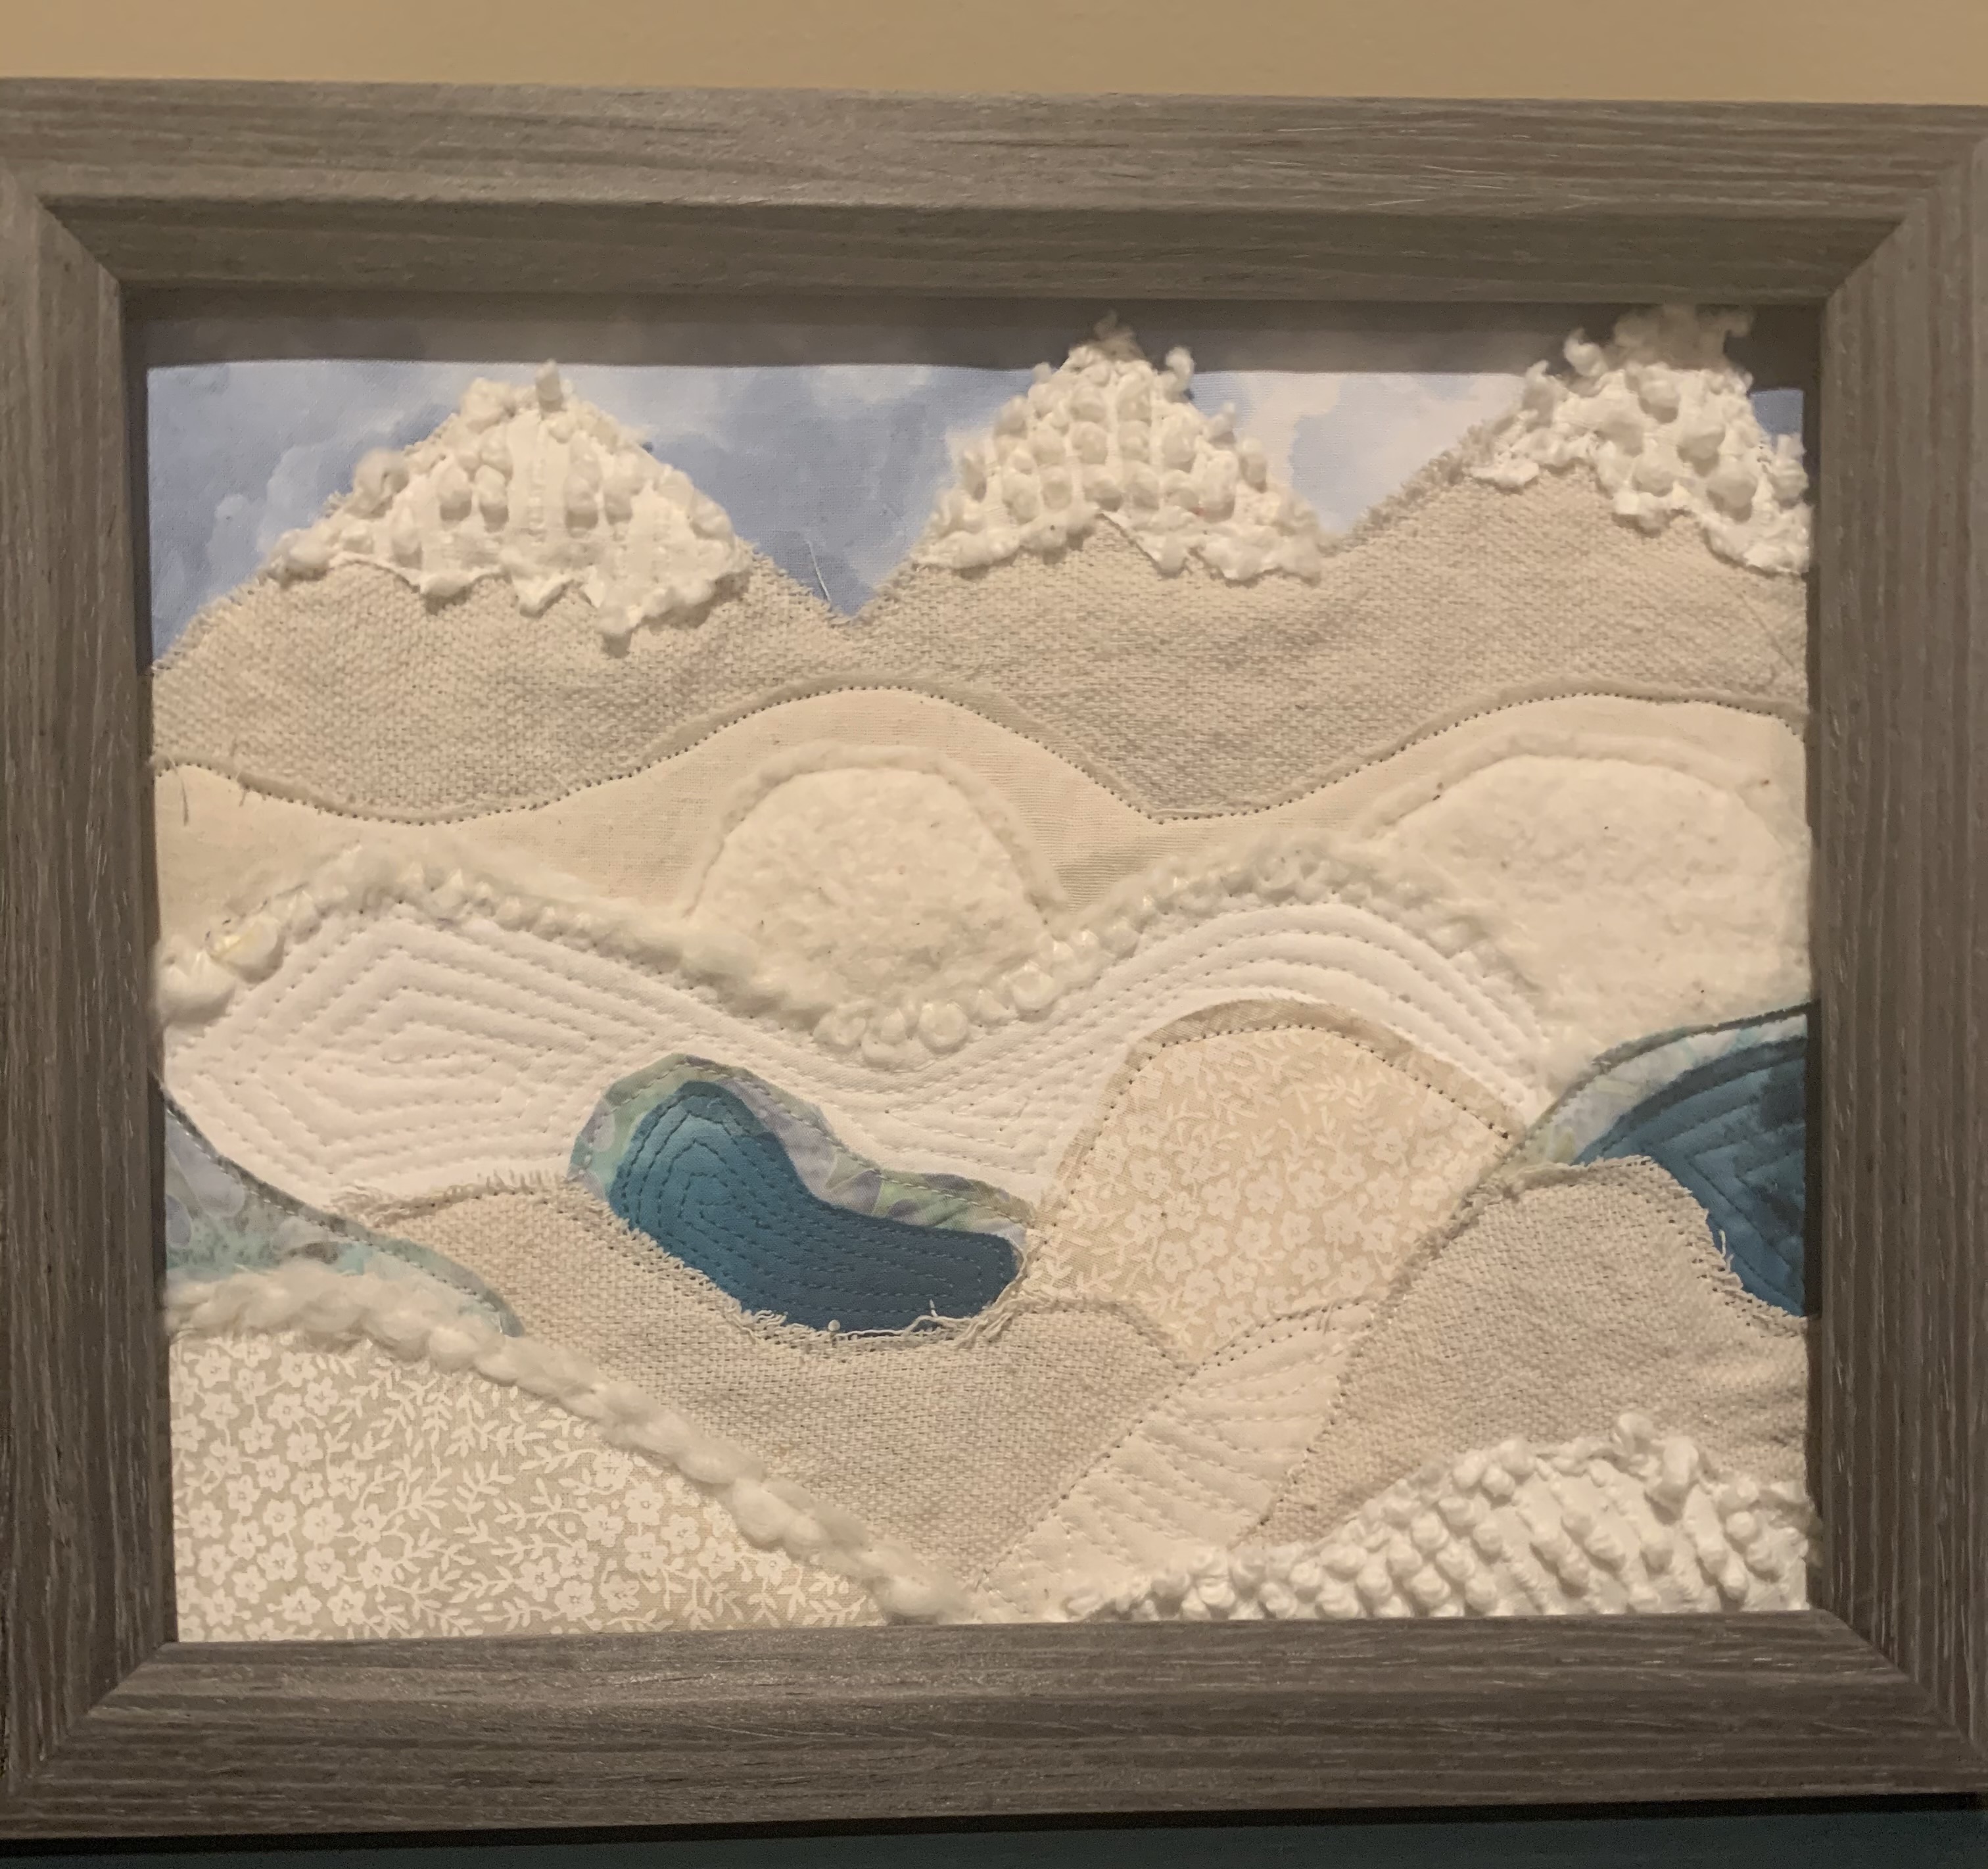
Hi Friends! I am so excited to share with you how our students made their calming winter wonderland fabric art pieces. Once completed, you can place them in a frame, stretch them on a canvas, or turn them into a pillow. You can see our students completed winter fabric art collection here. This project requires basic sewing skills by hand or machine. You can make your winter art piece simplistic, rustic, or as primitive as you want. Every piece is unique and can compliment many decors such as rustic cabin, farmhouse, French country, traditional, and simplistic.
This post contains affiliate links. You can read my full disclosure Here.
SEW SOMETHING BEAUTIFUL:
For a unique look, think of ways to be creative on every step of this project beginning with the fabrics you pick. Look for scraps of fabric in different shades of cream and white, green, and blue. Pick fabrics that have different textures. In your stash of fabric and crafts from home or in your studio, look for lace, eyelet, ribbon, and yarn. We even used vintage lace, netting, and a repurposed textured shower curtain for the snow! Continue using your creative skills with the layout of your piece. Think of different scenes you would find if you were to head to the mountains during the winter time. Try and include snow covered mountains, pine trees, lakes within the mountains, snow falling from the sky, a snowman, etc…. And last, be creative with your stitching. Add some hand embroidery, decorative machine stitches, variegated threads, etc… There are so many ways you can use your imagination and creative skills to make your whimsical winter wonderland fabric art piece!
SUPPLIES TO MAKE A QUILTED WHIMSICAL WINTER FABRIC ART PIECE:
This project really only requires scraps of different neutral tone fabrics in whites, cream, blue and green. I pulled out all the different shades and textured fabrics I could find for my students to use. We even included yarn and vintage lace in some of our landscapes. One of my favorite beige color fabrics I use in all of my farmhouse craft making and sewing is just a simple painters drop cloth canvas fabric. I wash it with a little bit of bleach. Once washed and dried it becomes a soft rustic looking fabric that looks great for any cottage style farmhouse project!
You will also need some type of mat, frame, or canvas if you want to mount your fabric art. Most of our students mounted their fabric art onto either 8″ or 10″ stretched canvas. One student turned her art into a charming pillow.
You will also need basic sewing supplies, and crafting supplies.
SHOP FOR THIS PROJECT:
10″x 8″ stretched canvas boards
warm and natural quilt batting
our favorite brother sewing machine
MAKING THE BASE FOR YOUR WHIMSICAL WINTER FABRIC ART PIECE:
First decide if you want to make your winter fabric art piece into a pillow, stretch it over canvas, or put it in a frame. What ever size frame or canvas you buy ADD 1.5″ ON EACH SIDE of your base fabric which will be the warm and natural quilt batting. For example, if your framed canvas you want to mount your fabric art on is a 10″ square, then you will cut your base 13″ x 13″. This will give your base ample room to be mounted onto the frame. I am mounting mine onto an 8″ square canvas, so I cut my base 11″x11″.
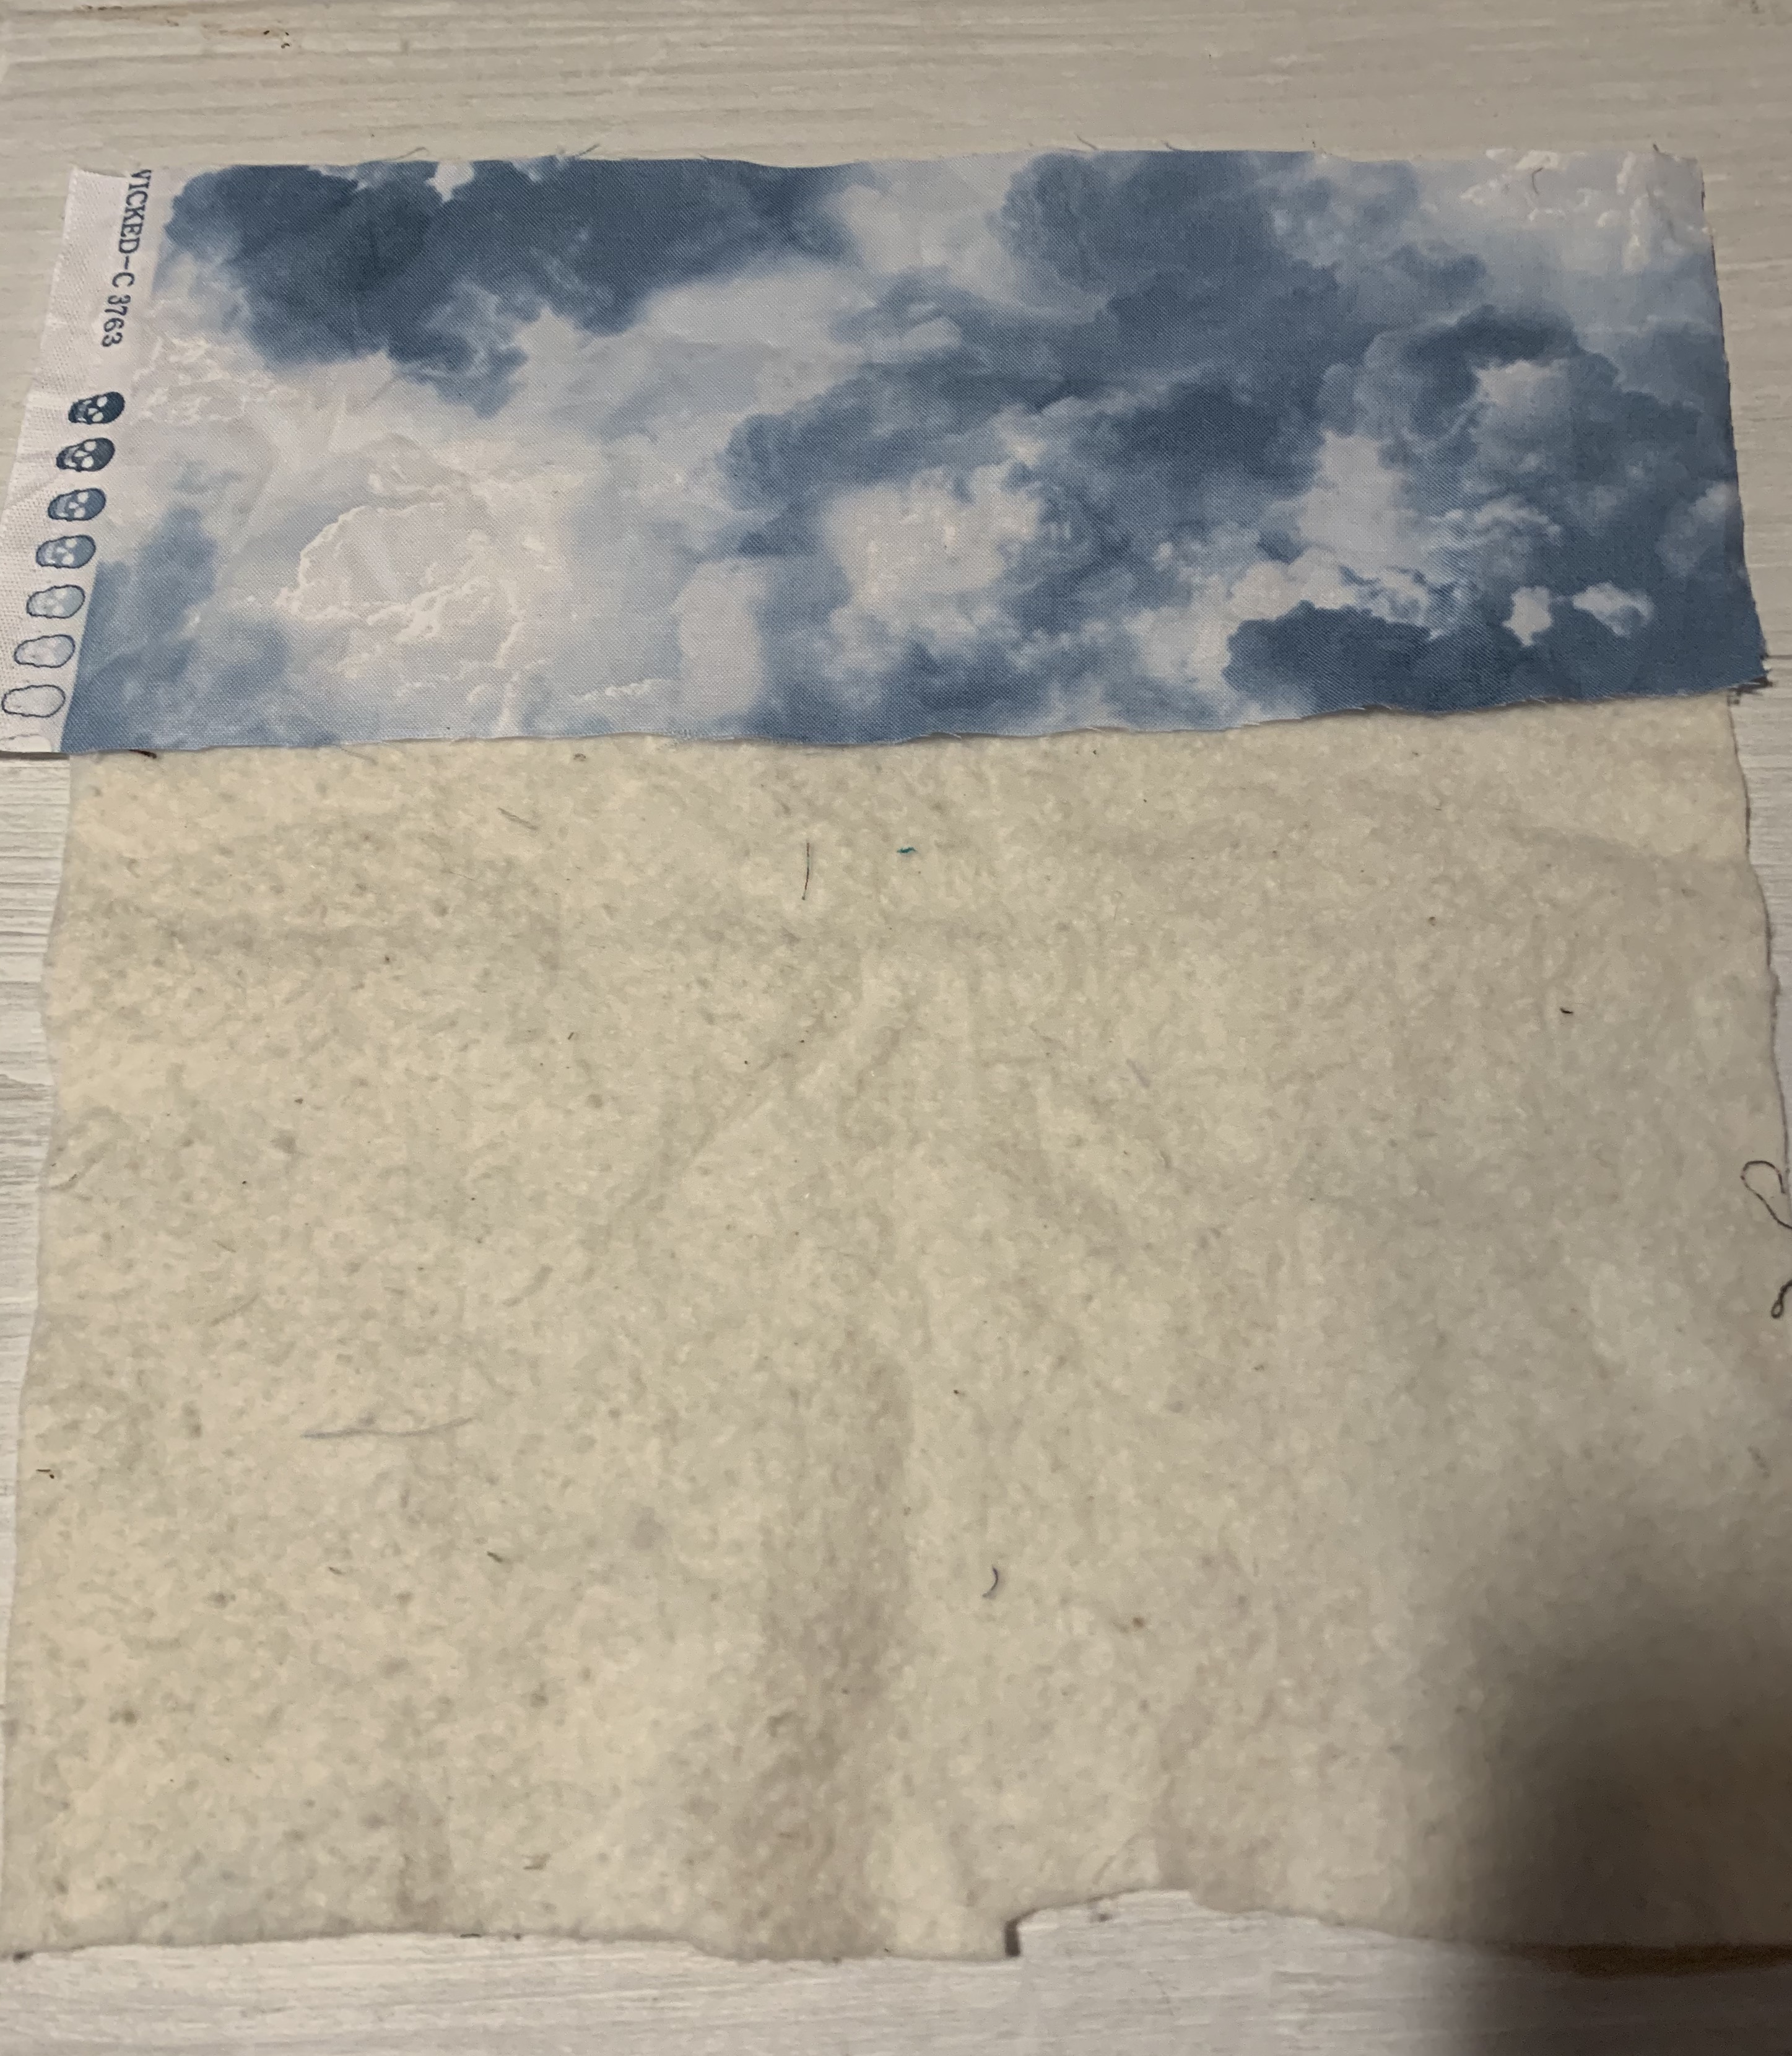
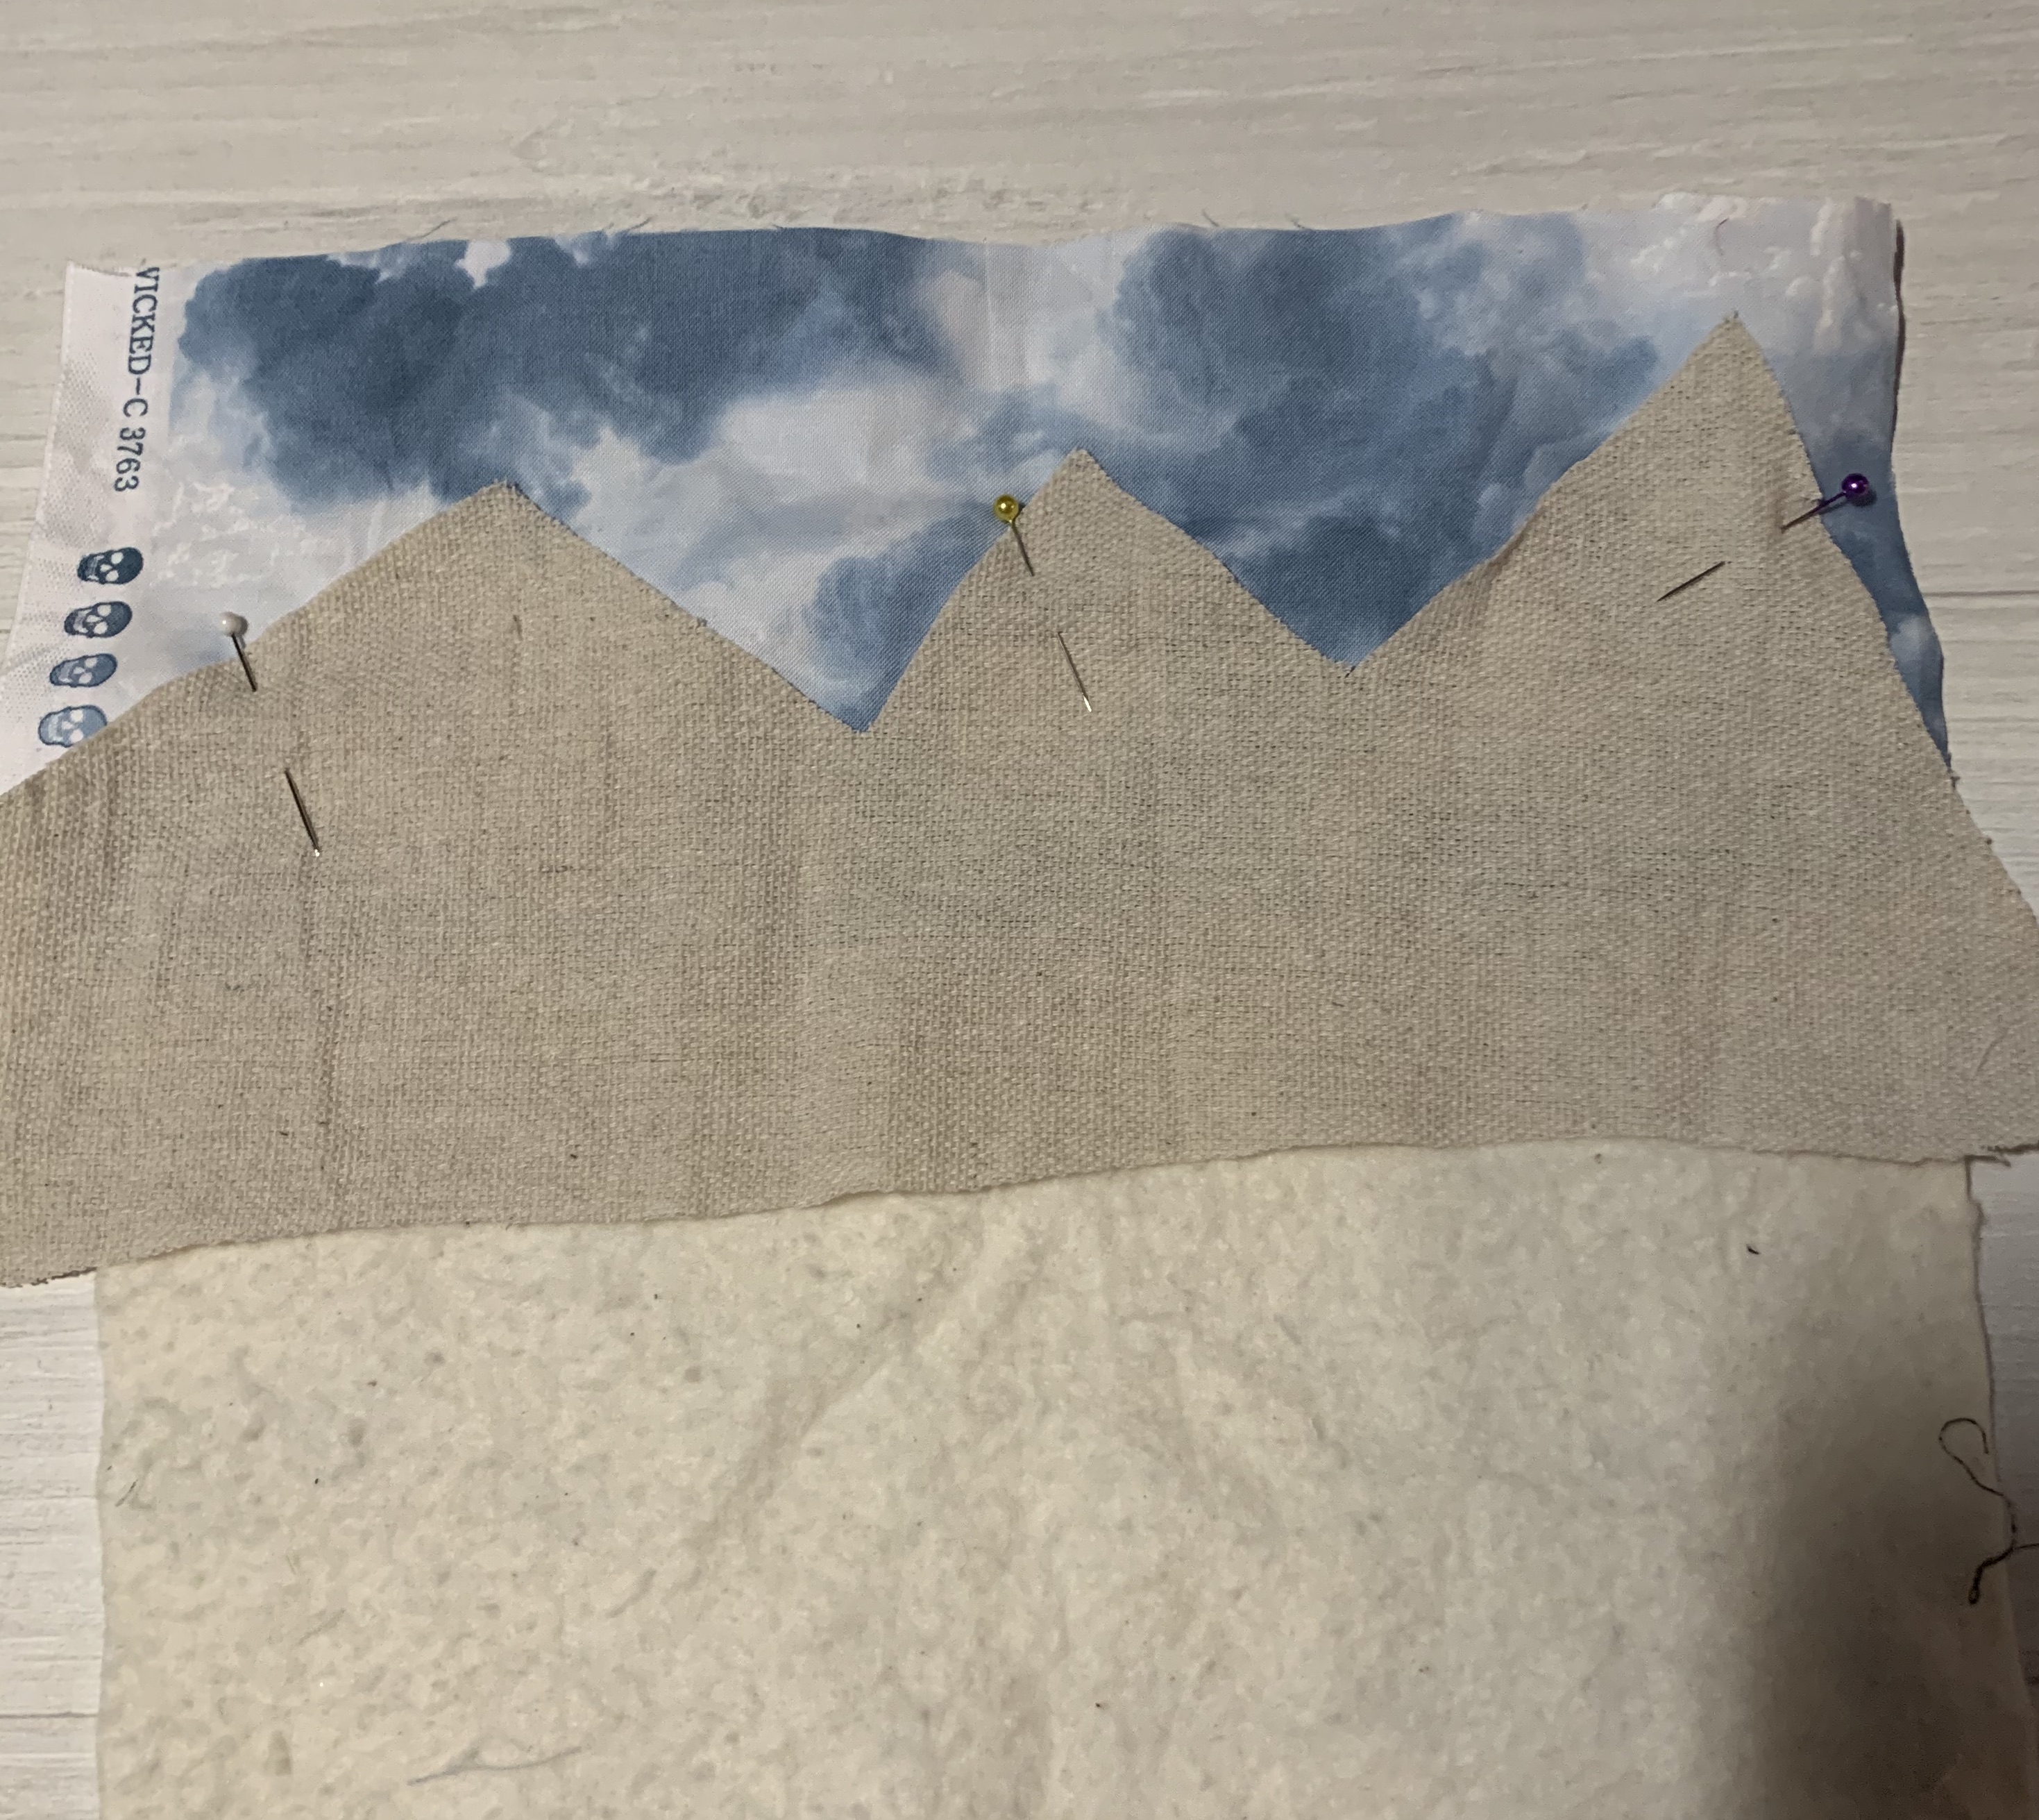
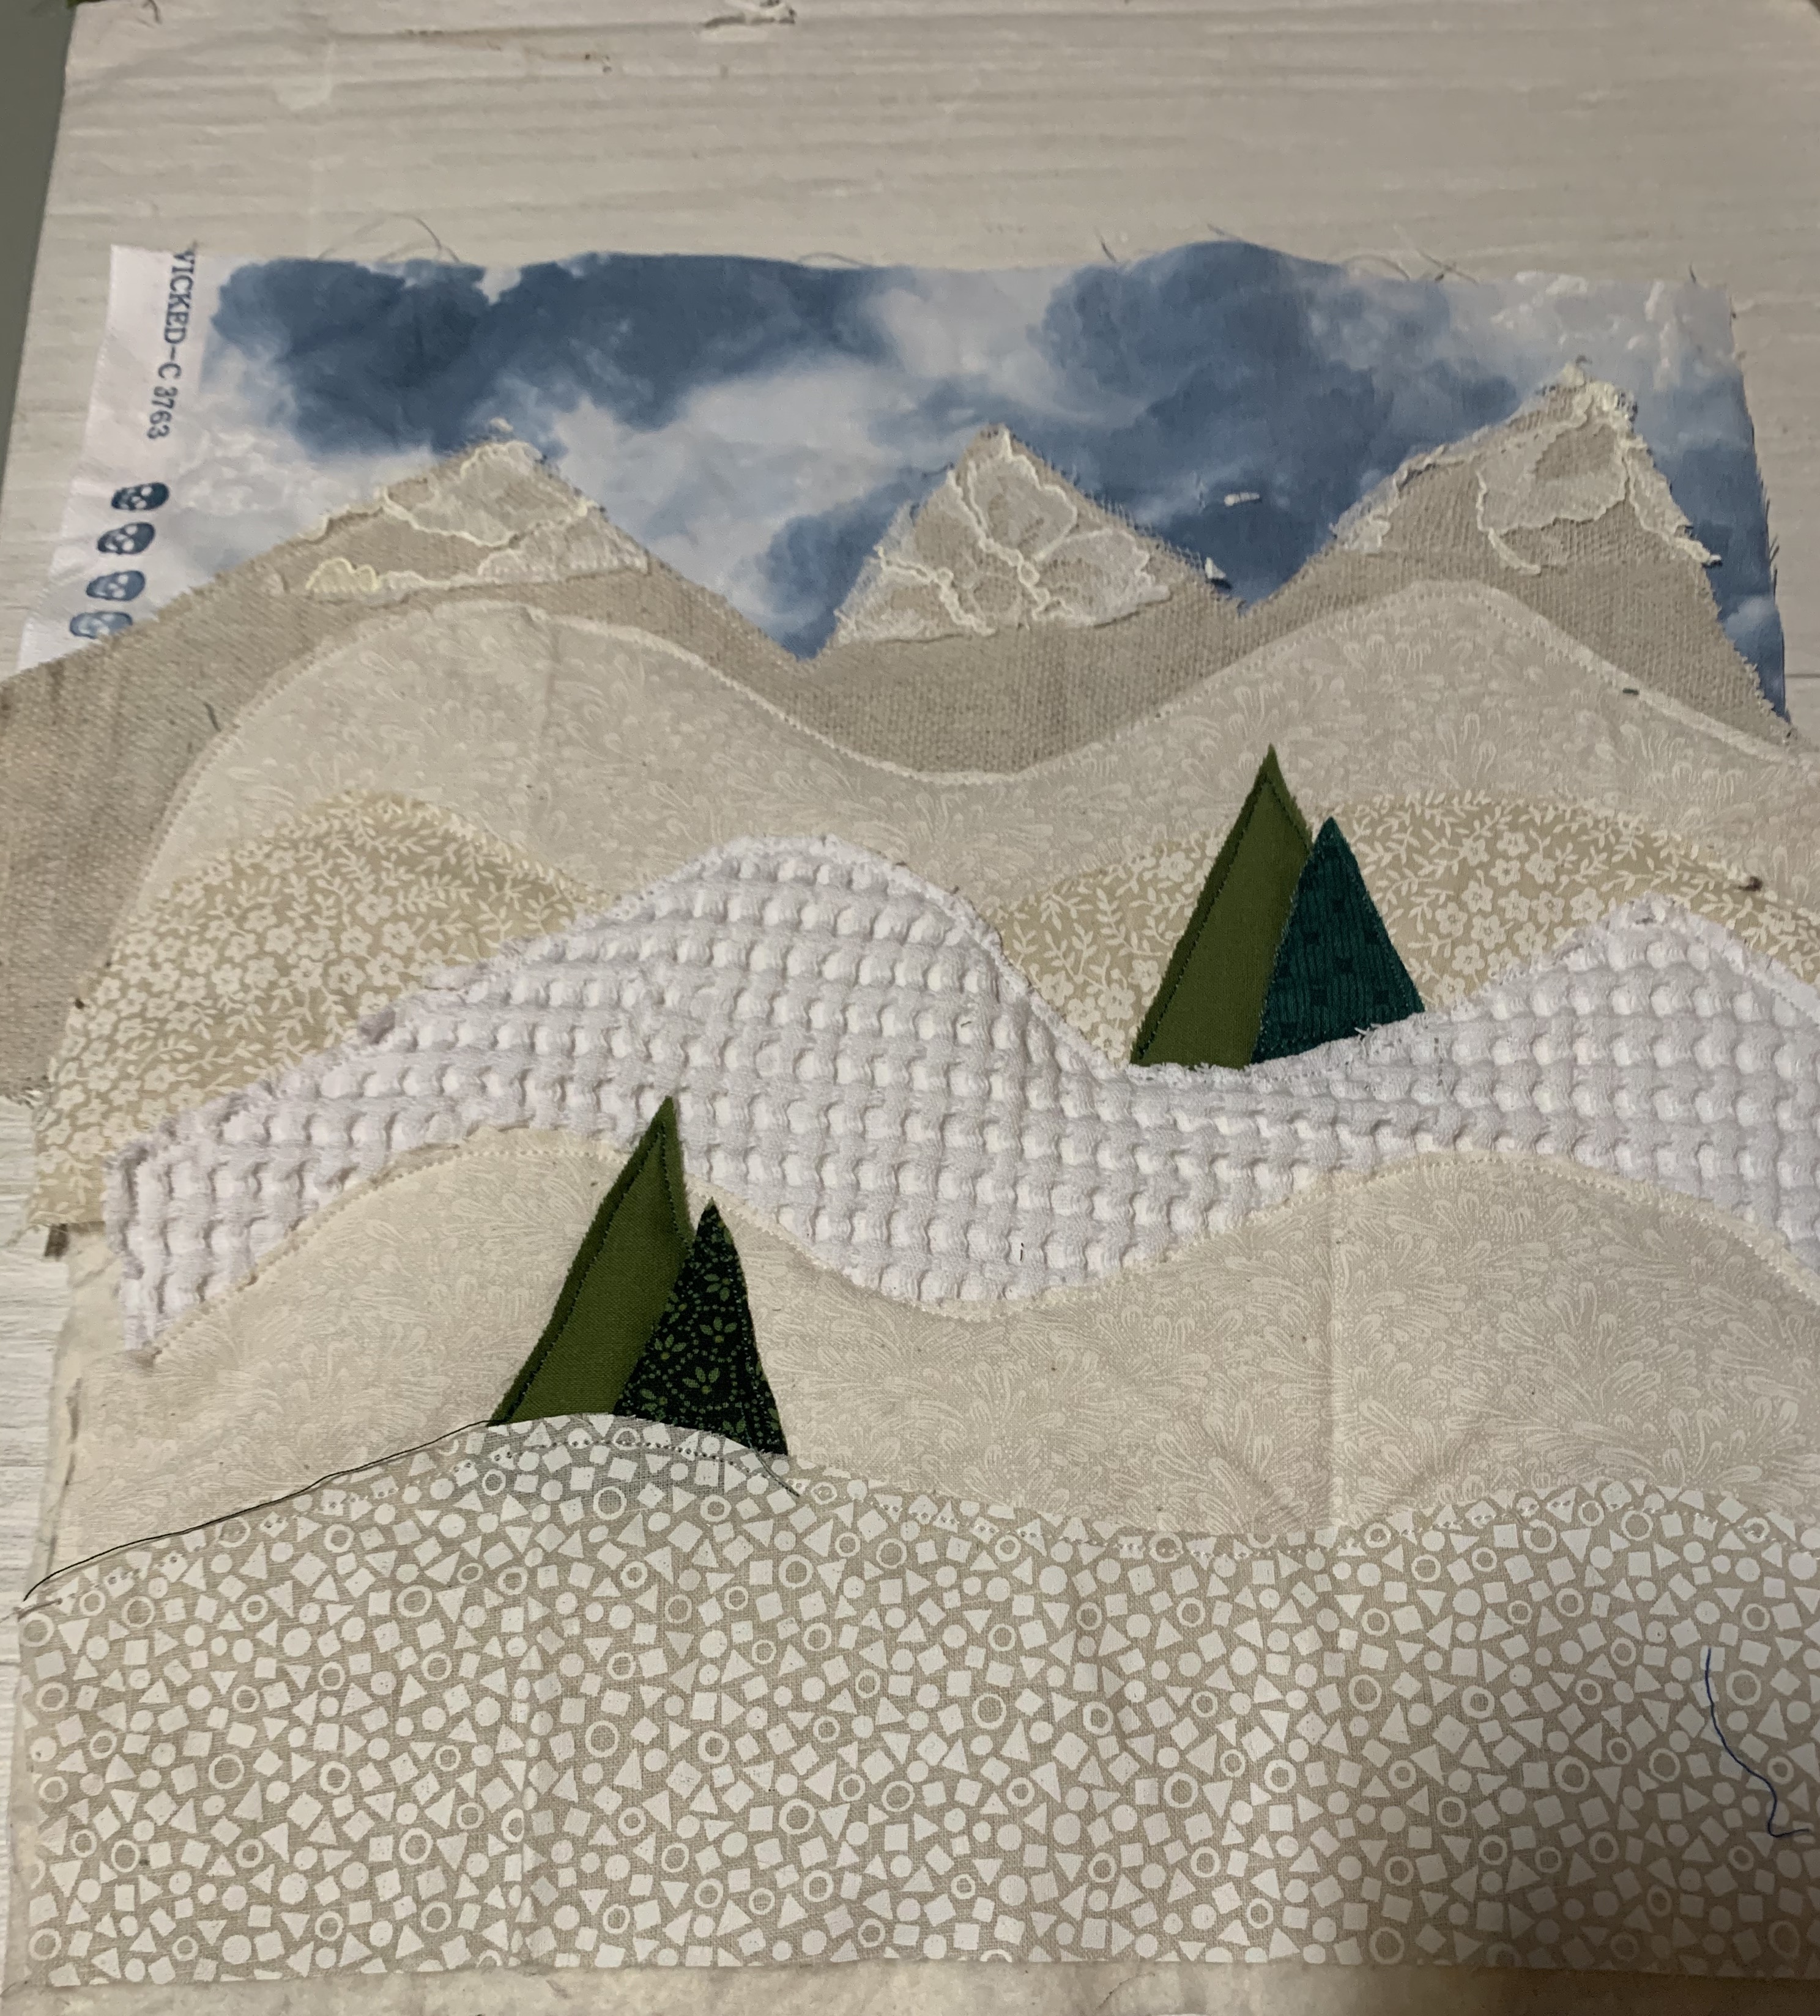
Once you have cut your base from warm and natural quilt batting, cut fabric for the sky. We cut about 1/3″ of the length of the full project by the full width of the base as shown in the photo below.
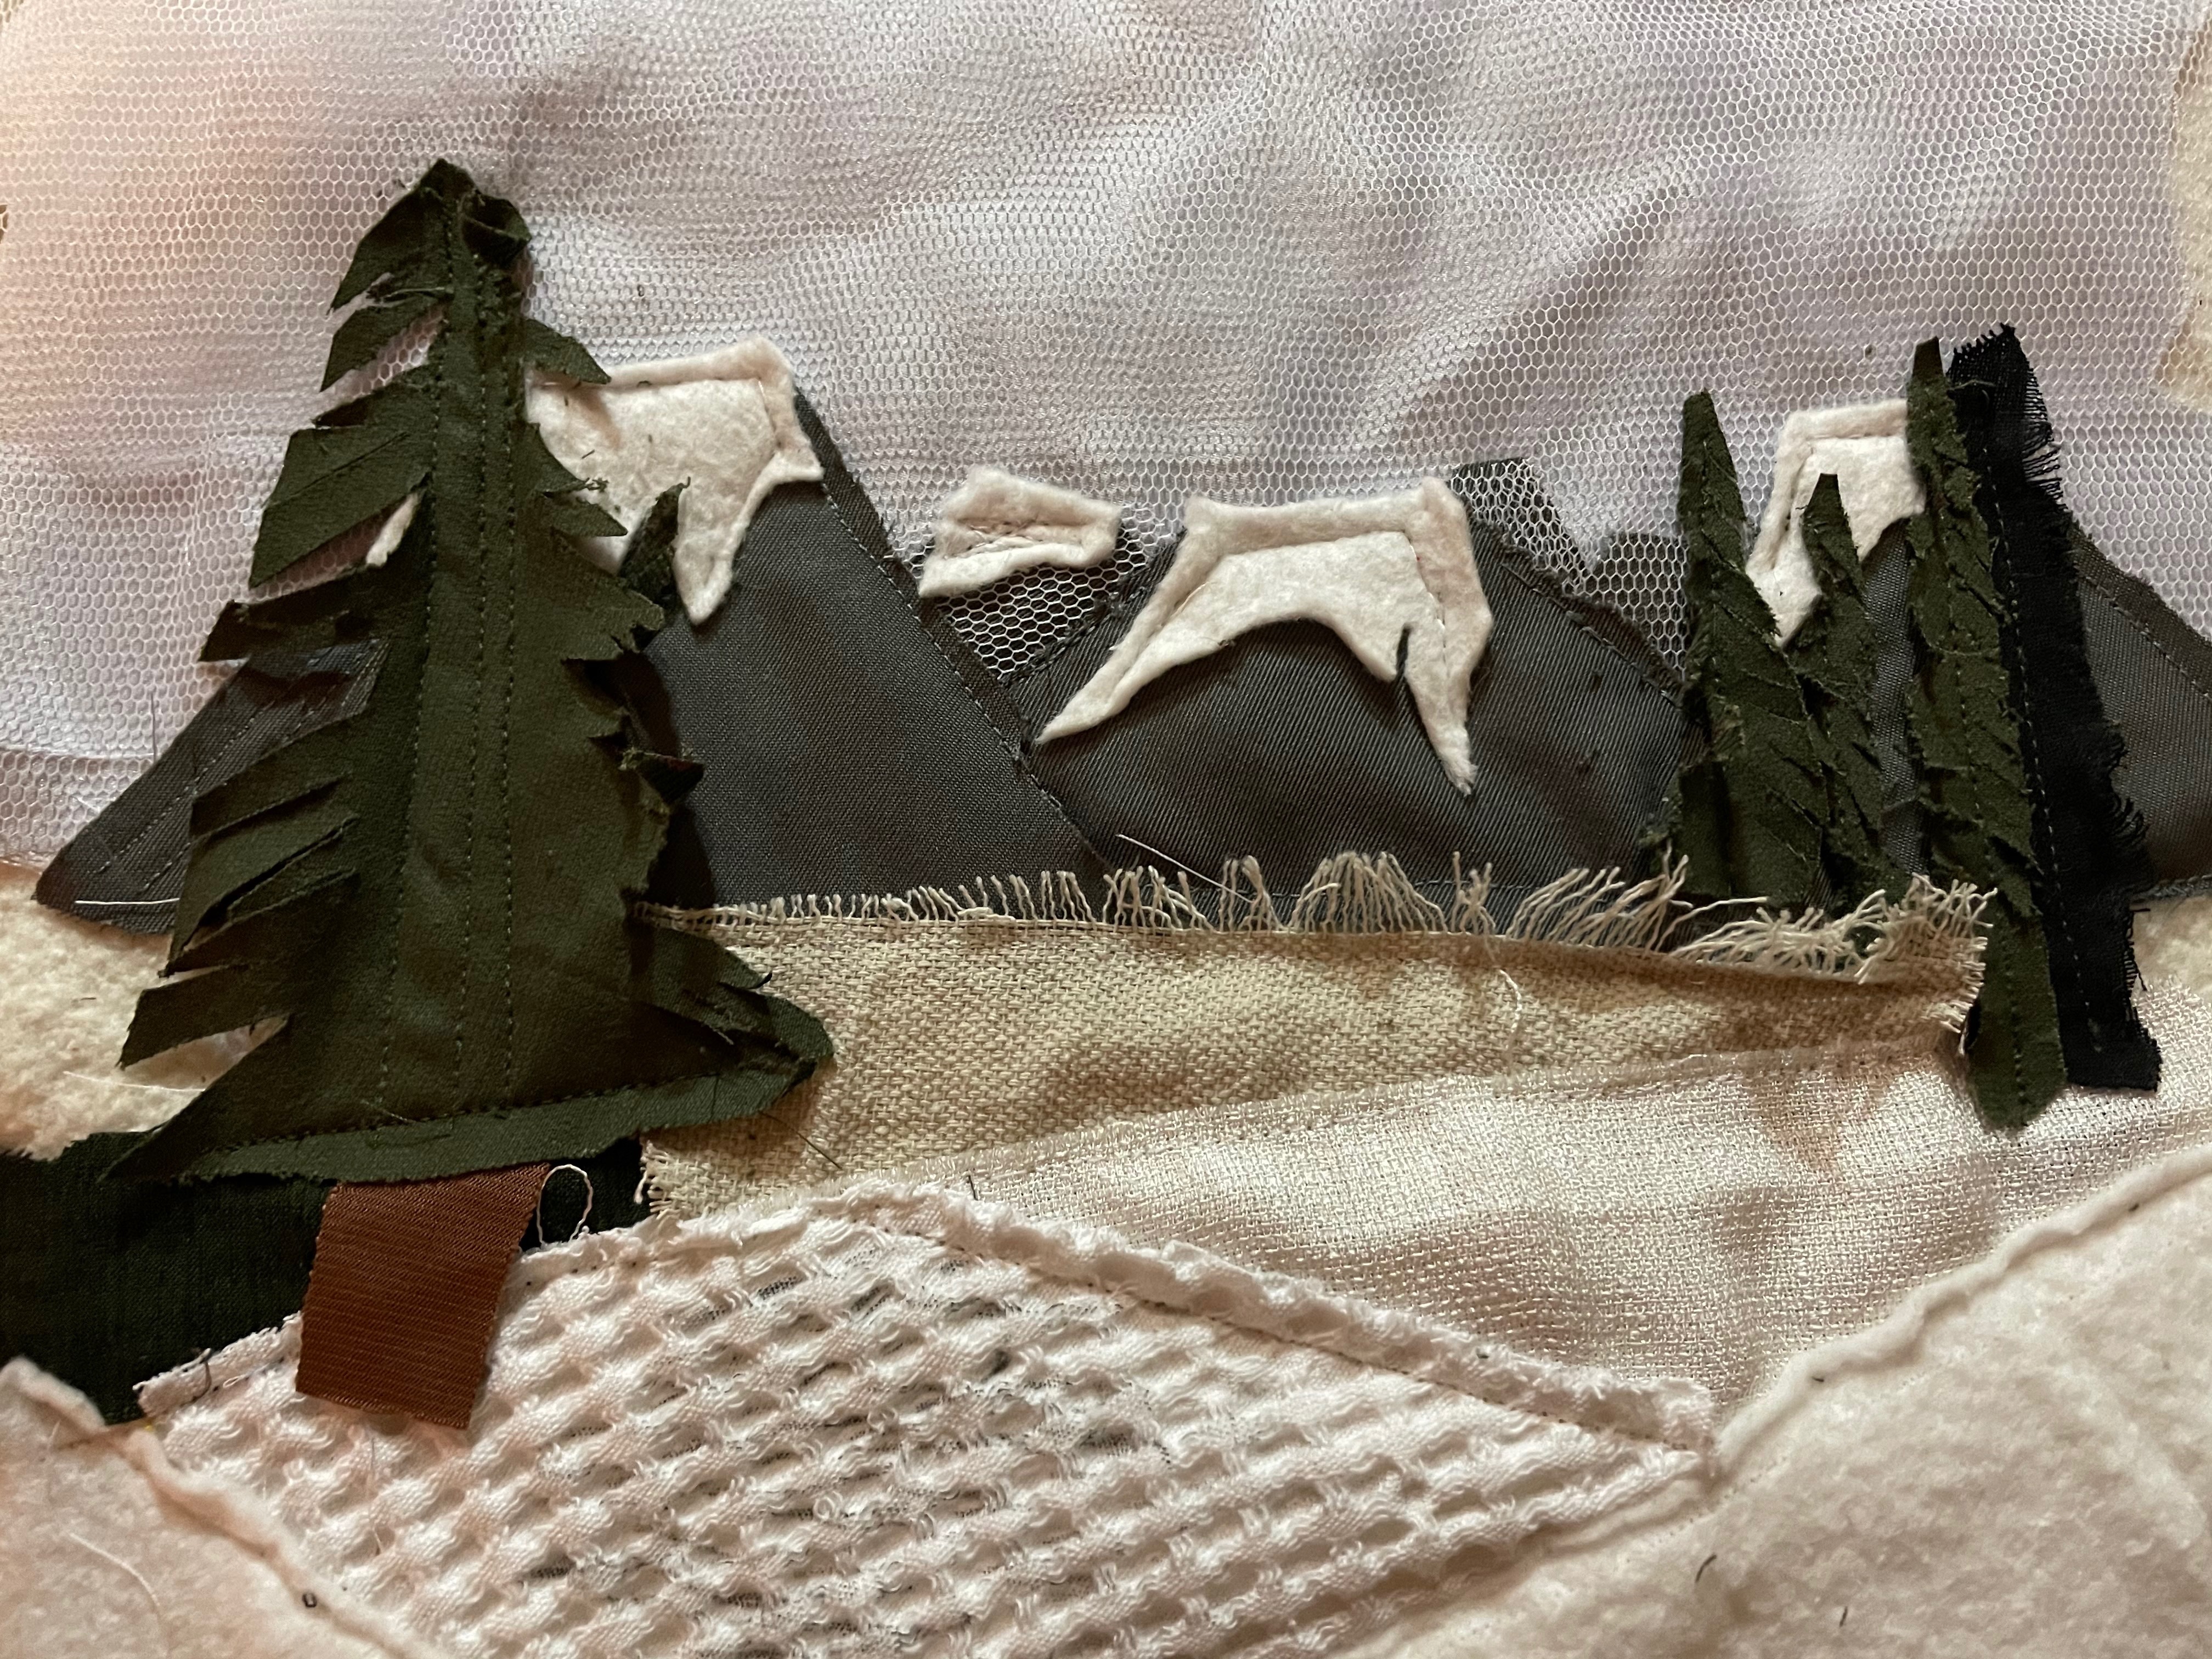
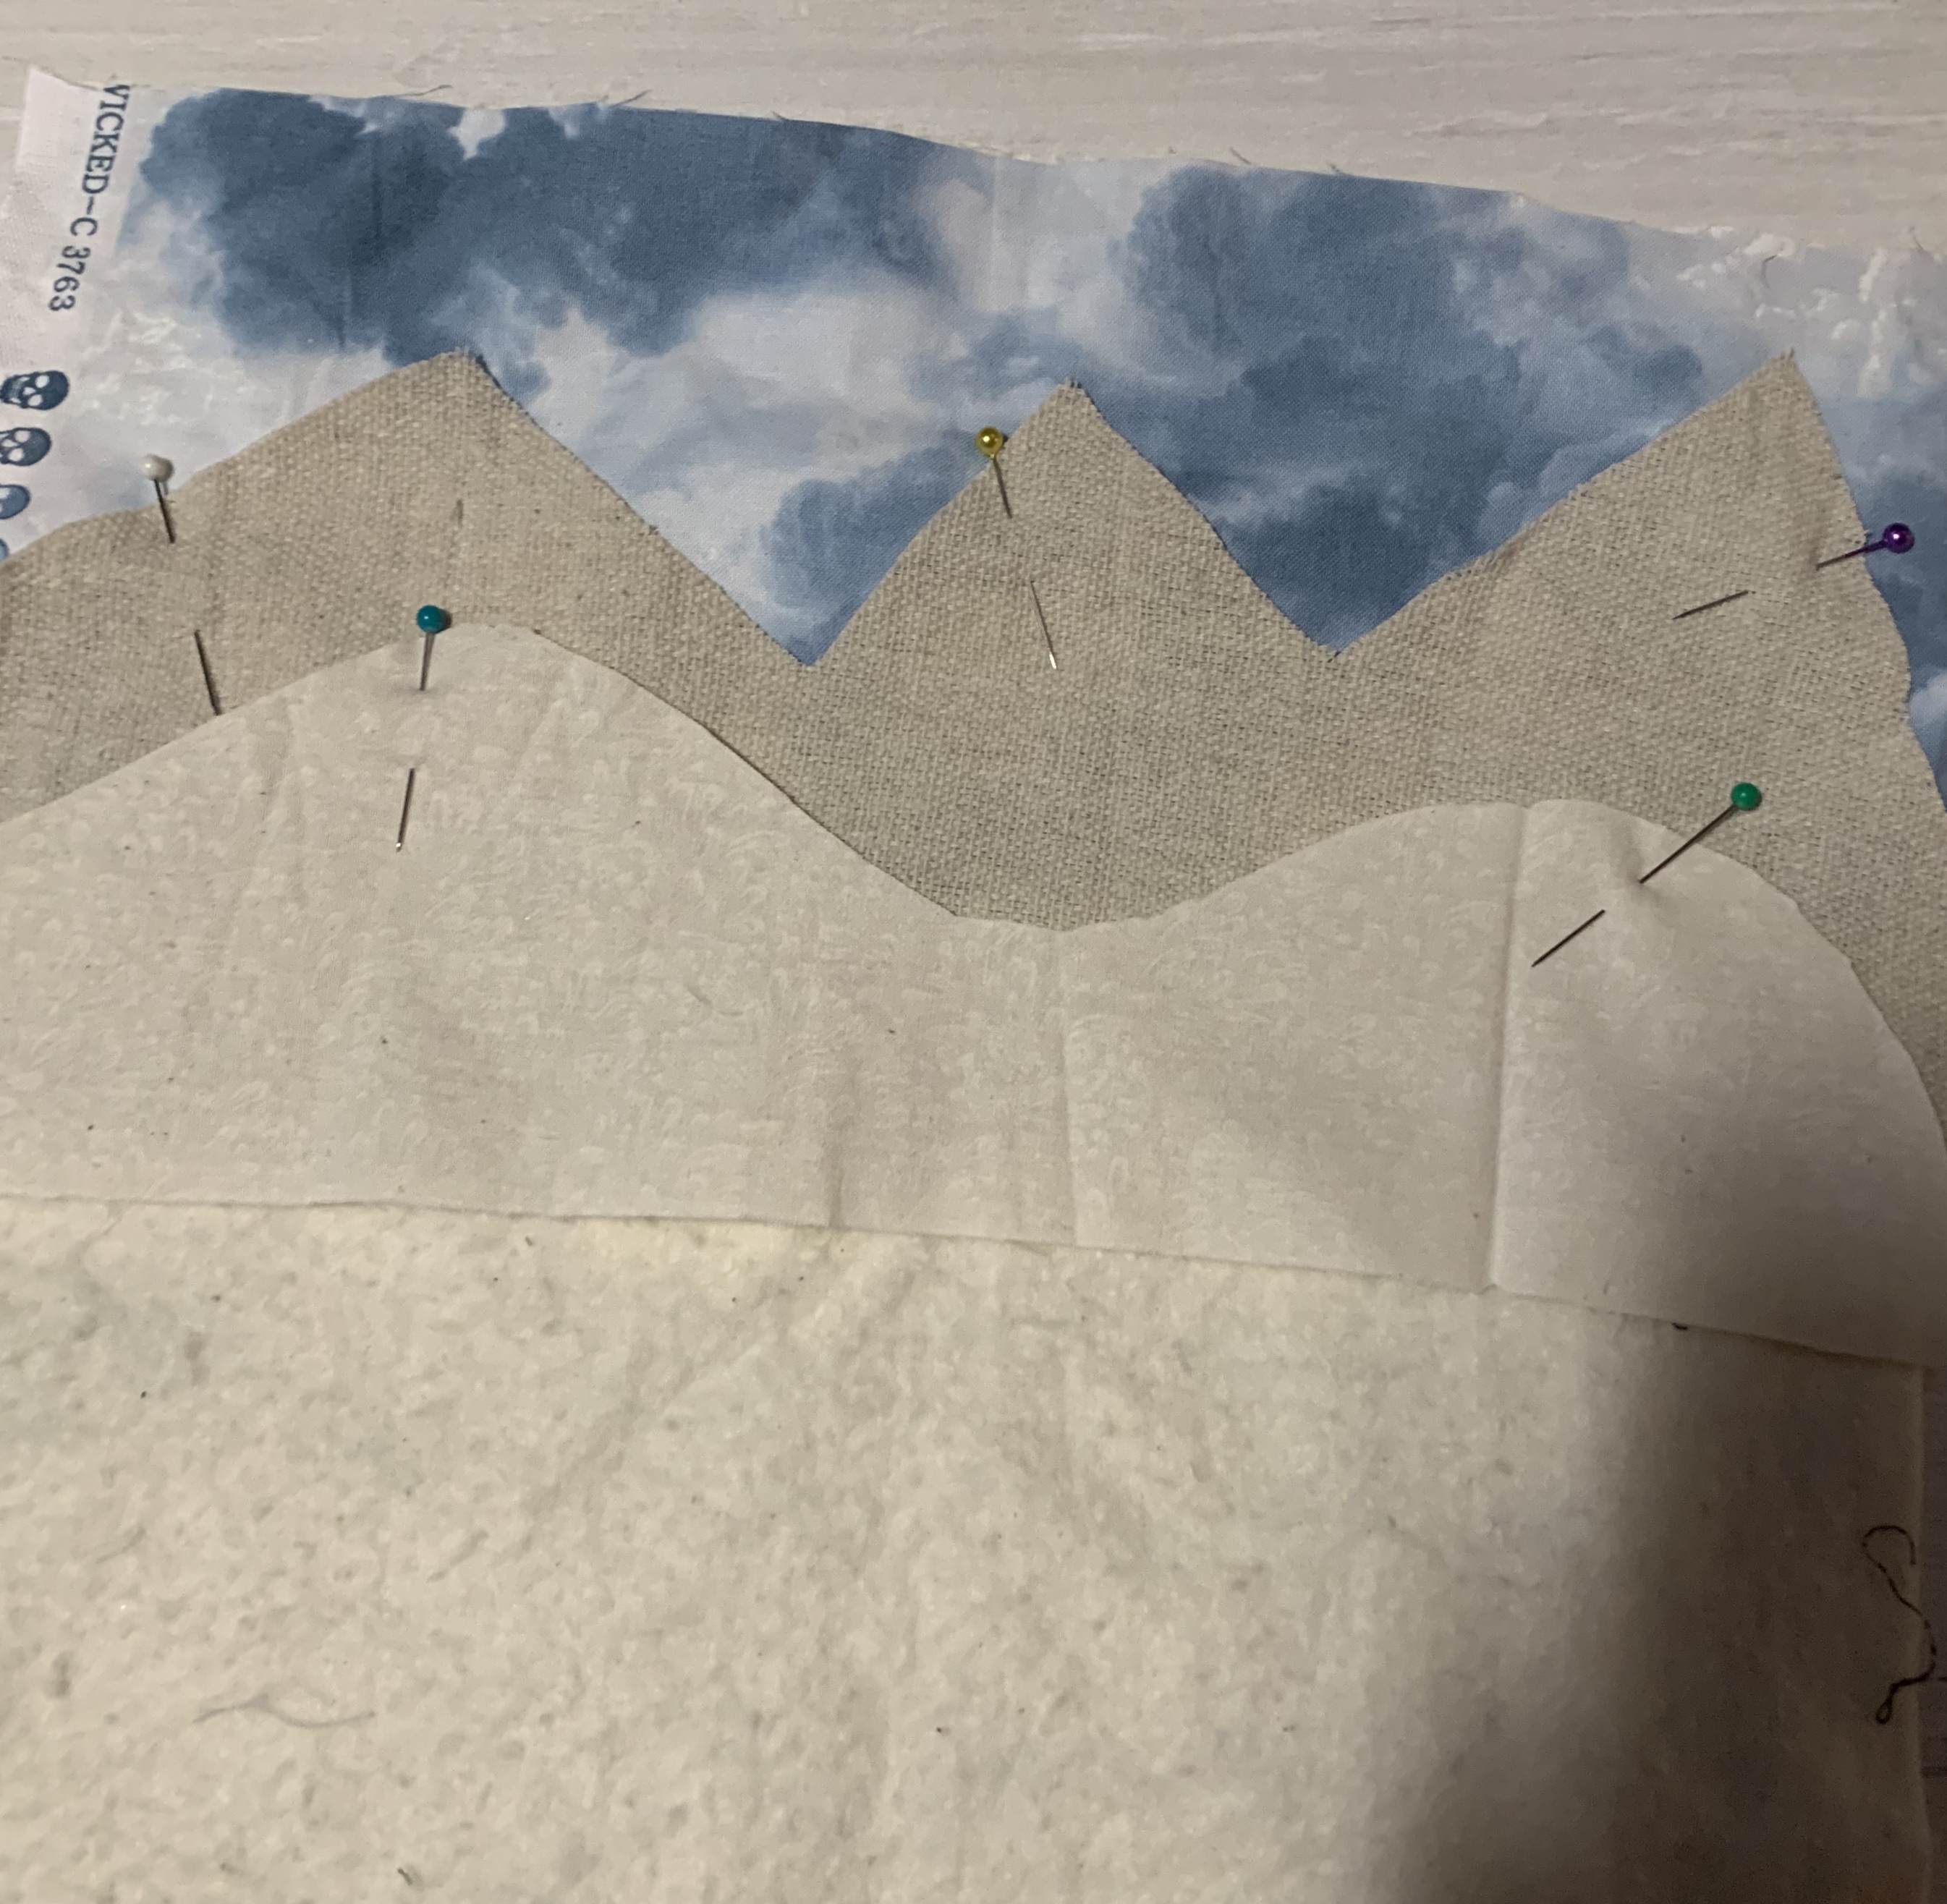
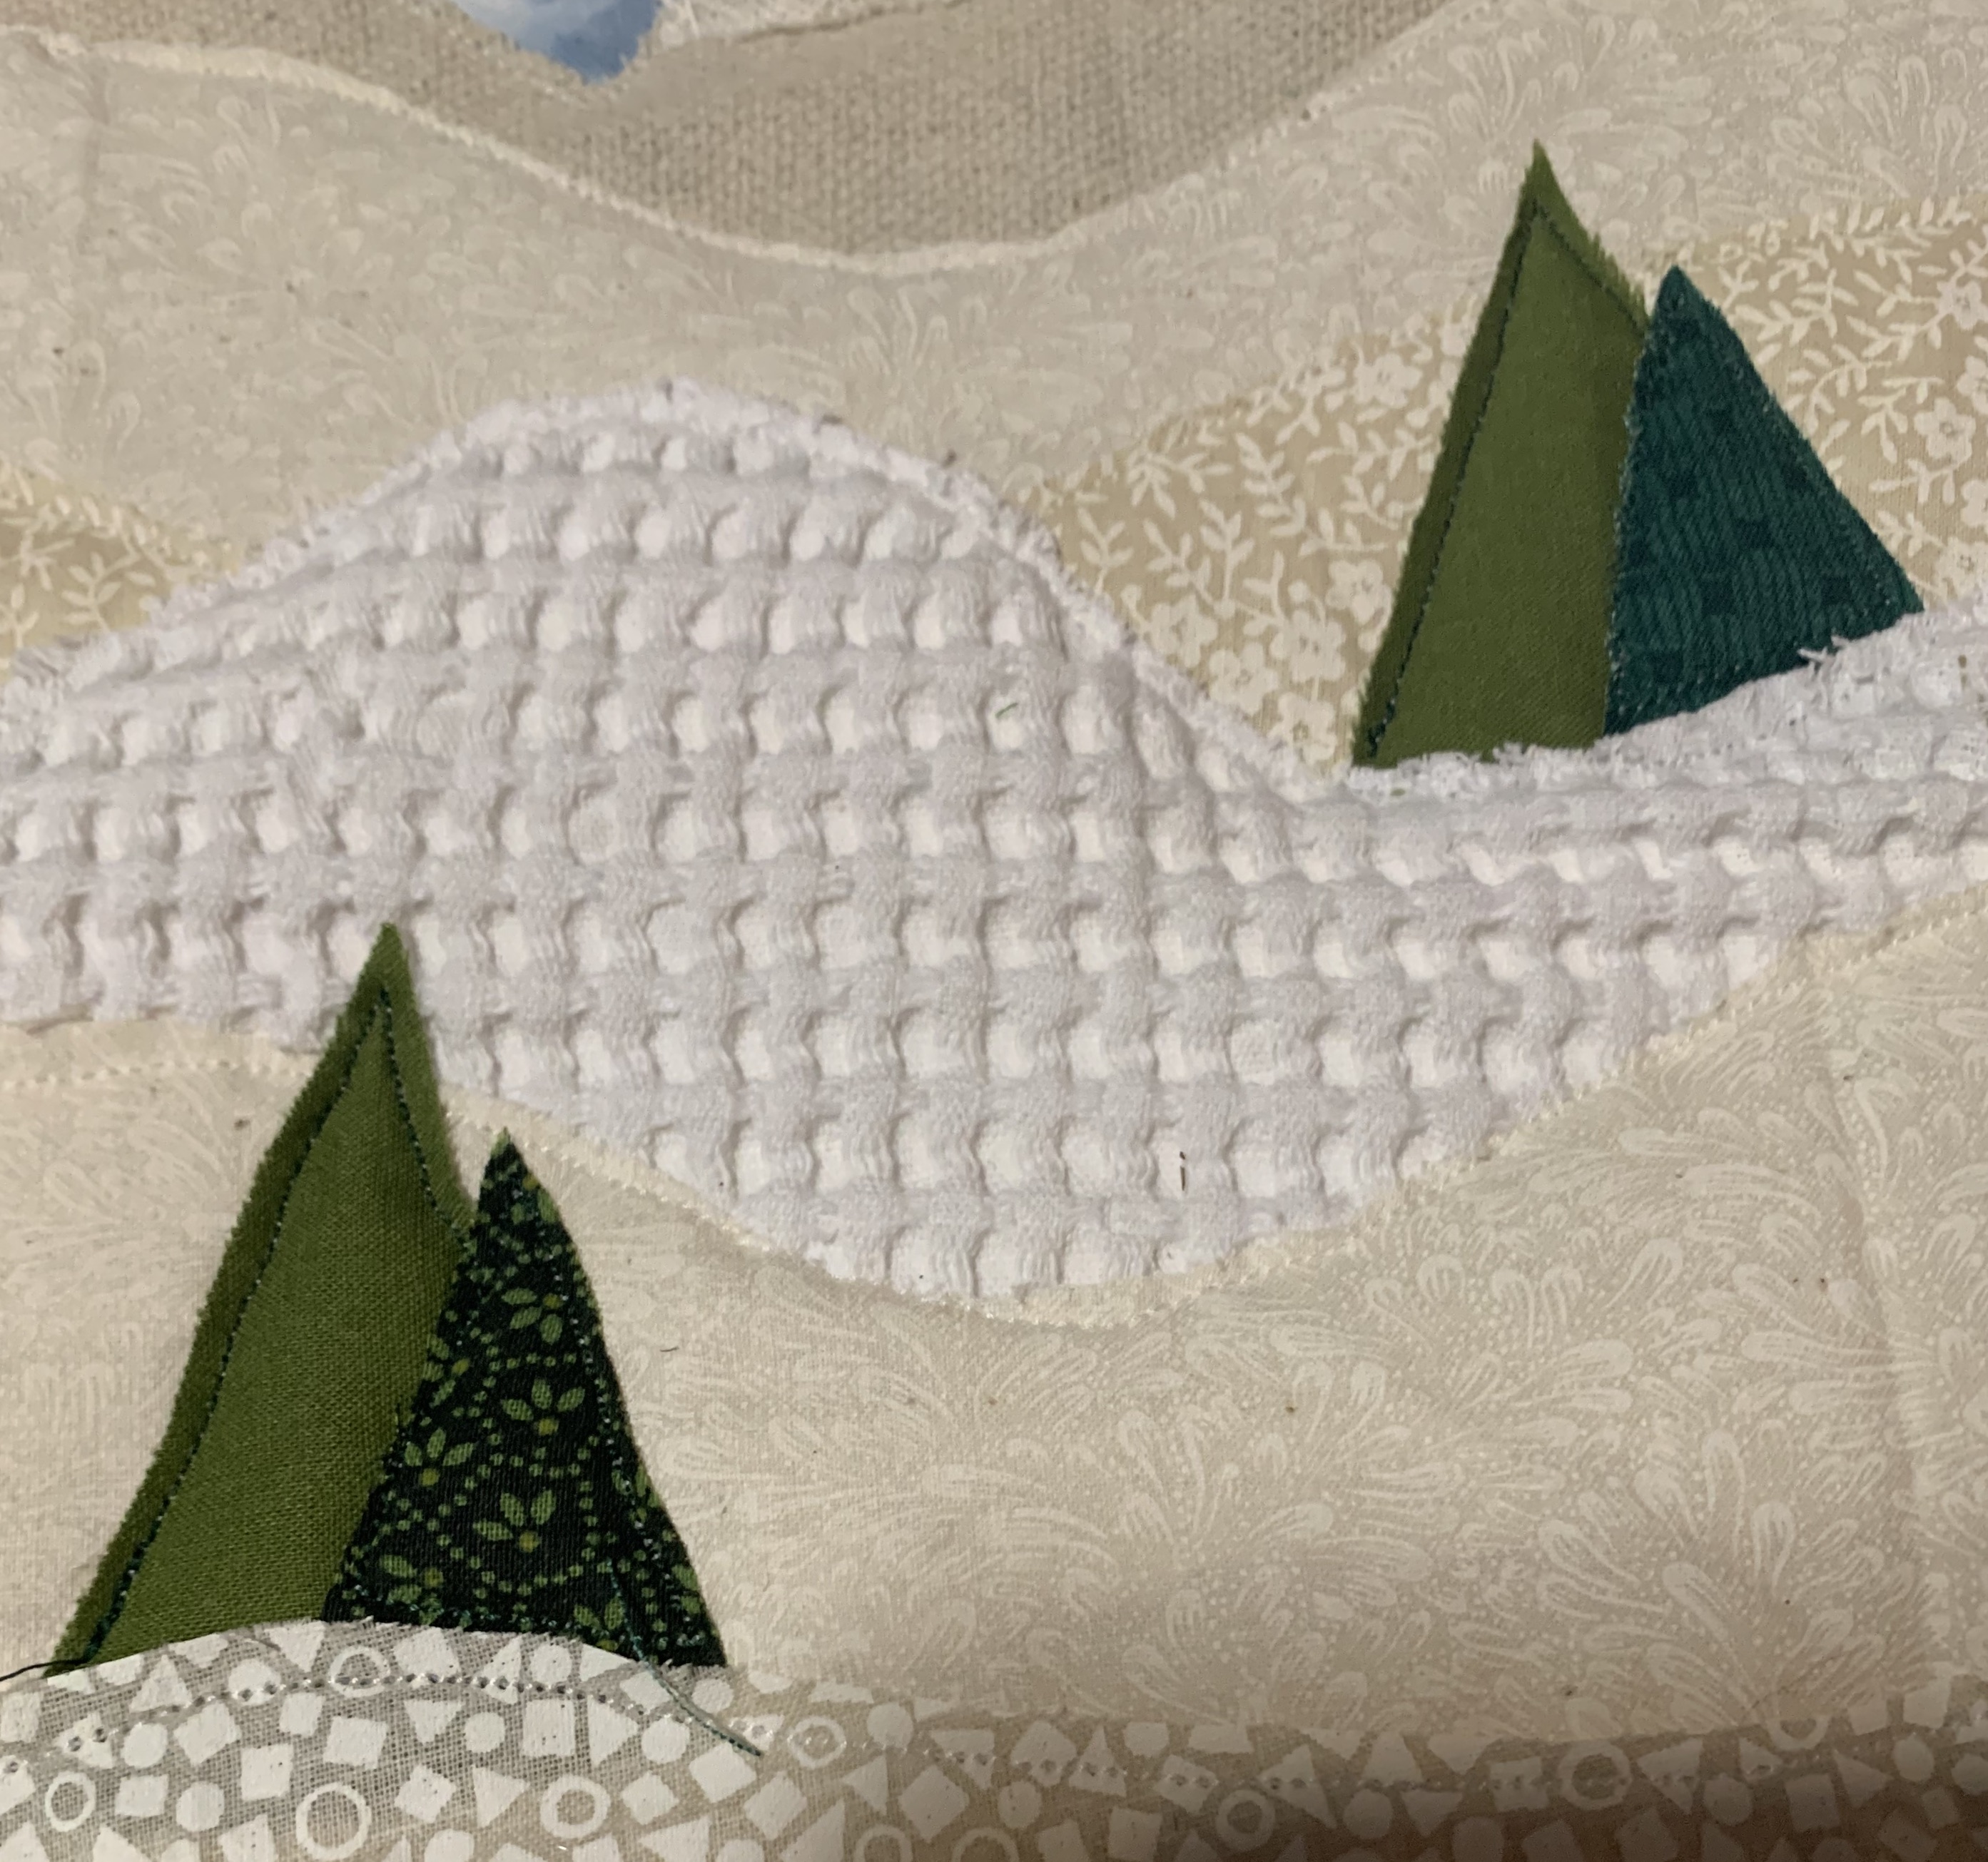
Then begin cutting and layering your mountains, hills and snow.
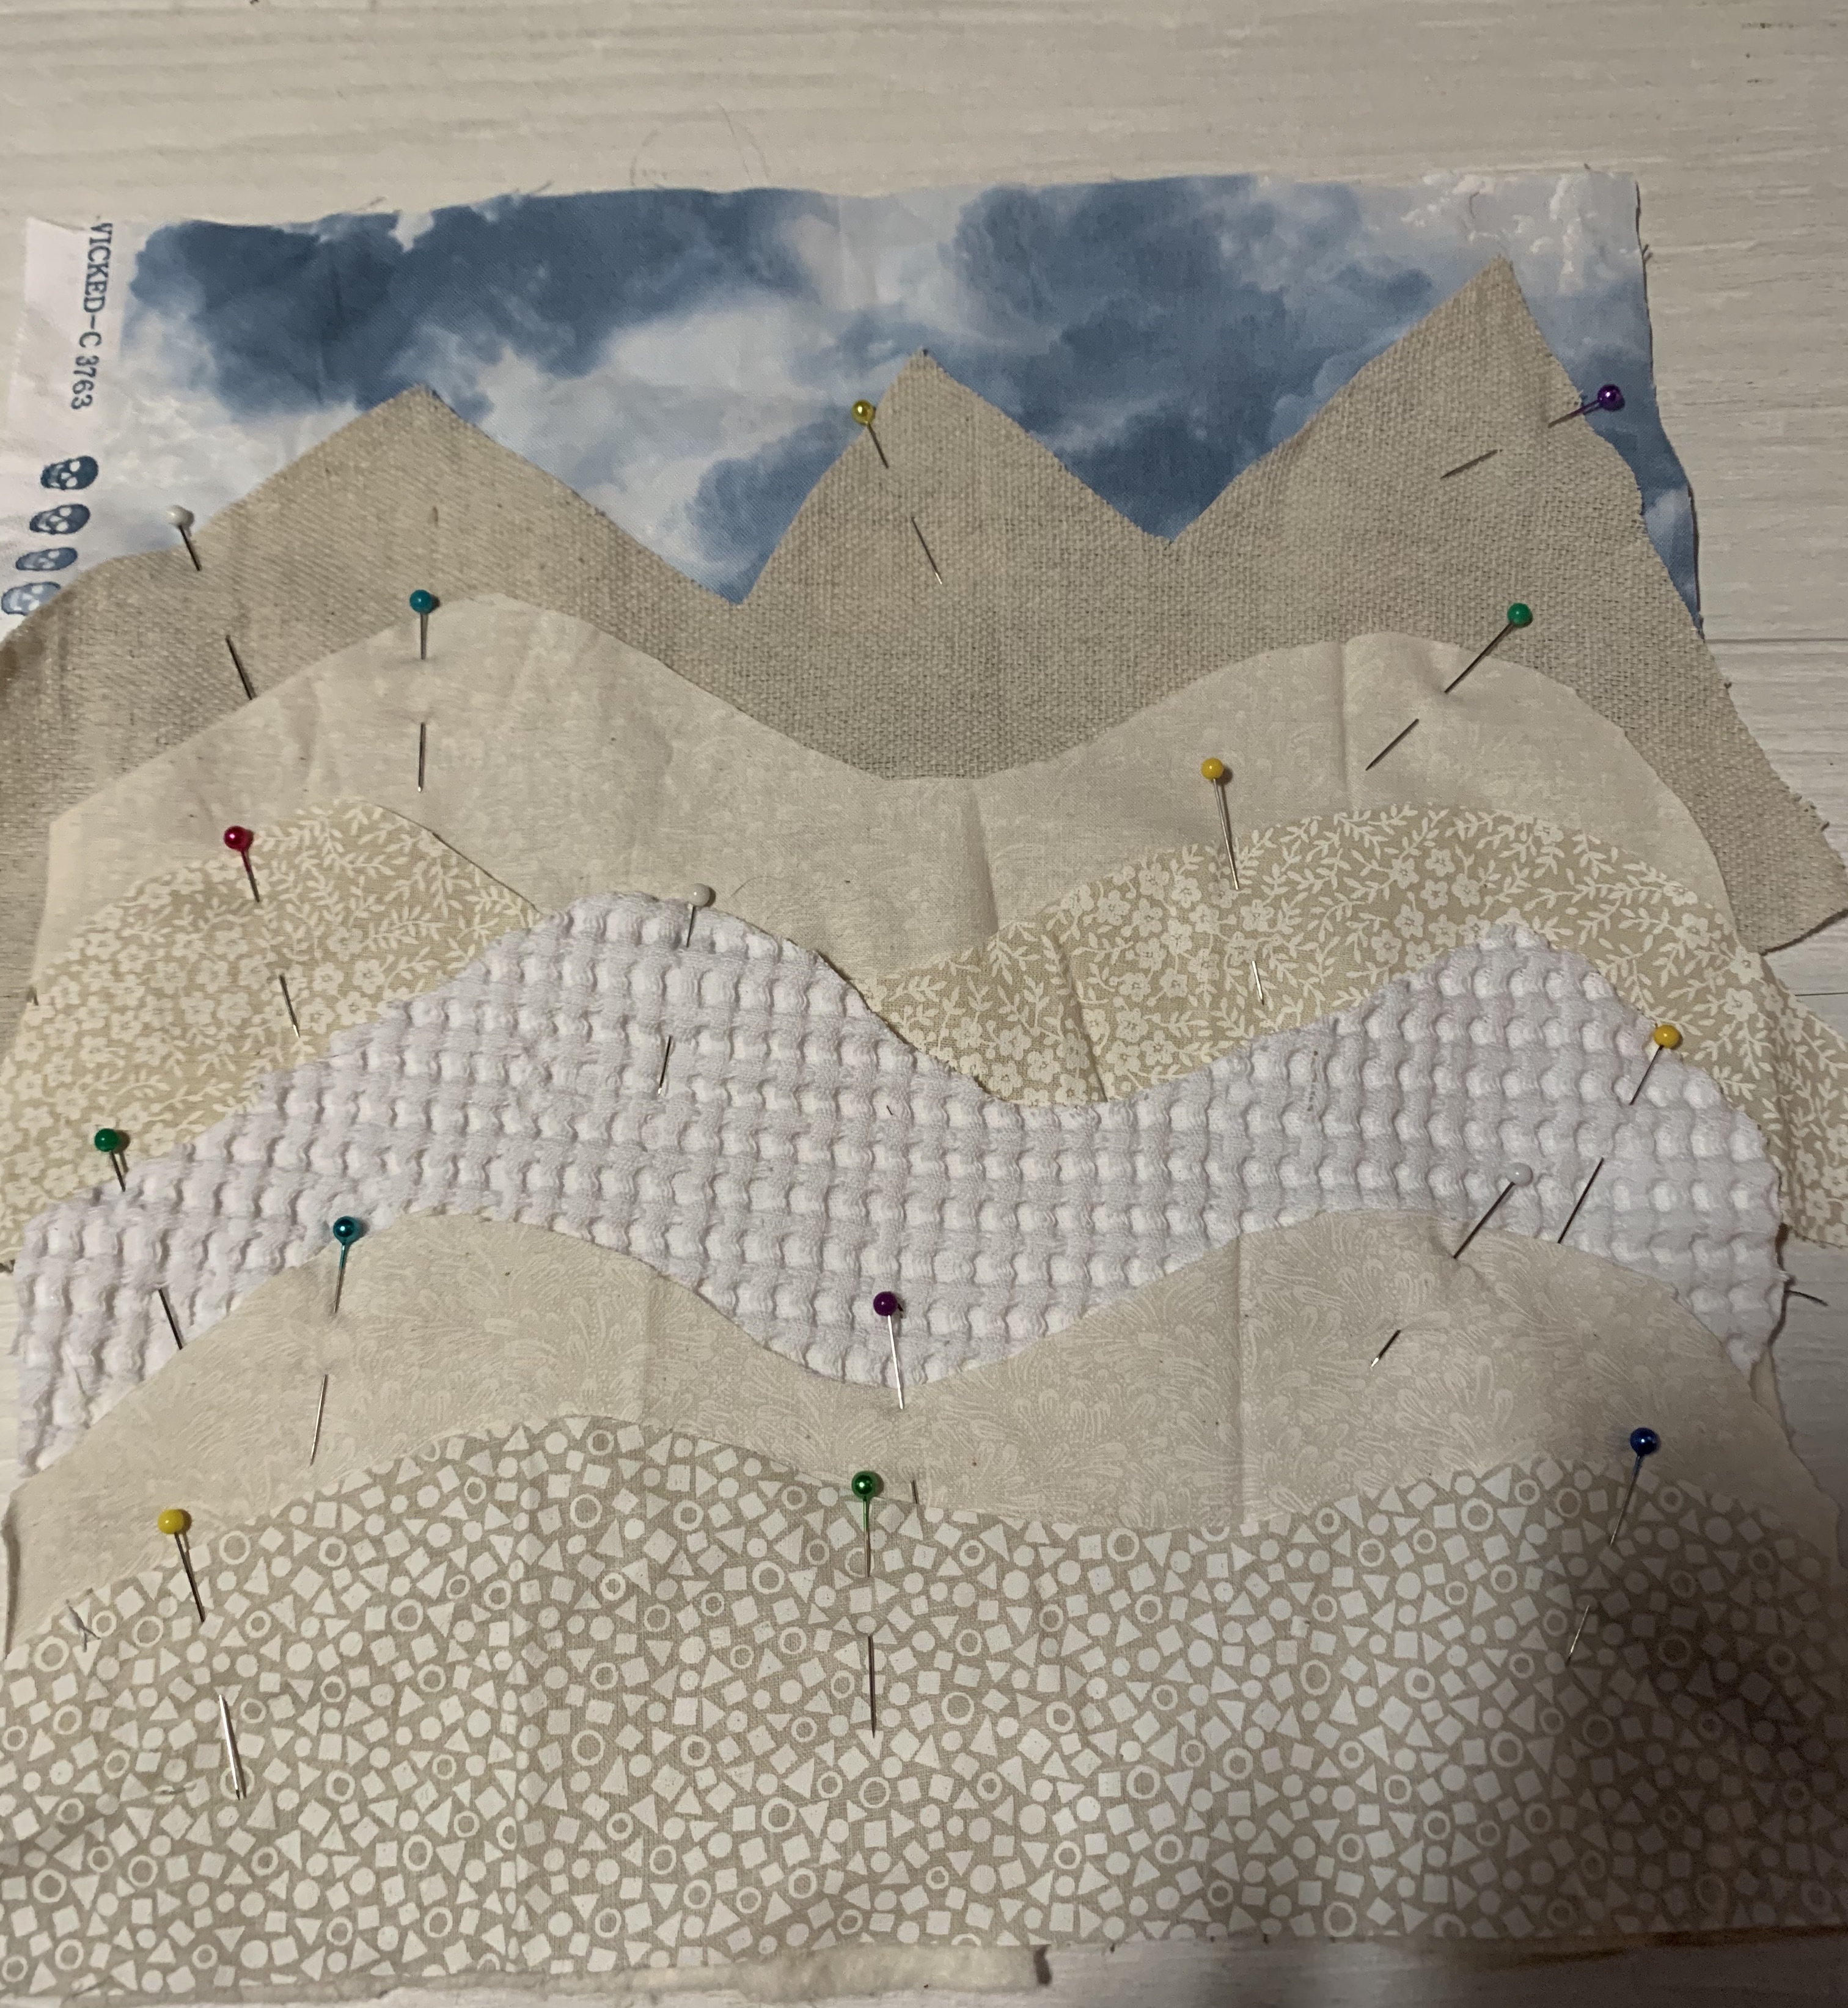
Once you like the way your mountains, snow, and hills look you can begin to cut out and add more detailed pieces like pine trees, lakes, snow caps for the mountains etc…
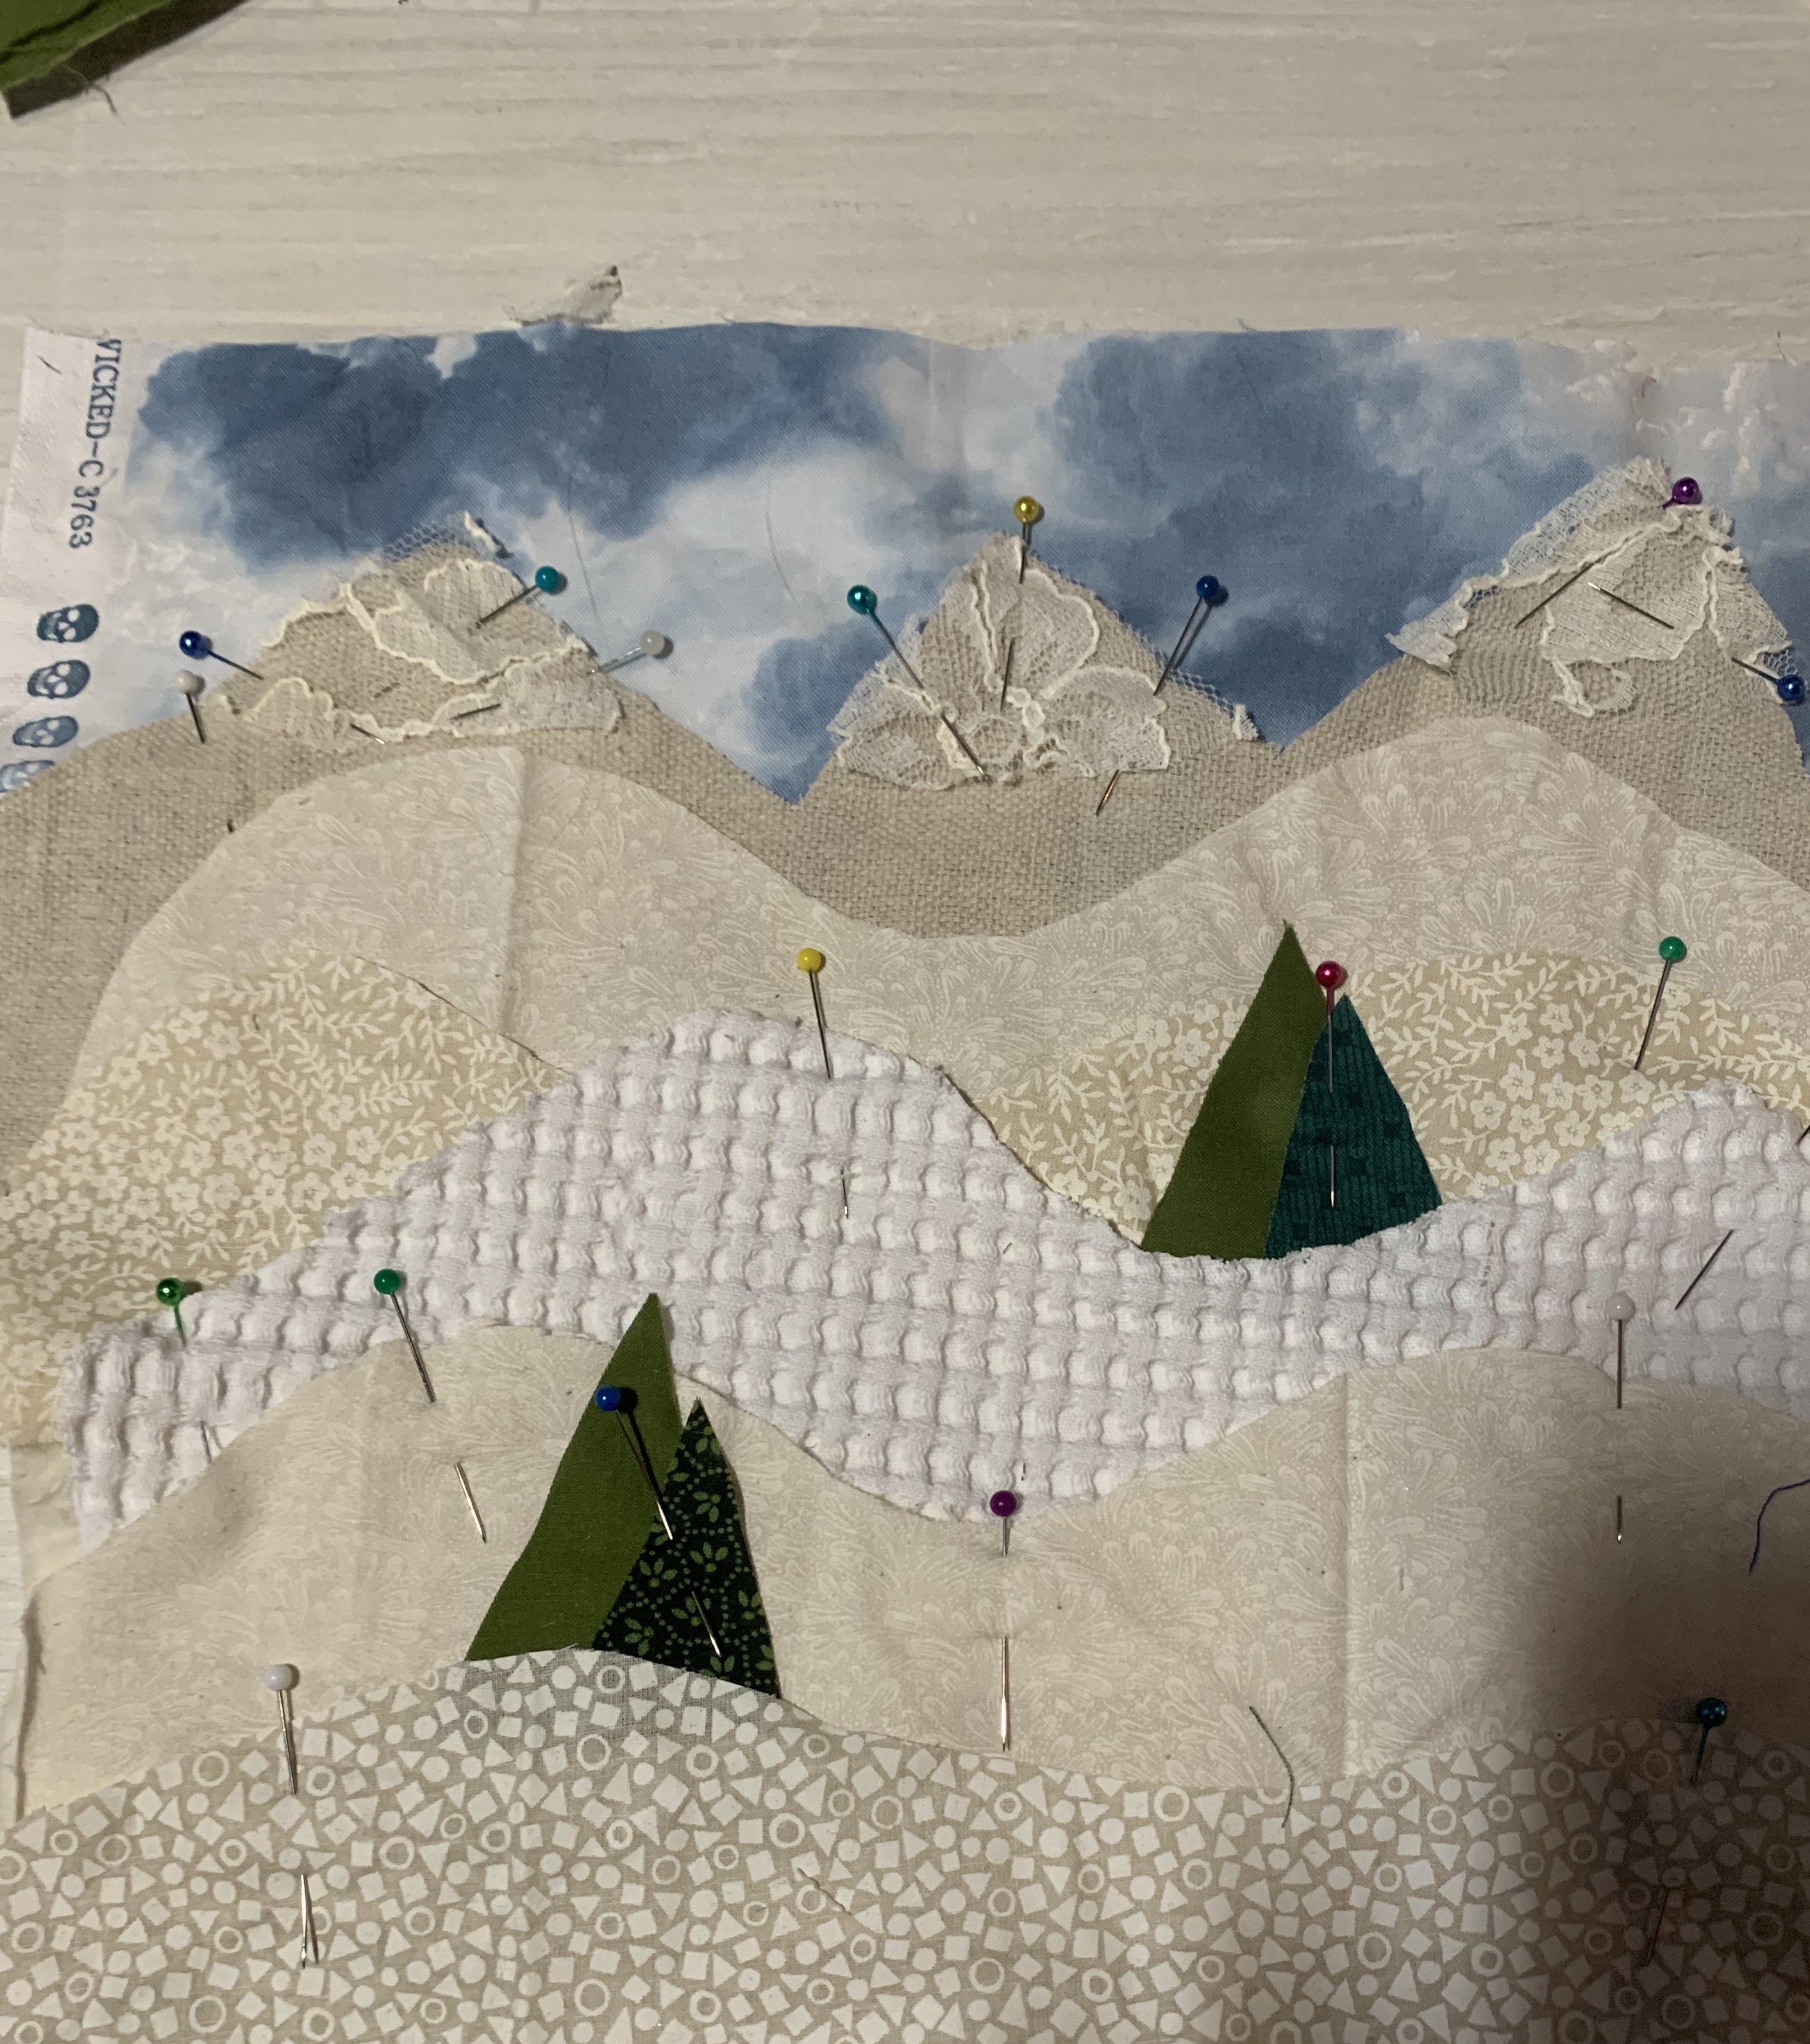
Once you are happy with your layout, begin sewing the layers on to the base. You can hand sew a running stitch or machine sew the layers on. I used several different stitches and techniques for my fabric art. If you prefer a clean edged look you can turn under all your raw edges 1/4″ before sewing them. In doing so, you will not have any raw edges on your fabric art piece. However, for this project, I adore the raw edge look. All of our students kept their edges raw and sew either a straight stitch, zig-zag stitch, or a decorative stitch to hold the landscape pieces in place.
Last, turn your fabric art into a pillow or frame it or stretch it over a canvas.


Leave a Reply