
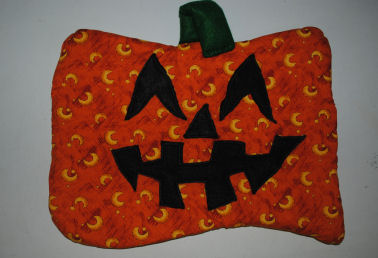
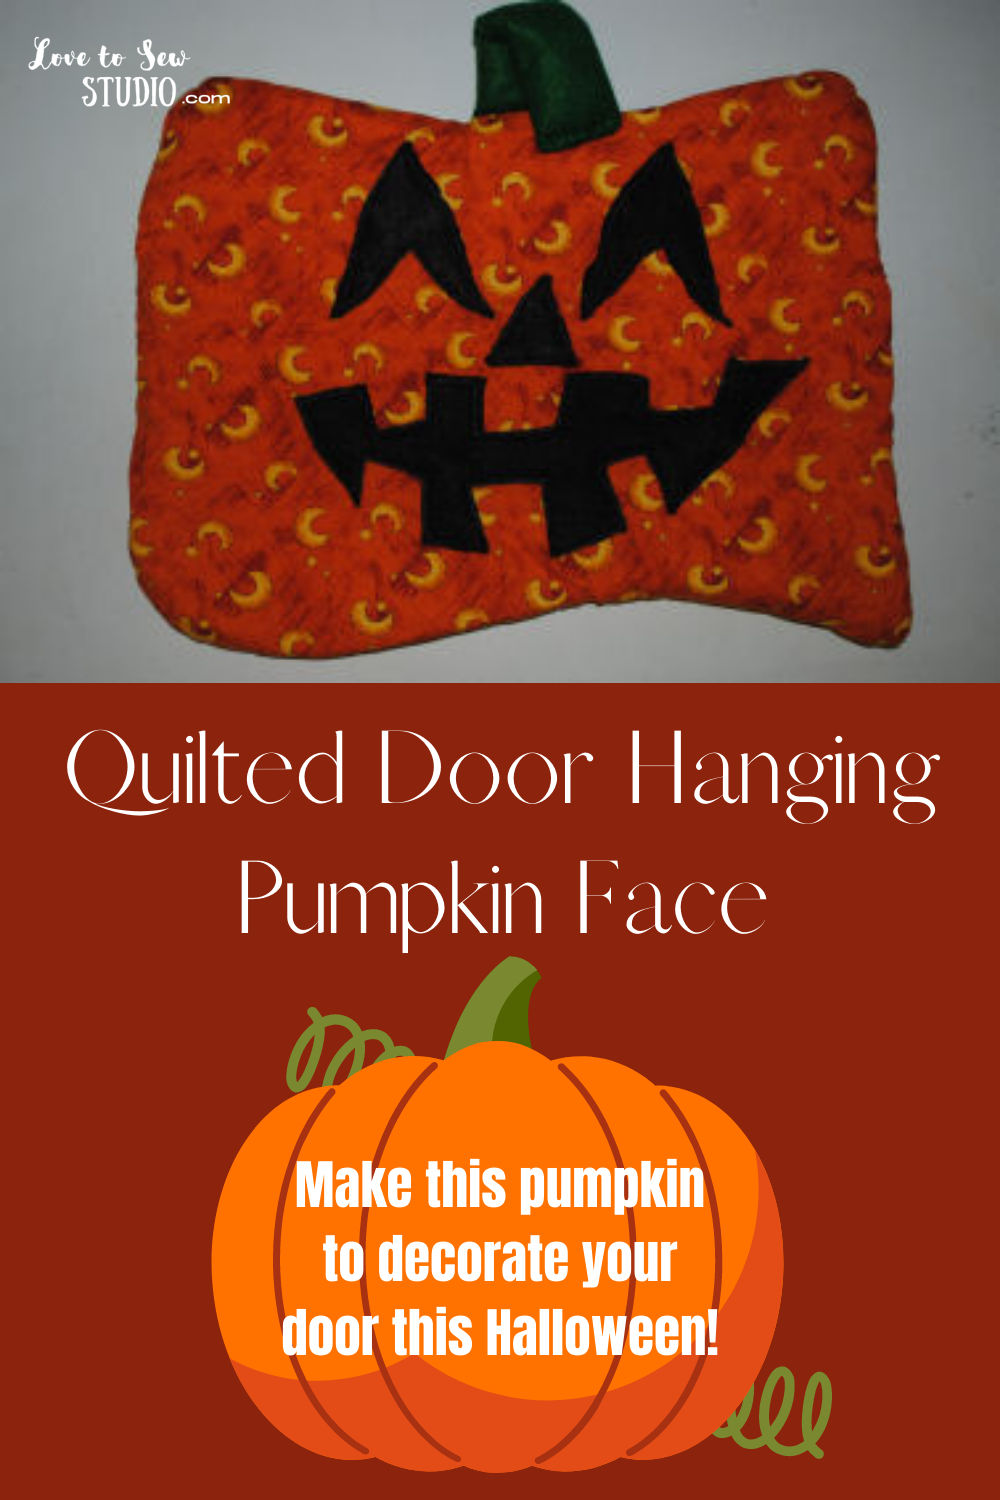
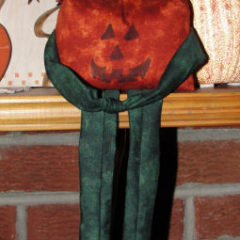
Here’s a cute Jack-O-Lantern Quilted Wall Hanging that is easy to sew and perfect for your front door to invite guest during Halloween!
This post contains affiliate links. You can read my full disclosure HERE.
I LOVED MAKING THIS QUILTED PUMPKIN FACE AND I’M SURE YOU WILL TOO! HERE IS WHAT YOU WILL NEED TO MAKE IT:
- Two 18″x18″ orange fabric for pumpkin face
- One or two layers of 18″x18″ cotton quilt batting
- One 6″x6″ piece of green felt for stem
- Enough black felt for 2 eyes, nose, and mouth
- Basic sewing needs
Quilted Door Hanging Pumpkin Face – Step 1
Once you have the fabric for the pumpkin you can leave it square shaped or cut curves at the top and bottom like I did to make it look more like a pumpkin as shown in the photo. Make sure if you cut curves, you cut through both front and back of pumpkin face (with the fabrics ugly or wrong sides together) and through the quilt batting too, all at the same time.
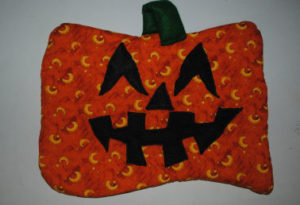
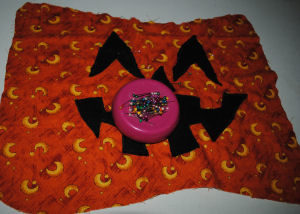
Cut out the eyes, nose, and mouth the way you would like them to look. This is just like carving a pumpkin so be creative! Pin the eyes, nose, and mouth onto the PRETTY SIDE of ONE of the pumpkin fabric pieces.
Stitch on the black felt around each eye, nose, and mouth to hold in place.
Quilted Door Hanging Pumpkin Face – Step 2
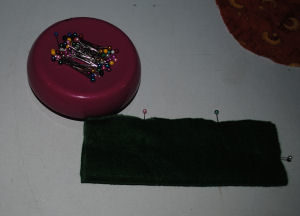
Fold the stem in half pretty sides together and stitch one long side and one short side using the pressure foot as your guide. Turn pretty side out and gently poke corners. Stuff with very little quilt batting. (Like maybe 2 layers.)
Quilted Door Hanging Pumpkin Face – Step 3
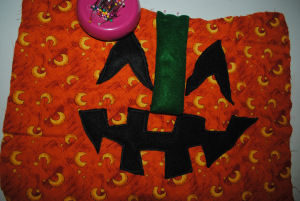
Place the green stem down at the top center of the pumpkin face and stitch in place as shown.
Quilted Door Hanging Pumpkin Face – Step 4
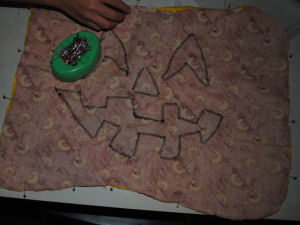
Place the pumpkin face front and back pieces together. Make sure the stem stays down. (It will come up after the front and back have been sewn together). Place the two pumpkin face layers on top of one or two layers of quilt batting. (One or two layers of quilt batting is up to you on how thick you want the quilt to be. I used two layers for mine). Pin through all layers. Leave a 4″ opening on one side.
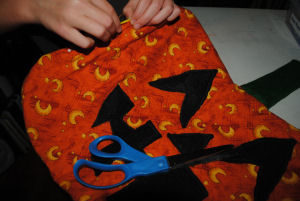
Stitch around the pumpkin using the pressure foot as your guide and going through all layers of fabric and quilt batting. Don’t forget to the leave the opening.
Trim seams and clip curves if needed.
Quilted Door Hanging Pumpkin Face – Step 5
Turn the pumpkin face craft pretty side out and gently poke out corners with a pencil.
Hand stitch the opening closed.
Quilted Door Hanging Pumpkin Face – Step 6
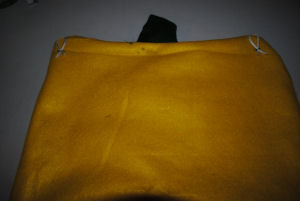
To make hanging your pumpkin face Jack-O-Lantern easier you can add ribbon to each side of the back at the top.
Quilted Door Hanging Pumpkin Face – Step 7
Here is a close-up of the attached ribbon to make hanging your pumpkin face craft easier.
Quilted Door Hanging Pumpkin Face – Step 8
Finishing Touches:
Now you need to quilt your pumpkin face wall hanging. Stitch through all the layers on the edge of the black felt around the eyes, nose, and mouth of the pumpkin face.
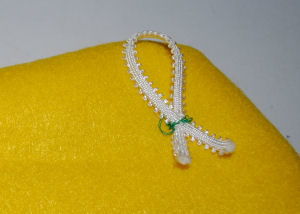
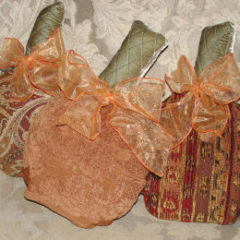
Add a bow and leaves on the pumpkin face craft if desired. (see photos below)
If you would like a bent green stem as shown, hand tack the green stem down in place.
Send us a photo of your finished project, we’d love to see it!
Marvelous! You now have a smiling pumpkin to adorn your house with during the Halloween season!

PIN IT FOR LATER


Leave a Reply