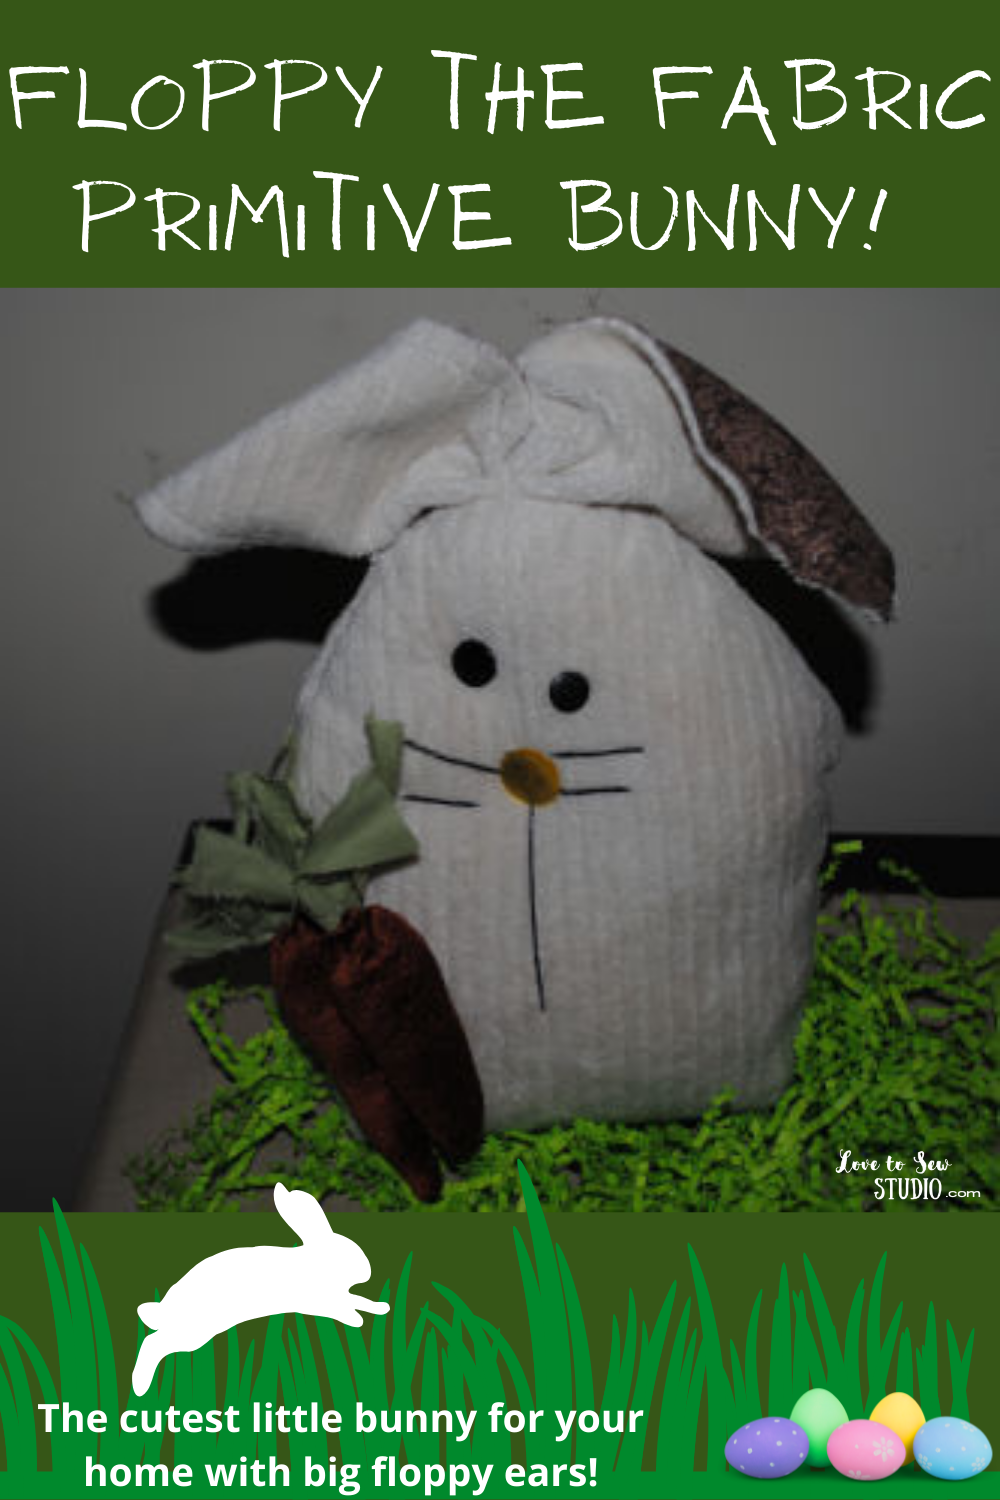
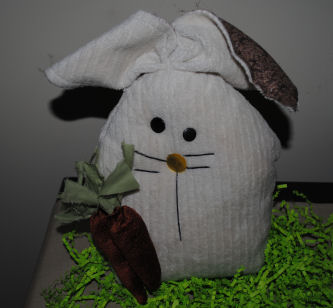
Meet Floppy the Bunny! He is a bunny that I quickly designed and put together to add to my handmade bunny collection. He was such a hit, each of my daughters wanted their own Floppy Bunny to put in their homes at Easter time!
This post contains affiliate links. You can read my full disclosure HERE.
MAKE A ADORABLE FLOPPY EARED EASTER BUNNY DECORATION! HERE IS WHAT WE USED TO MAKE IT:
- some type of soft cream colored fabric like chenille
- brown print fabric for opposite side of ears
- orange fabric and green fabric for carrots
- 2 black buttons for eyes
- 1 orange button for nose
- black embroidery floss
- craft stuffing or fiberfill
- beans, rice, sand, or stuffing beads or pellets
- basic sewing supplies
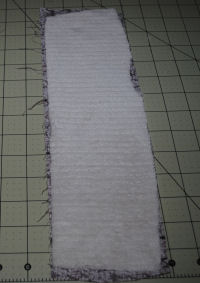
Floppy the Bunny – Step 1
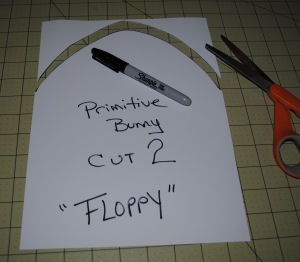
Let’s make the pattern for Floppy! Using a piece of computer paper trim the top part as shown. There the pattern is done, it’s that easy! (I use this type of pattern for a lot of my bunnies.) Name your pattern and write “cut 2”. Always keep your patterns so you can use them over and over again.
Floppy the Bunny – Step 2

Next pin and cut out two of your pattern from the cream fabric.
Floppy the Bunny – Step 3
Now let’s make the bunny ears. Cut 14″X4″ piece of cream fabric and brown fabric.
Floppy the Bunny – Step 4
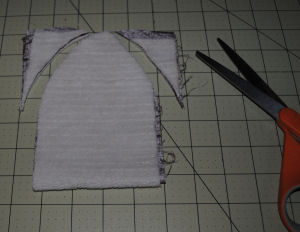
Fold them in half and cut the top as shown.
Floppy the Bunny – Step 5

Place the fabrics pretty side out and pin around the outer edges. Sew along the edge around the ears using the pressure foot as your guide. We want the raw edges to show on our bunny’s ear to make him look more primitive.
Floppy the Bunny – Step 6
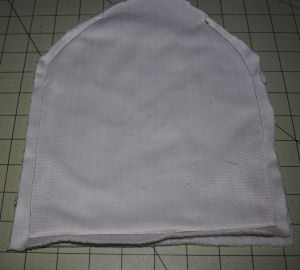
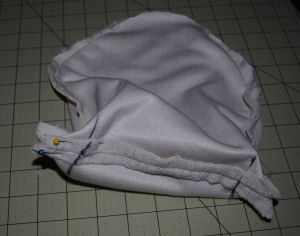
Next place the bunny bodies pretty sides together and pin around the outer edges. We will be leaving a hole at the top so that we can turn and stuff him. Sew around the bunny body edges using the pressure foot as your guide. Remember, don’t sew at the top as shown on the photo! That is where we will be turning it and stuffing it.
Floppy the Bunny – Step 7
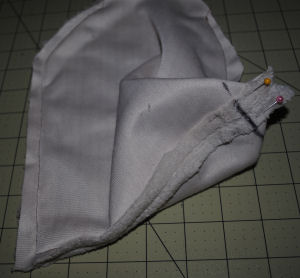
Before we can turn the bunny right side out we have to “box” the corners. Doing this will make your bunny stand up. To do so, pull the corner and match the side seam with the bottom seam as shown. Pin in place. (You can see how the bunny has already begun to have a bigger bottom so that he can stand.) Measure 1.5″ from the tip of the corner and draw a line as shown.
Floppy the Bunny – Step 8
Stitch across the line you drew. Do the same to the other side.
Floppy the Bunny – Step 9
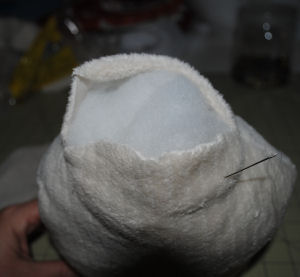
Turn Floppy pretty side out and fill the bottom 1/3 with beans, rice, sawdust, or any kind of filler you’d like to use. Then stuff the rest of Floppy with fiberfill. Hand sew the top opening closed.
Floppy the Bunny – Step 10
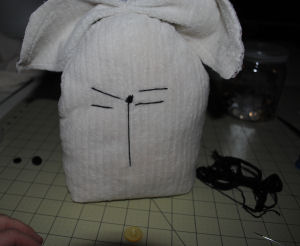
Then sew on the buttons for the eyes and for the nose. Using the embroidery thread sew on whiskers and a long mouth. Pinch and fold the center top of the ears and sew on the top of the head as shown.
Floppy the Bunny – Step 11
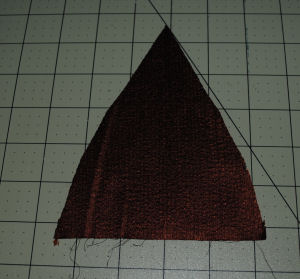
Now Let’s Make the Carrots! Cut a triangle 5″ wide and 6″ high from the orange fabric as shown. (It is one triangle per carrot. I used two carrots for my bunny, but you can make as little or as many as you want.)
Floppy the Bunny – Step 12
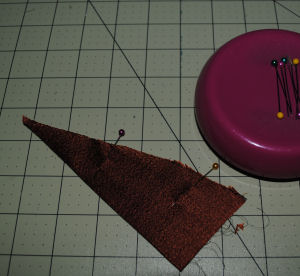
Fold triangle in half and pin as shown. Stitch down the side.
Floppy the Bunny – Step 13

Turn the carrot pretty side out and stuff. Rip green fabric for the carrot top. We want the “ripped look” for our primitive bunny Floppy.
Floppy the Bunny – Step 14
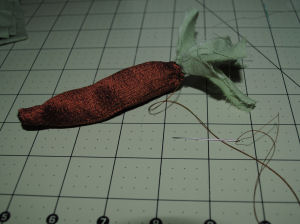
Shove the green fabric stems in the top of the carrot and hand sew the carrot closed making sure you are catching the thread onto some of the green stems.
Floppy the Bunny – Step 15
Finally hand sew or glue the carrots onto drake. Using real blush make-up give him a little blush on his cheeks. Your adorable prim bunny Floppy is finished! If you want him to be more primitive looking, just rub some cinnamon onto his body.
You now have an adorably cute bunny to decorate your home with this Easter.

PIN IT FOR LATER


Leave a Reply