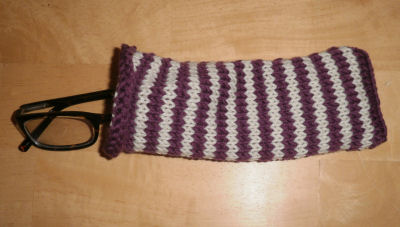
A bookmark is a great project if you’re looking to practice your knitting skills with something you have ready to use in less than an hour. It’s also a chance to try out projects like color changing. You can make a striped bookmark that makes a great gift for bookworms.
This project is done in the seed stitch, which is great for projects that need to be sturdy and flat. The seed stitch is a simple, two row pattern and all you need are your knit and purl stitch skills.
Knit To Sell (or Gift):
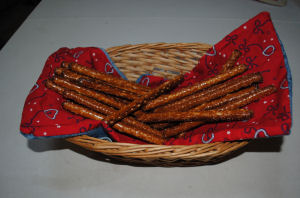
A book mark makes a great “up sell” for your next craft show. Display several in a basket and place them right in front of where everyone will check out and pay for the items they are buying at your booth. They make wonderful stocking stuffers for the Christmas season, and gift toppers for any pretty packaged gift or bag. If you love to knit or crochet as a hobby, Learn how your knitting and crocheting can bring you plenty of profit!

This post contains affiliate links. You can read my full disclosure HERE.
IF YOU LOVE TO READ THIS KNITTED BOOKMARK IS PERFECT FOR YOU! HERE IS WHAT WE USED TO MAKE IT:
- 1 pair of size 7 needles
- 1 skein sportweight yarn, color A
- Optional: 1 or more additional colors if you’re making stripes

Knitted Bookmark – Step 1

First cast on 12 stitches.
Row 1: *K1, P1* Continue in pattern till end of row
Row 2: *P1, K1* Continue in pattern till end of row
You can make your bookmark as long as you like. If you would like to change color, you can do that at any time.
When you get to how long you want your bookmark to be, Bind off.
Trim ends.
Remember to always move the yarn from front to back, or back to front when you go from a knit to a purl or a purl to a knit!
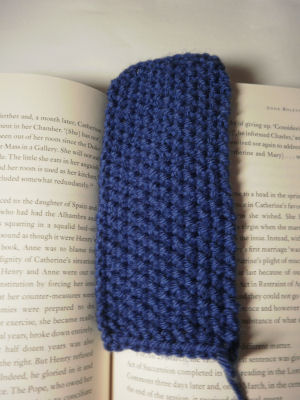
Knitted Bookmark – Step 2
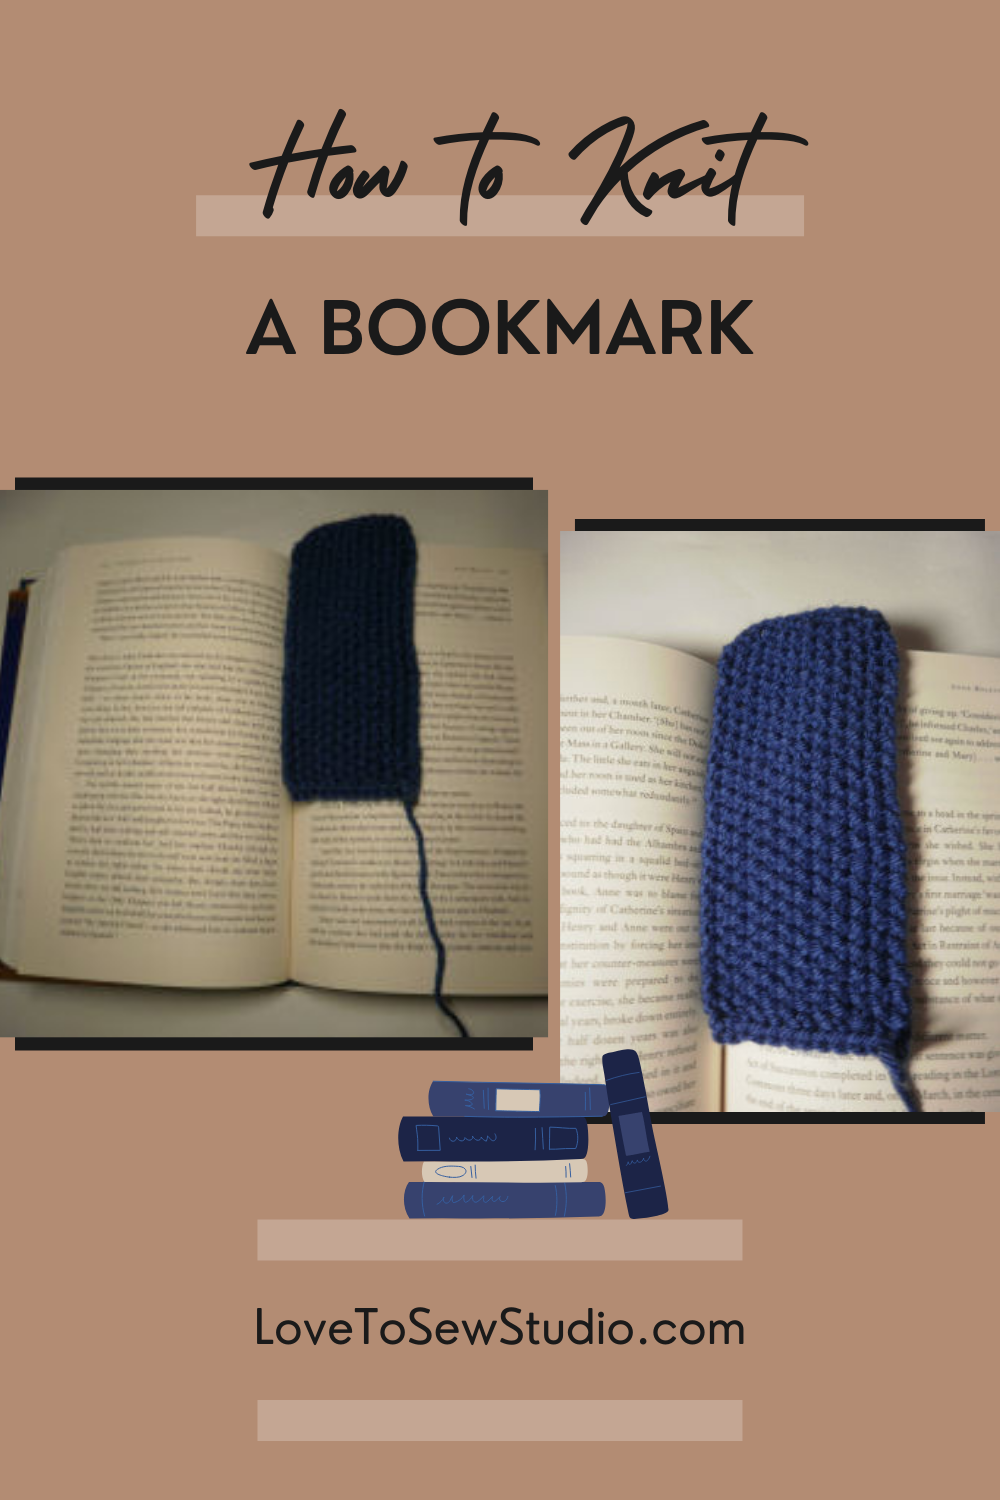
Enjoy reading a book and keeping your spot with your new knitted bookmark!
An Idea… Make bookmarks for your friends in their school colors! (They make great gifts!)
*A note on changing colors: If you are using more than one color, make stripes at least 2 row each. When changing colors, simply feed the yarn from the new color into first stitch of new row. Be sure to keep yarn pulled firmly, especially yarn from the color you’ve just finished using. This easier than you might imagine, but keeping the stitches pulled firmly but not too tightly is the secret.

PIN IT FOR LATER
Leave a Reply