

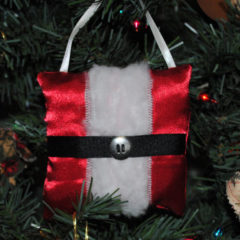
Tis the season to decorate your house with this jolly Christmas writing pillow. This elegant pillow is the perfect present for graphic designer and typography enthusiasts who favor a clean, modern style. Choose your favorite font, and this pillow can easily be made from fabric, heatbond, and stuffing, and can be sewn by hand or machine.

This post contains affiliate links. You can read my full disclosure HERE.
IT’S CHRISTMAS TIME AND THIS CHRISTMAS WRITING PILLOW WILL LOOK GREAT ON ANYTHING! HERE IS WHAT YOU WILL NEED TO MAKE IT:
- scraps of black fabric
- two 14″ x 10″ pieces of beige cotton fabric
- fusible heatbond
- craft stuffing or fiberfill
- basic sewing supplies
Christmas Pillow With Writing – Step 1

The first thing you are going to do is figure out what holiday saying you would like to put onto your pillow. I picked “Silent Night so that is the example I will be using. Type the words “Silent Night” in an elegant font of our choice on a word document. (The font pictured here is Harrington. Other favorites I use for projects like this are, Lucida Calligraphy, Lucida Blackletter, Lucida Handwriting, and Brush Script.) The letters should be large and relatively thick, and take up most of the page when viewed in landscape format.
Christmas Pillow With Writing – Step 2

Next you are going to take a piece of black fabric and iron on wonder-under, also known as heatbond to the wrong side of the fabric.
Christmas Pillow With Writing – Step 3

Then pin the page to the right side of fabric, placing the pins inside the letters. Cut out the letters carefully.
Christmas Pillow With Writing – Step 4

Now you will need to unpin all of your pins from the letters. On each letter, peal off the layer of paper from the heatbond, and place the letters on a rectangular shape of ecru-colored fabric. Arrange them as you would like to see them on your pillow. Remember to leave enough room for your seam allowance. Press on the letters using an iron.
Christmas Pillow With Writing – Step 5

What you want to do now is with the right sides together, pin your Silent Night piece to an equal sized piece of the same fabric. Make sure to leave an opening in the center of one of your sides so that you can turn and stuff your pillow later. We like to leave x’s on each side of the hole using pins. Using the pressure foot as our guide, stitch all the way around, remembering to reinforce the beginning and end with a back-stitch. Trim your seam allowance and clip the corners, being careful not to cut into your stitches.
Christmas Pillow With Writing – Step 6

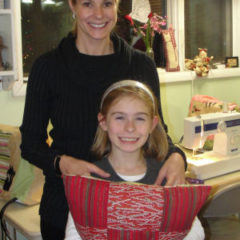
After trimming your seams turn your pillow right sides out. Finally you are going to stuff your pillow and hand sew your opening close.

Your Christmas pillow with writing is now done and ready to decorate your home this holiday season!

PIN IT FOR LATER

Leave a Reply