
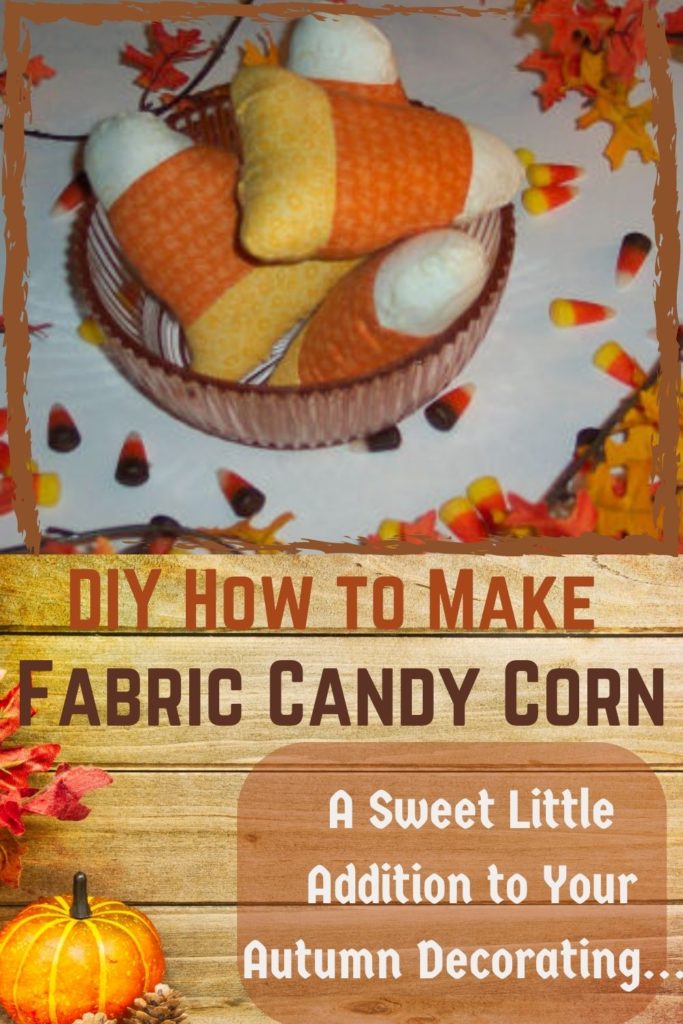
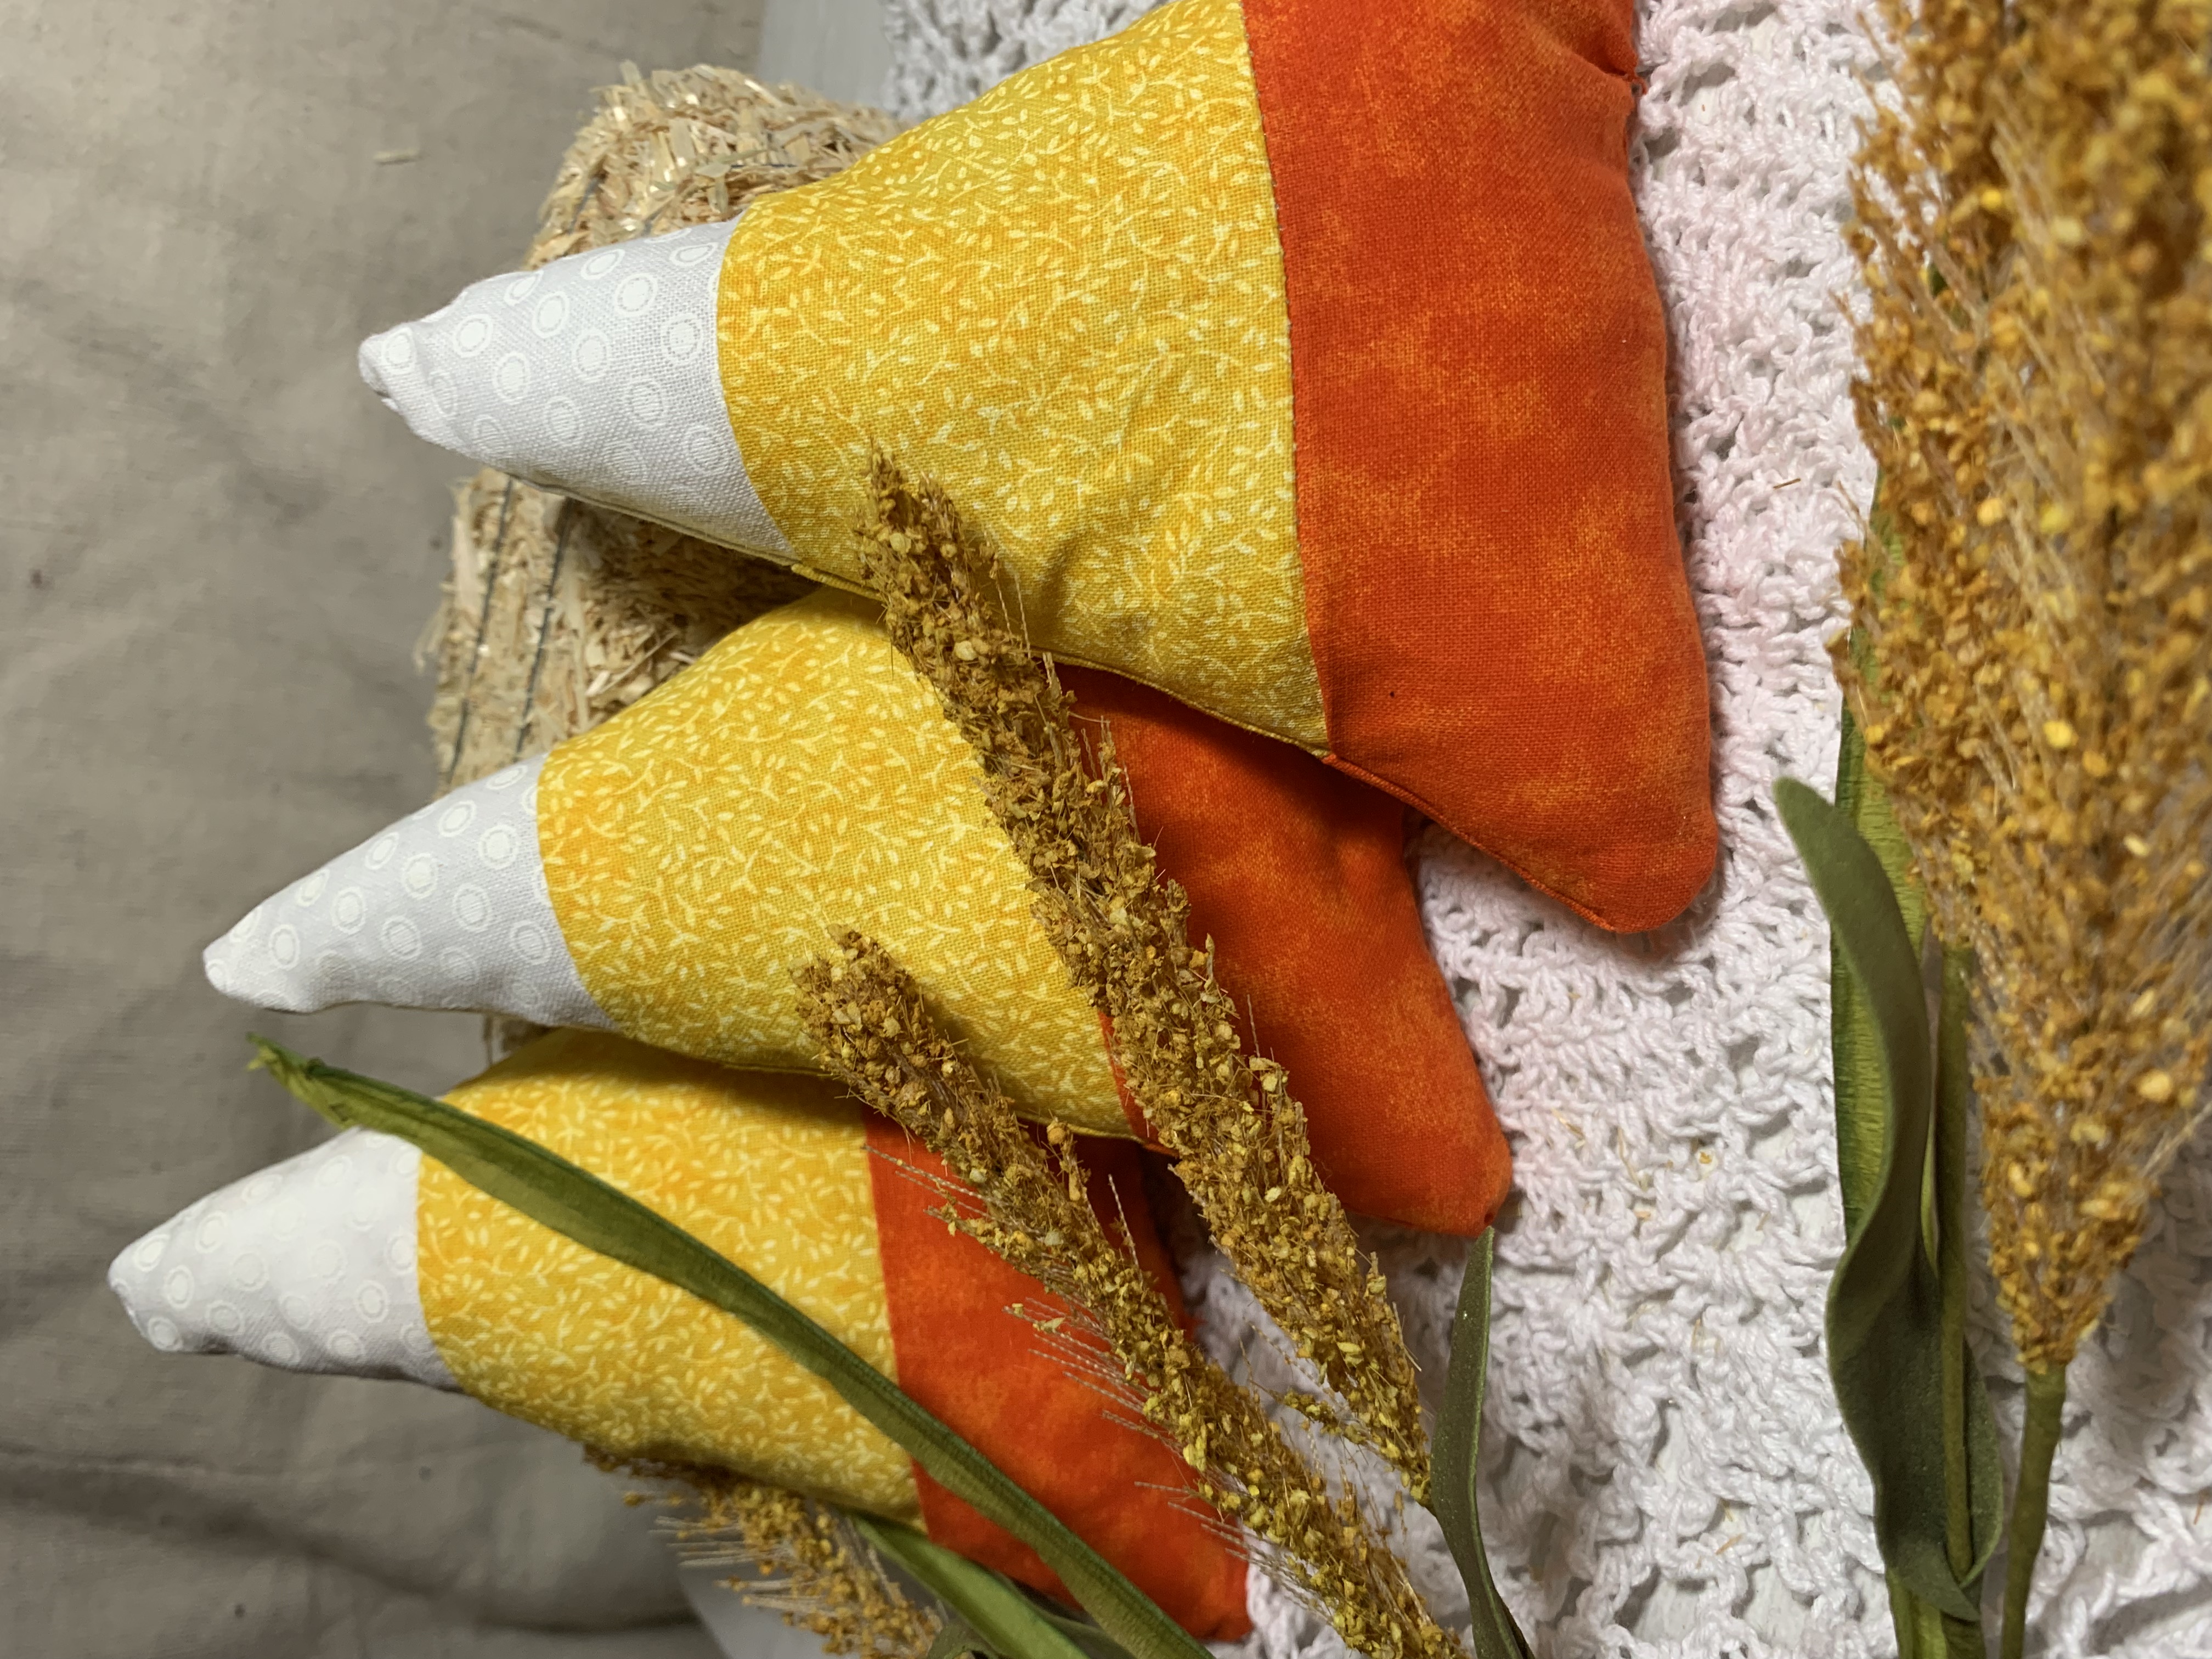
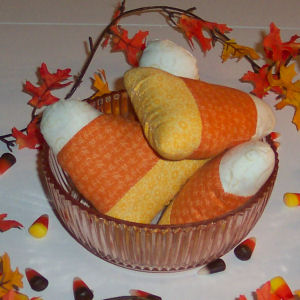
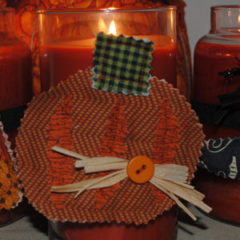
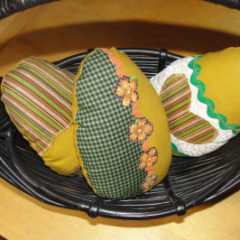
Here’s a sweet little addition you can make for your fall and autumn decorating this year. These charming fabric candy corns are super fast and easy to sew! They will look great in a bowl in your country cottage kitchen surrounded by autumn leaves, as part of a center piece, or simply place them along side some pumpkins from your garden. Looking for more primitive or rustic farmhouse candy corns? Simply buy darker fabrics. Try a rust color print to replace the orange fabric, dark cream to replace the white, and a golden rode tiny print to replace the yellow fabric. And here’s a secret I’ll share. When I go primitive in my decorating or making of crafts (which is most of the time!) I rub cinnamon on them. Not only does that give it a nice brown earth toned color to my prim crafts, it also makes them smell good too!
These sweet little candy corns measure about 5″ x 5.5″, are easy to sew and you can sew them on the sewing machine, or by hand by simply doing a back-stitch. They don’t need much fabric so you can use scraps of fabric, or fat quarters will do just fine too. If you’d like, you can buy a kit from our ETSY shop, as we sell these as a craft Learn to Sew kit with all the supplies except the stuffing.
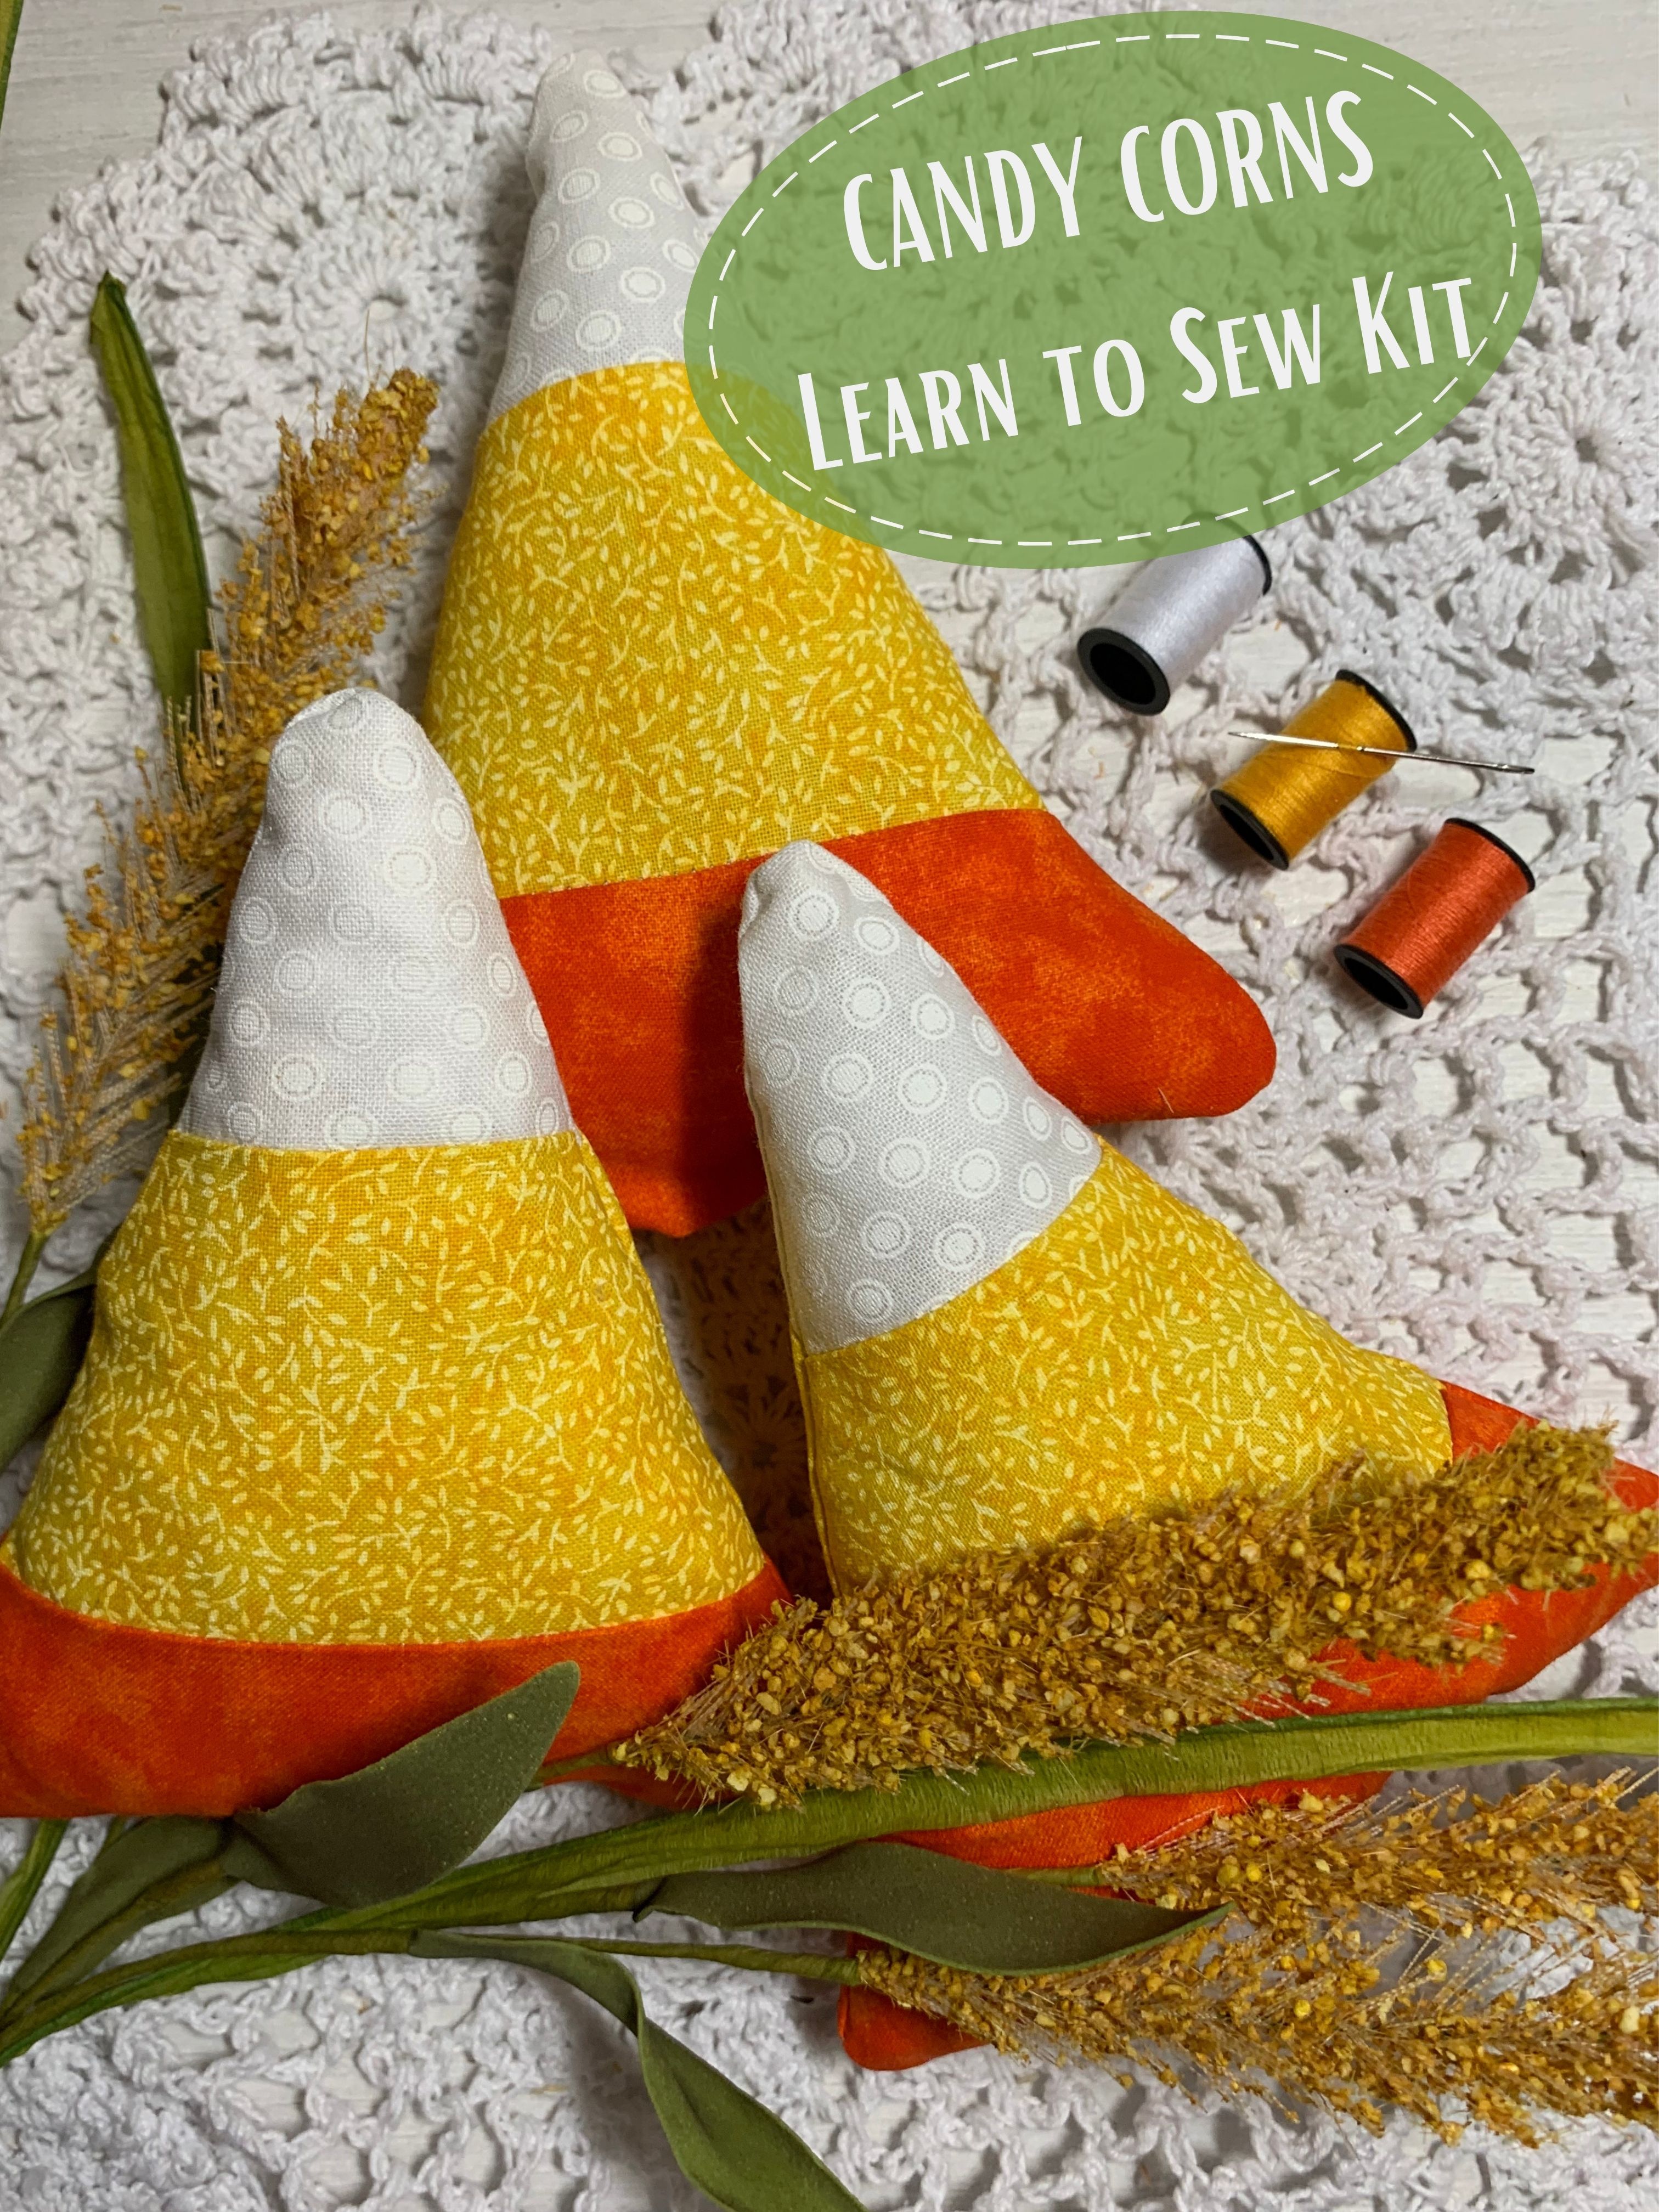
If you’d like to purchase a Candy Corn Sewing Kit click here.
This post contains affiliate links. You can read my full disclosure Here.
THE FABRIC CANDY CORNS ARE A SUPER EASY SEW! HERE ARE THE SUPPLIES WE USED:
- Small pieces of autumn fabrics (orange, yellow & white/cream) or fat quarters
- Craft stuffing or fiberfill
- Basic sewing supplies
You are welcome to use our free Candy Corn Pattern.
FOR EACH CANDY CORN YOU MAKE, YOU WILL NEED TO CUT:
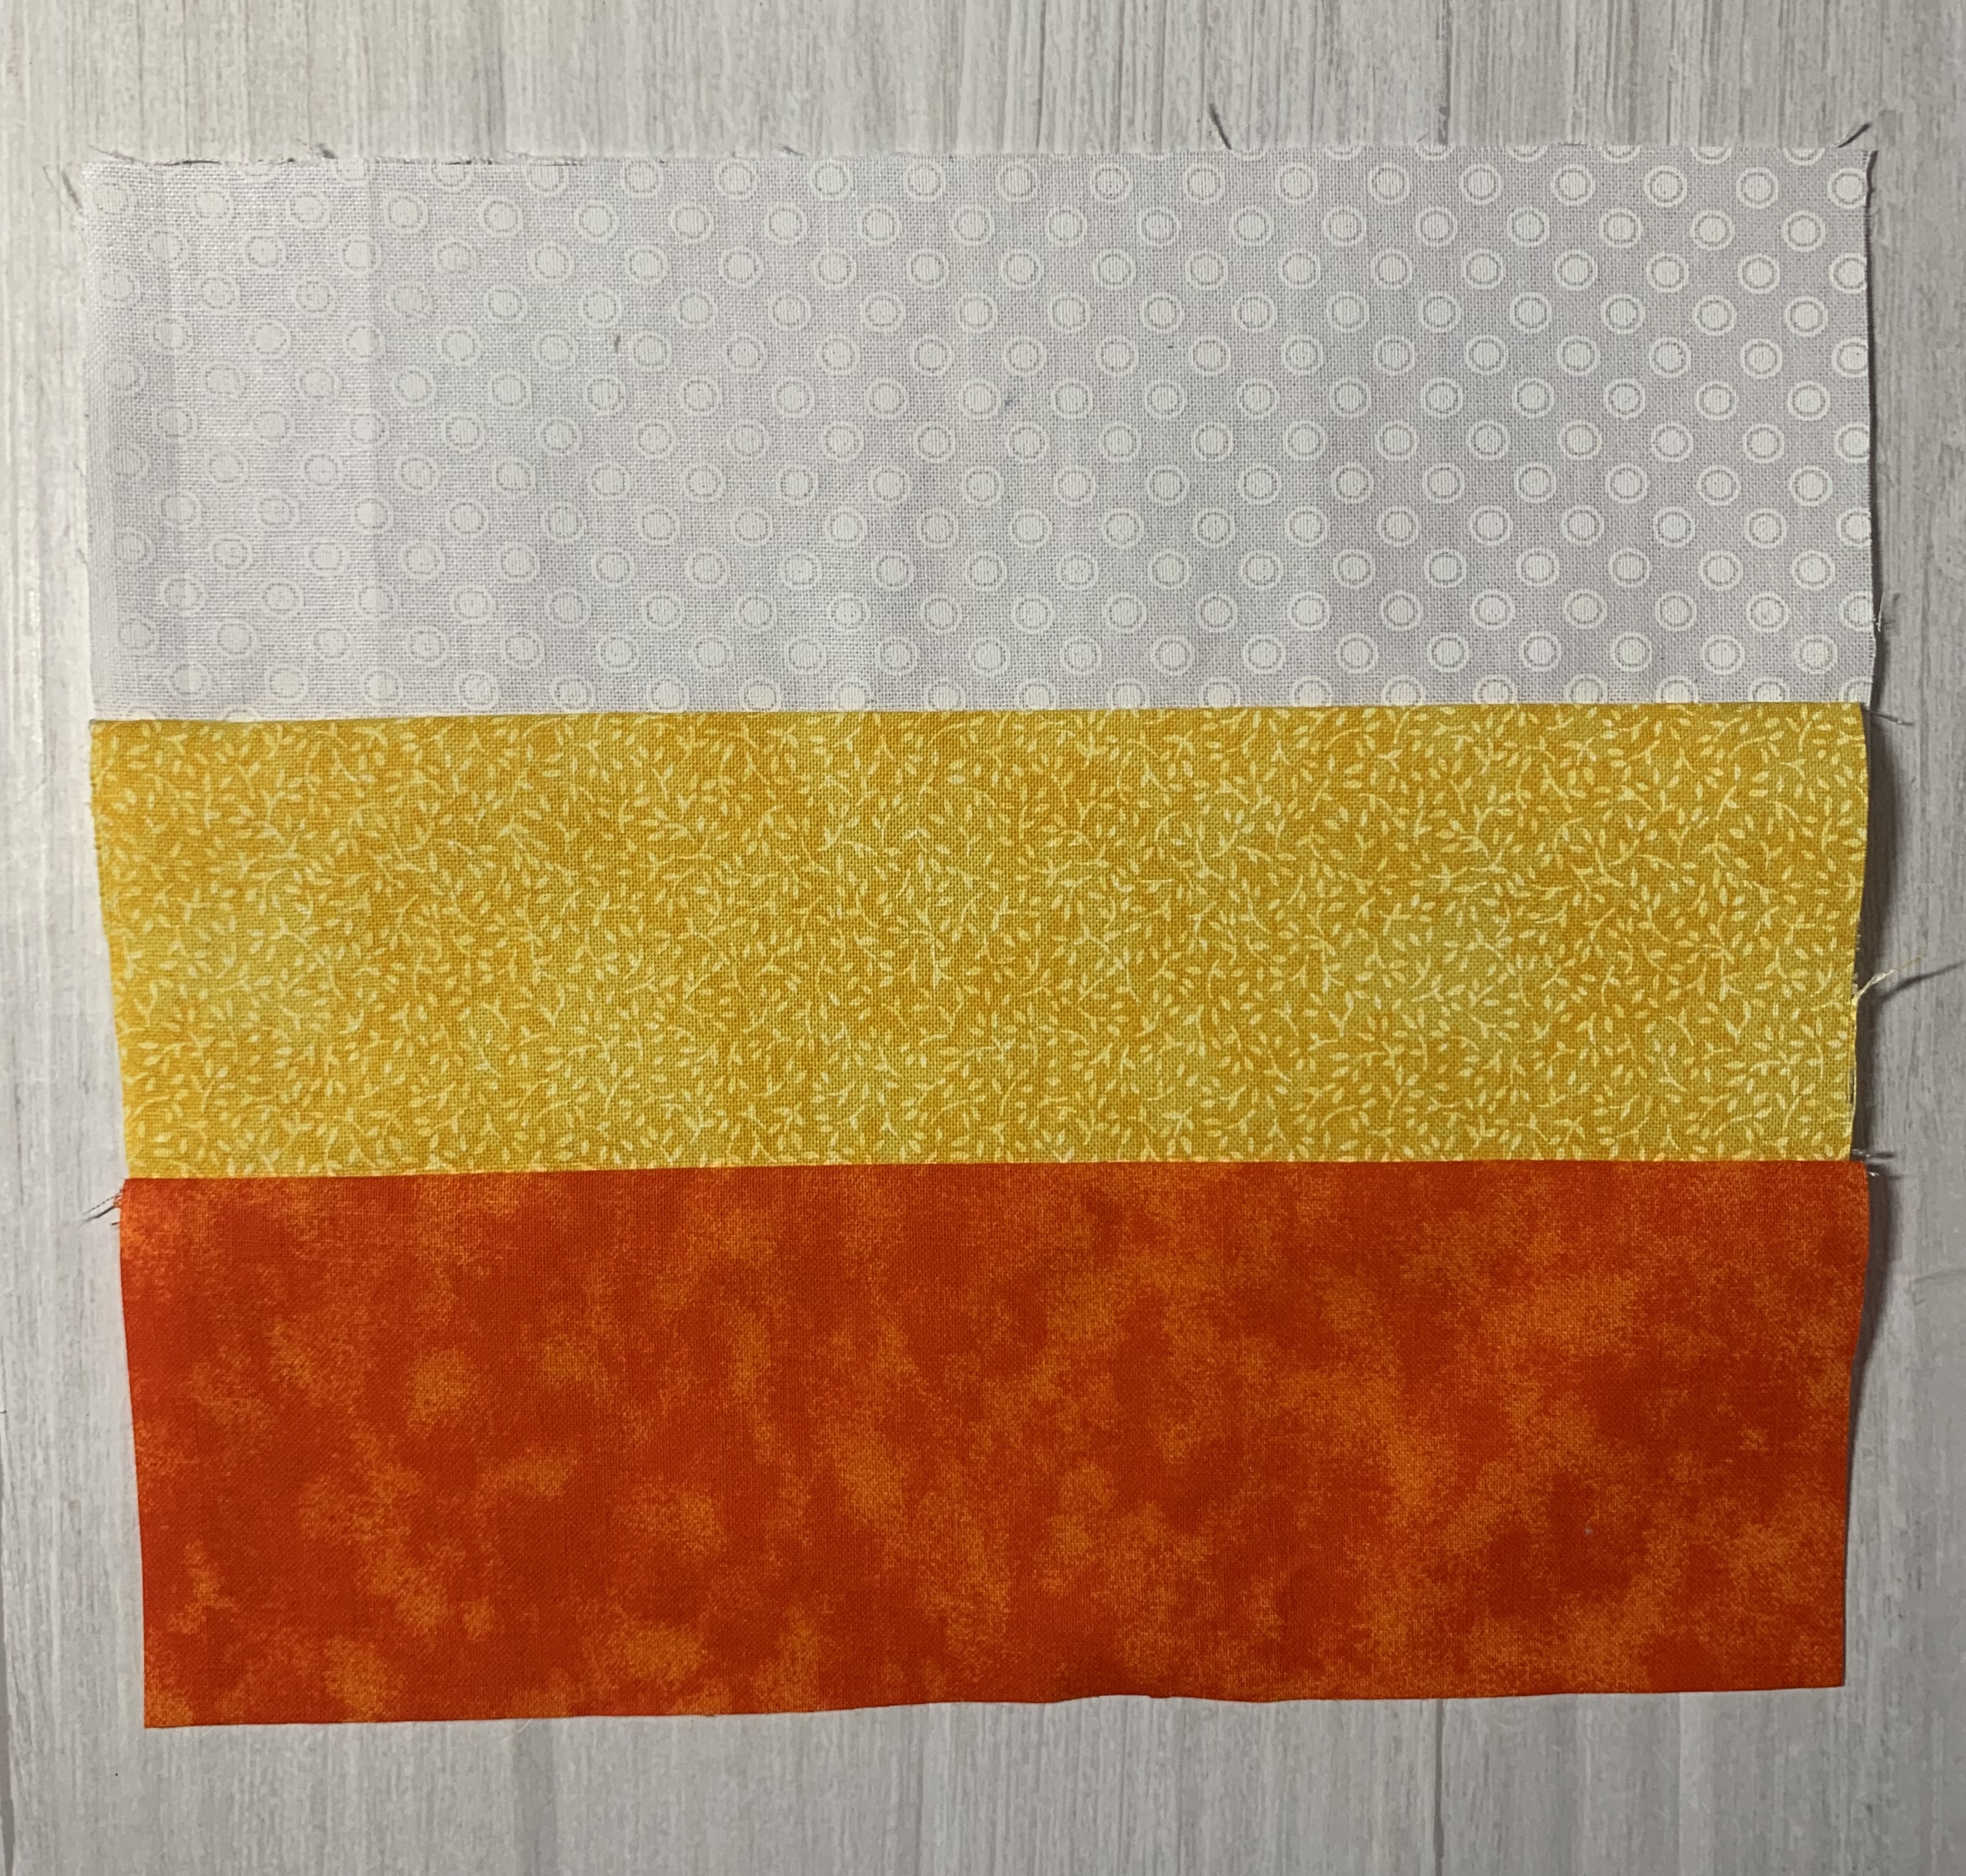
- two 7″ x 3″ strips of white fabric
- two 7″ x 3″ strips of yellow fabric
- two 7″ x 3″ strips of orange fabric
So if you are making a total of three fabric candy corns for your decorating, you will need six strips of each color. If you are making five fabric candy corns, then you will need ten strips of each colors.
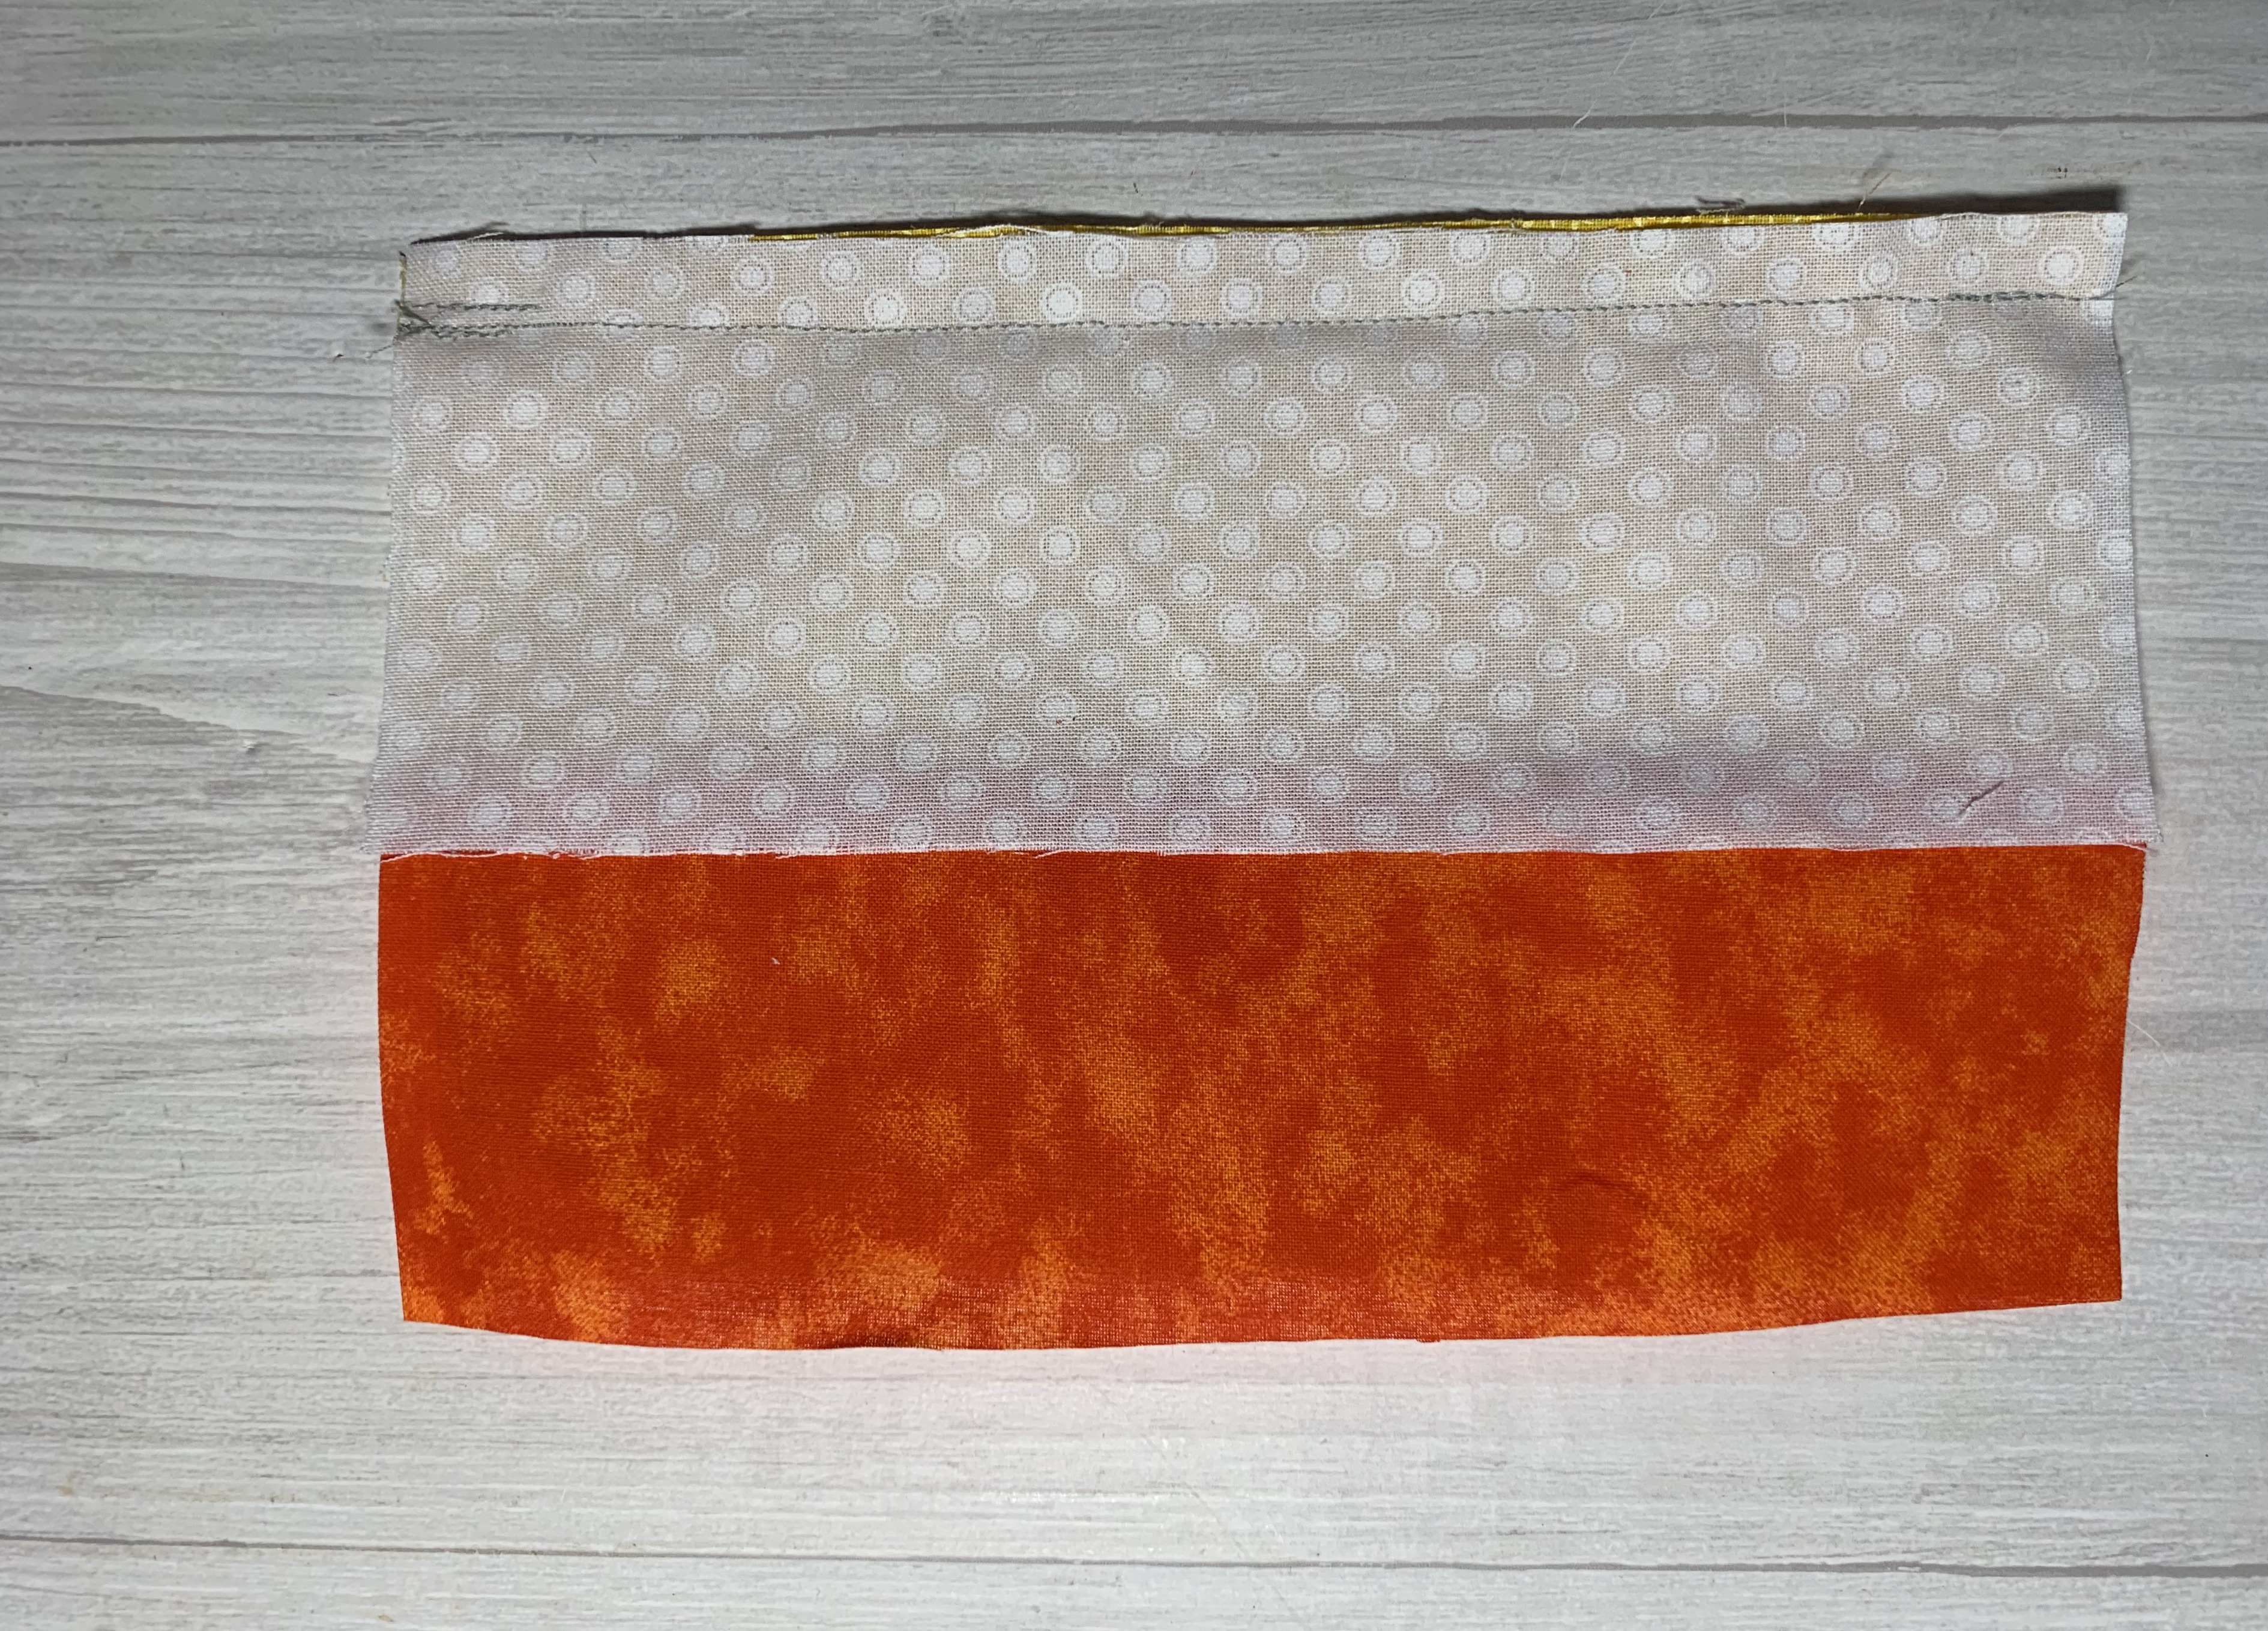
Let’s take a moment and talk about the order of the color on our candy corns. It is much debated (with people who don’t have much of others things to debate about) the order of the colors. I love candy corns and I have been eating them since about age five, so I know for a fact that the order goes white at the top, then orange, then yellow at the bottom. HOWEVER, each time any of my students make candy corns (including one of my instructors who made the ones here that are photographed for our step-by-step instructions), put the yellow in the center. I have noticed that for some odd reason, that is what everyone does automatically. Then I show them a real candy corn. I wonder why the eye and the brain, always wants to put the yellow in the center. I guess we’ll never know.
Anyway, back to the directions…
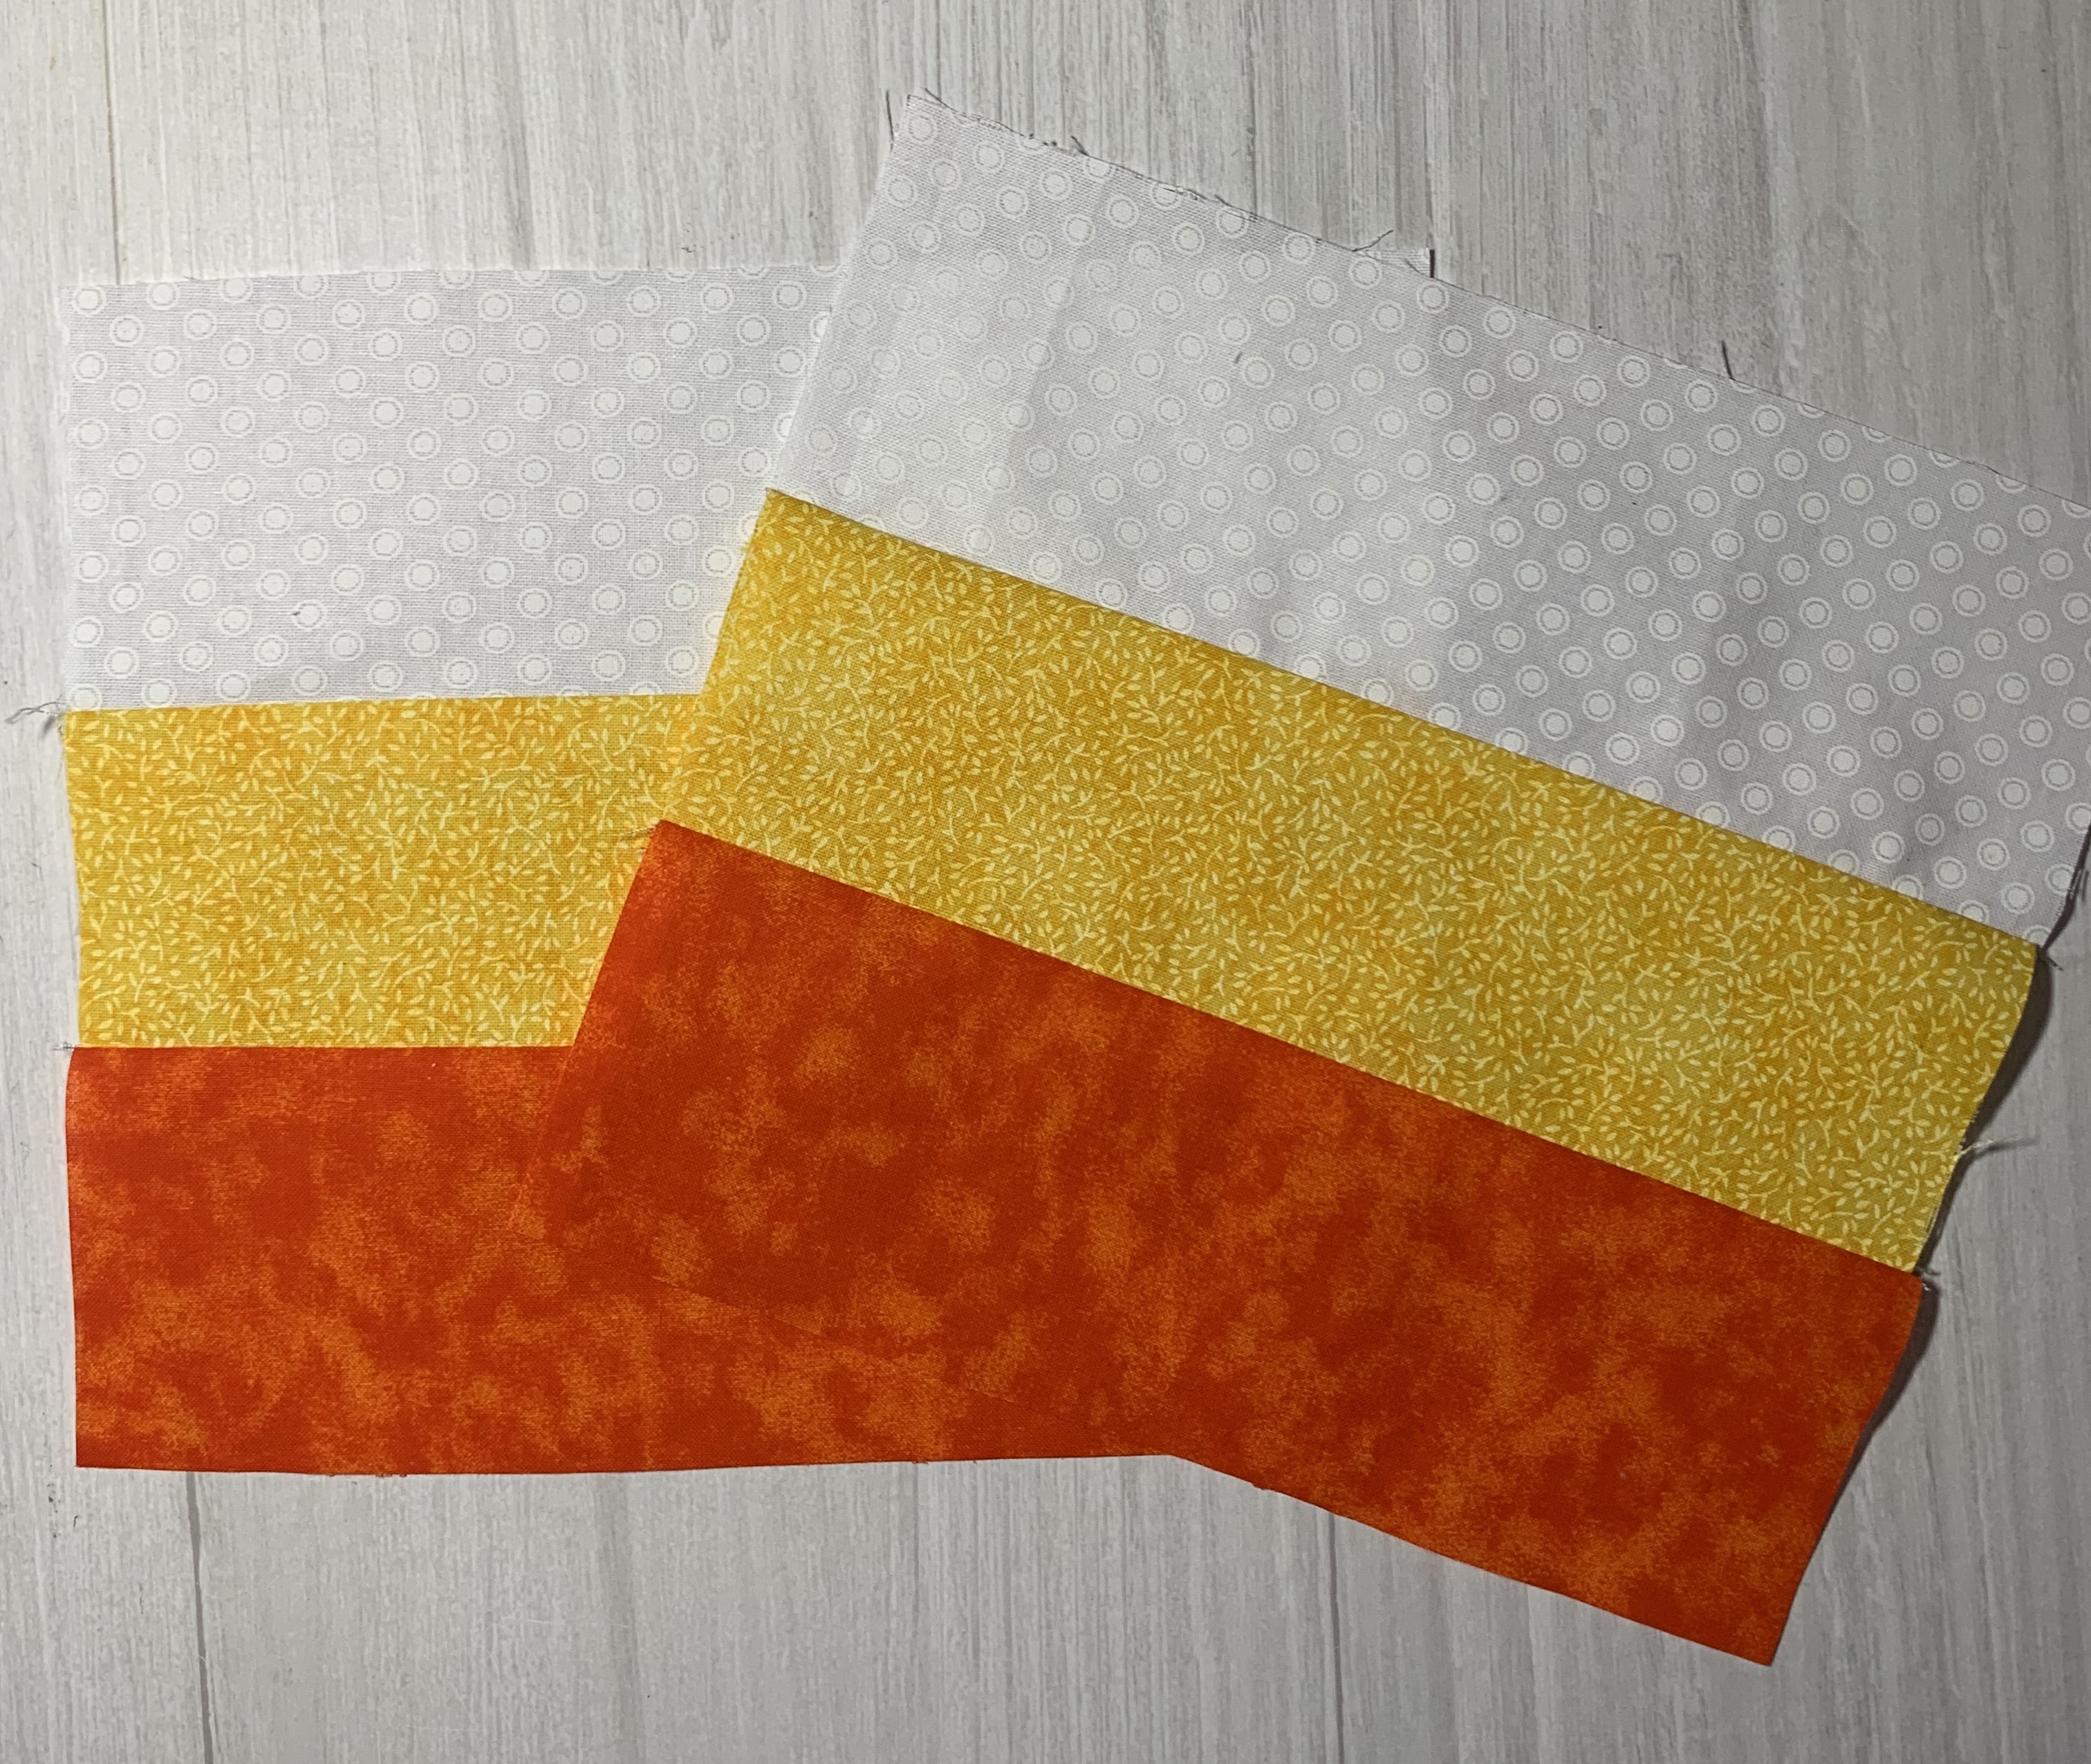
How to Make Fabric Candy Corns – Step 1
Depending on the order of color you would like your candy corns, place the top and middle sections pretty sides together as shown and stitch the seam using a 1/4″ seam allowance.
How to Make Fabric Candy Corns – Step 2
Pin and sew the third color in the same manner. Press. Now the front of your one candy corn is finished.
How to Make Fabric Candy Corns – Step 3
Do the same thing with another set of three colors of the fabric to make the back of your candy corn.
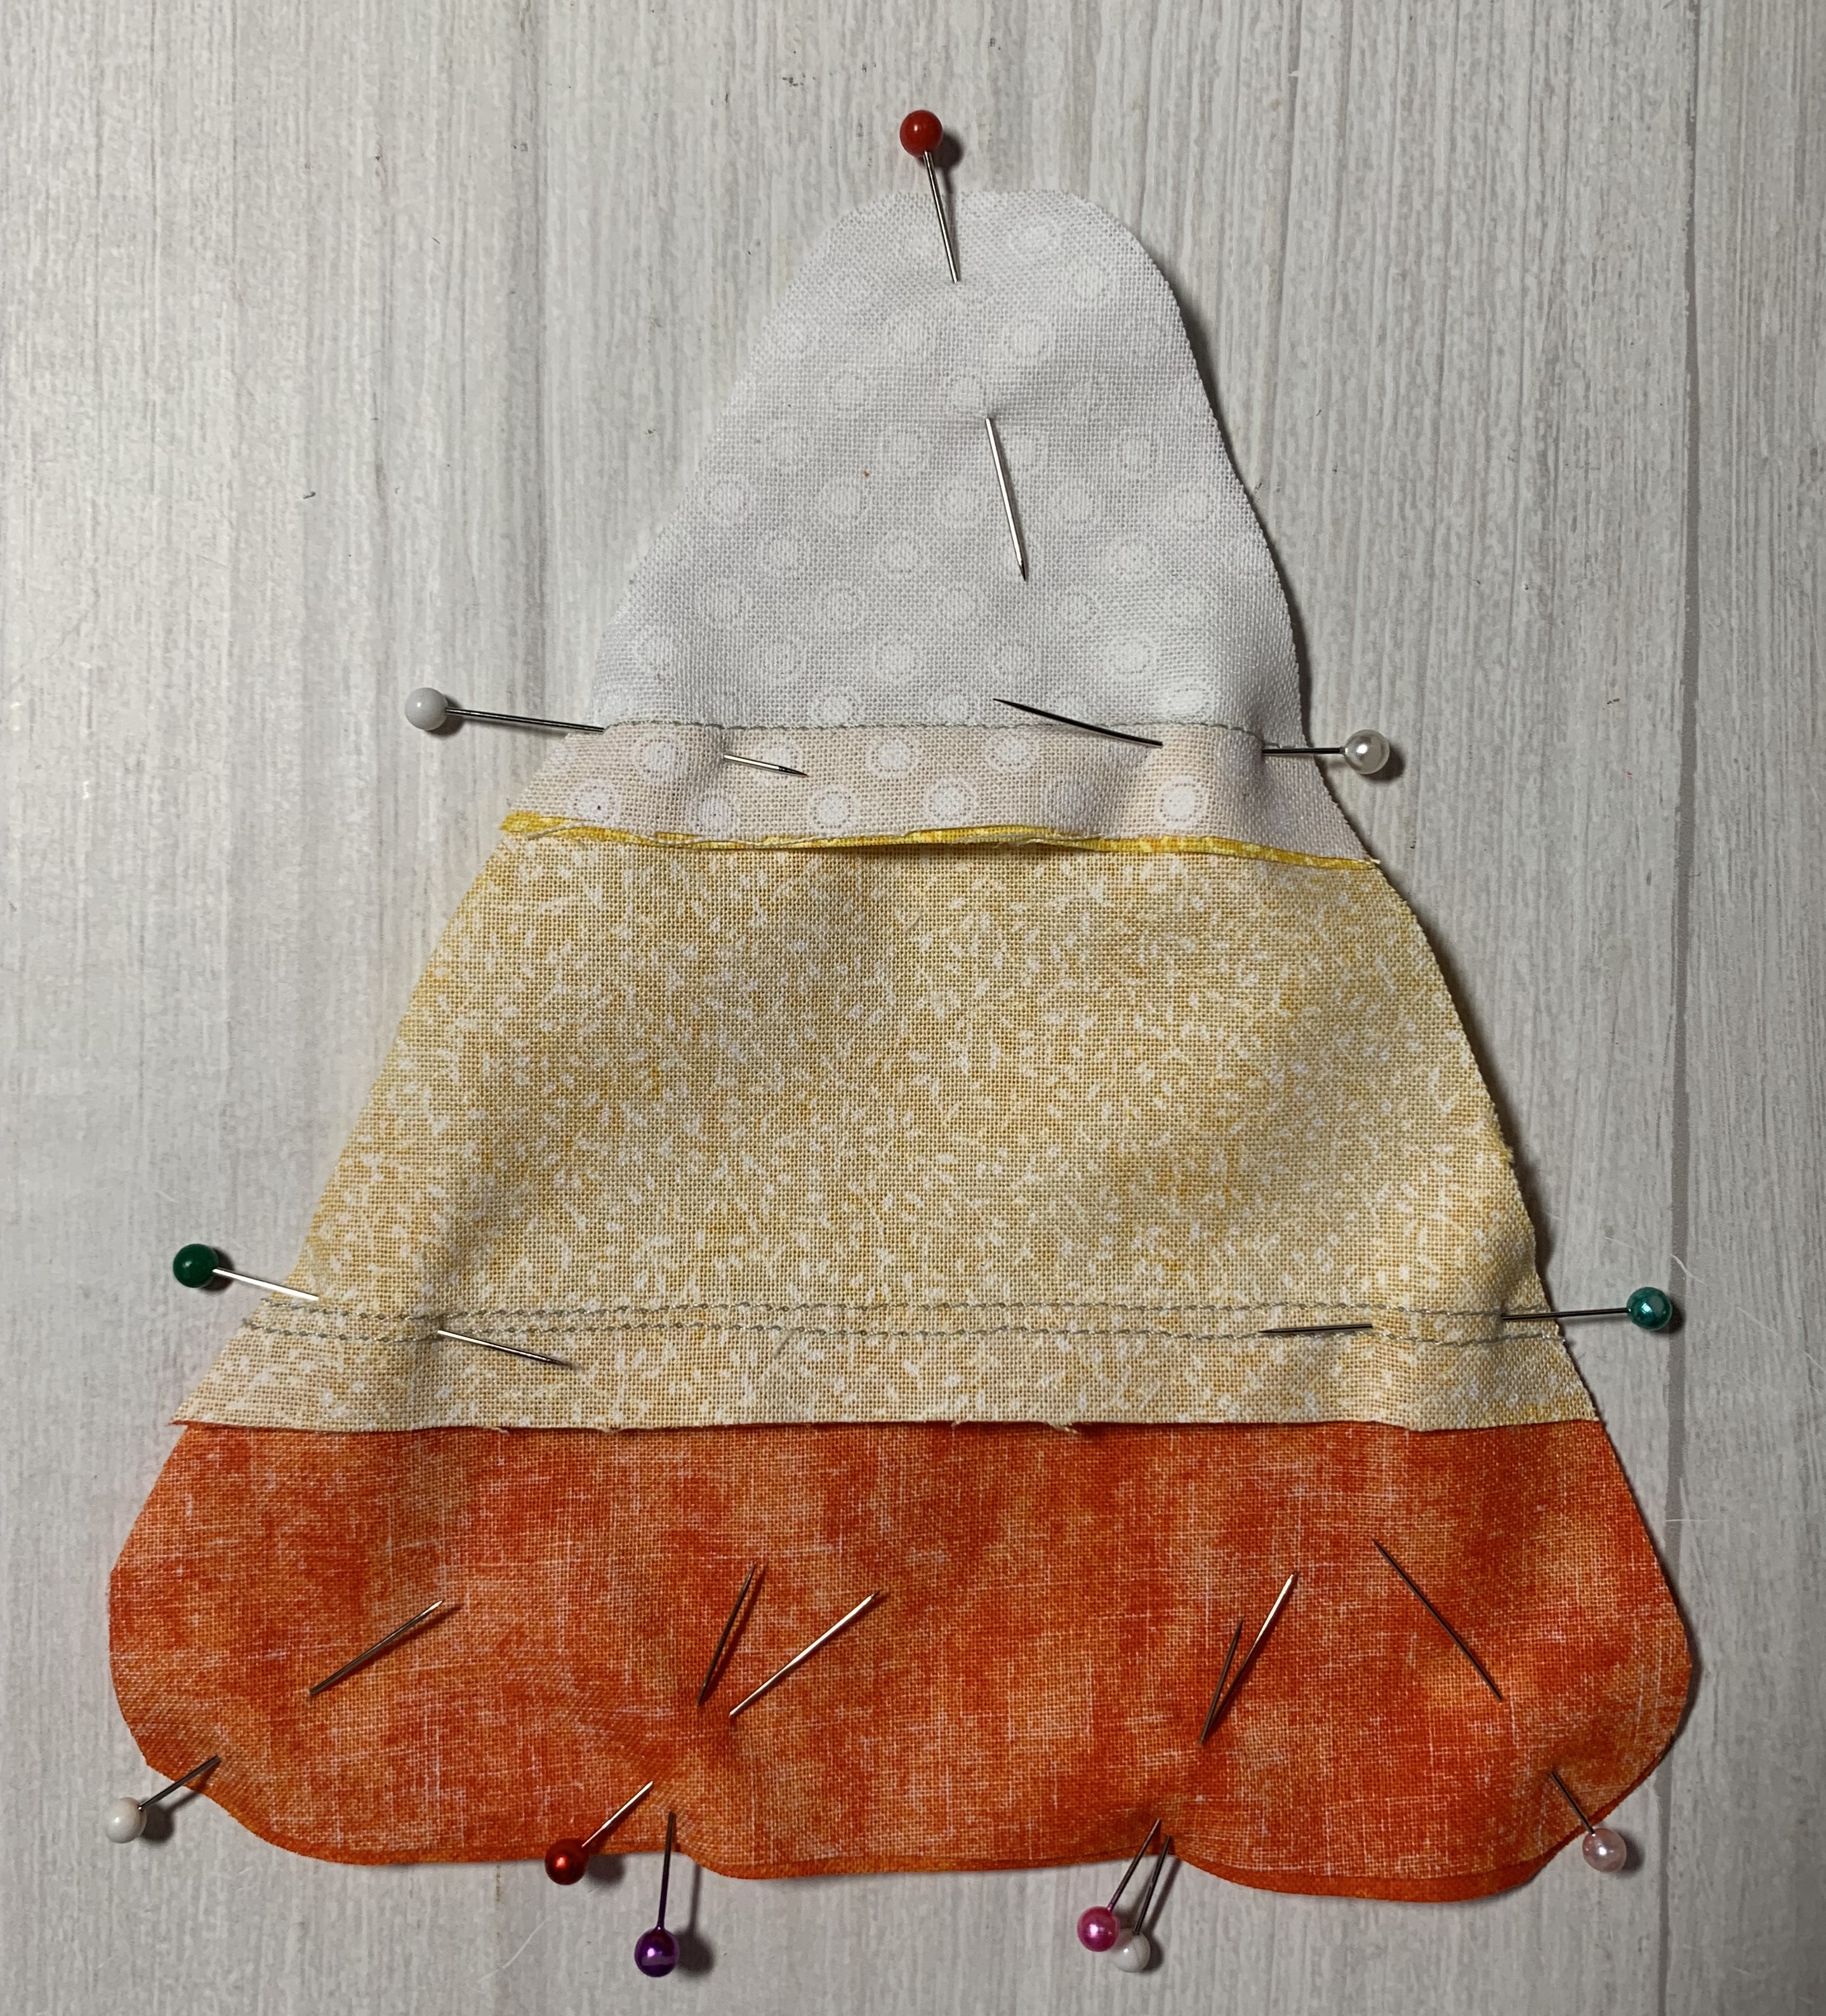
How to Make Fabric Candy Corns – Step 4
Using the pattern we provided, place your fabrics pretty sides together and pin and cut out two candy corns. Keep them pretty sides together and pin around the candy corns, leaving a 2.5″ opening at the bottom, for turning and stuffing. If you look at our picture below, here in the studio, we cross our pins like an “X” to show where we leave our opening. This X is a visual reminder to our students to NOT sew in-between the X.
Stitch around the candy corn using a 1/4″ seam allowance. Remember to NOT stitch at the opening on the bottom. When sewing crafts, you always want to keep your openings at the straightest edge possible and not on a curve. Turn your candy corn pretty side out.
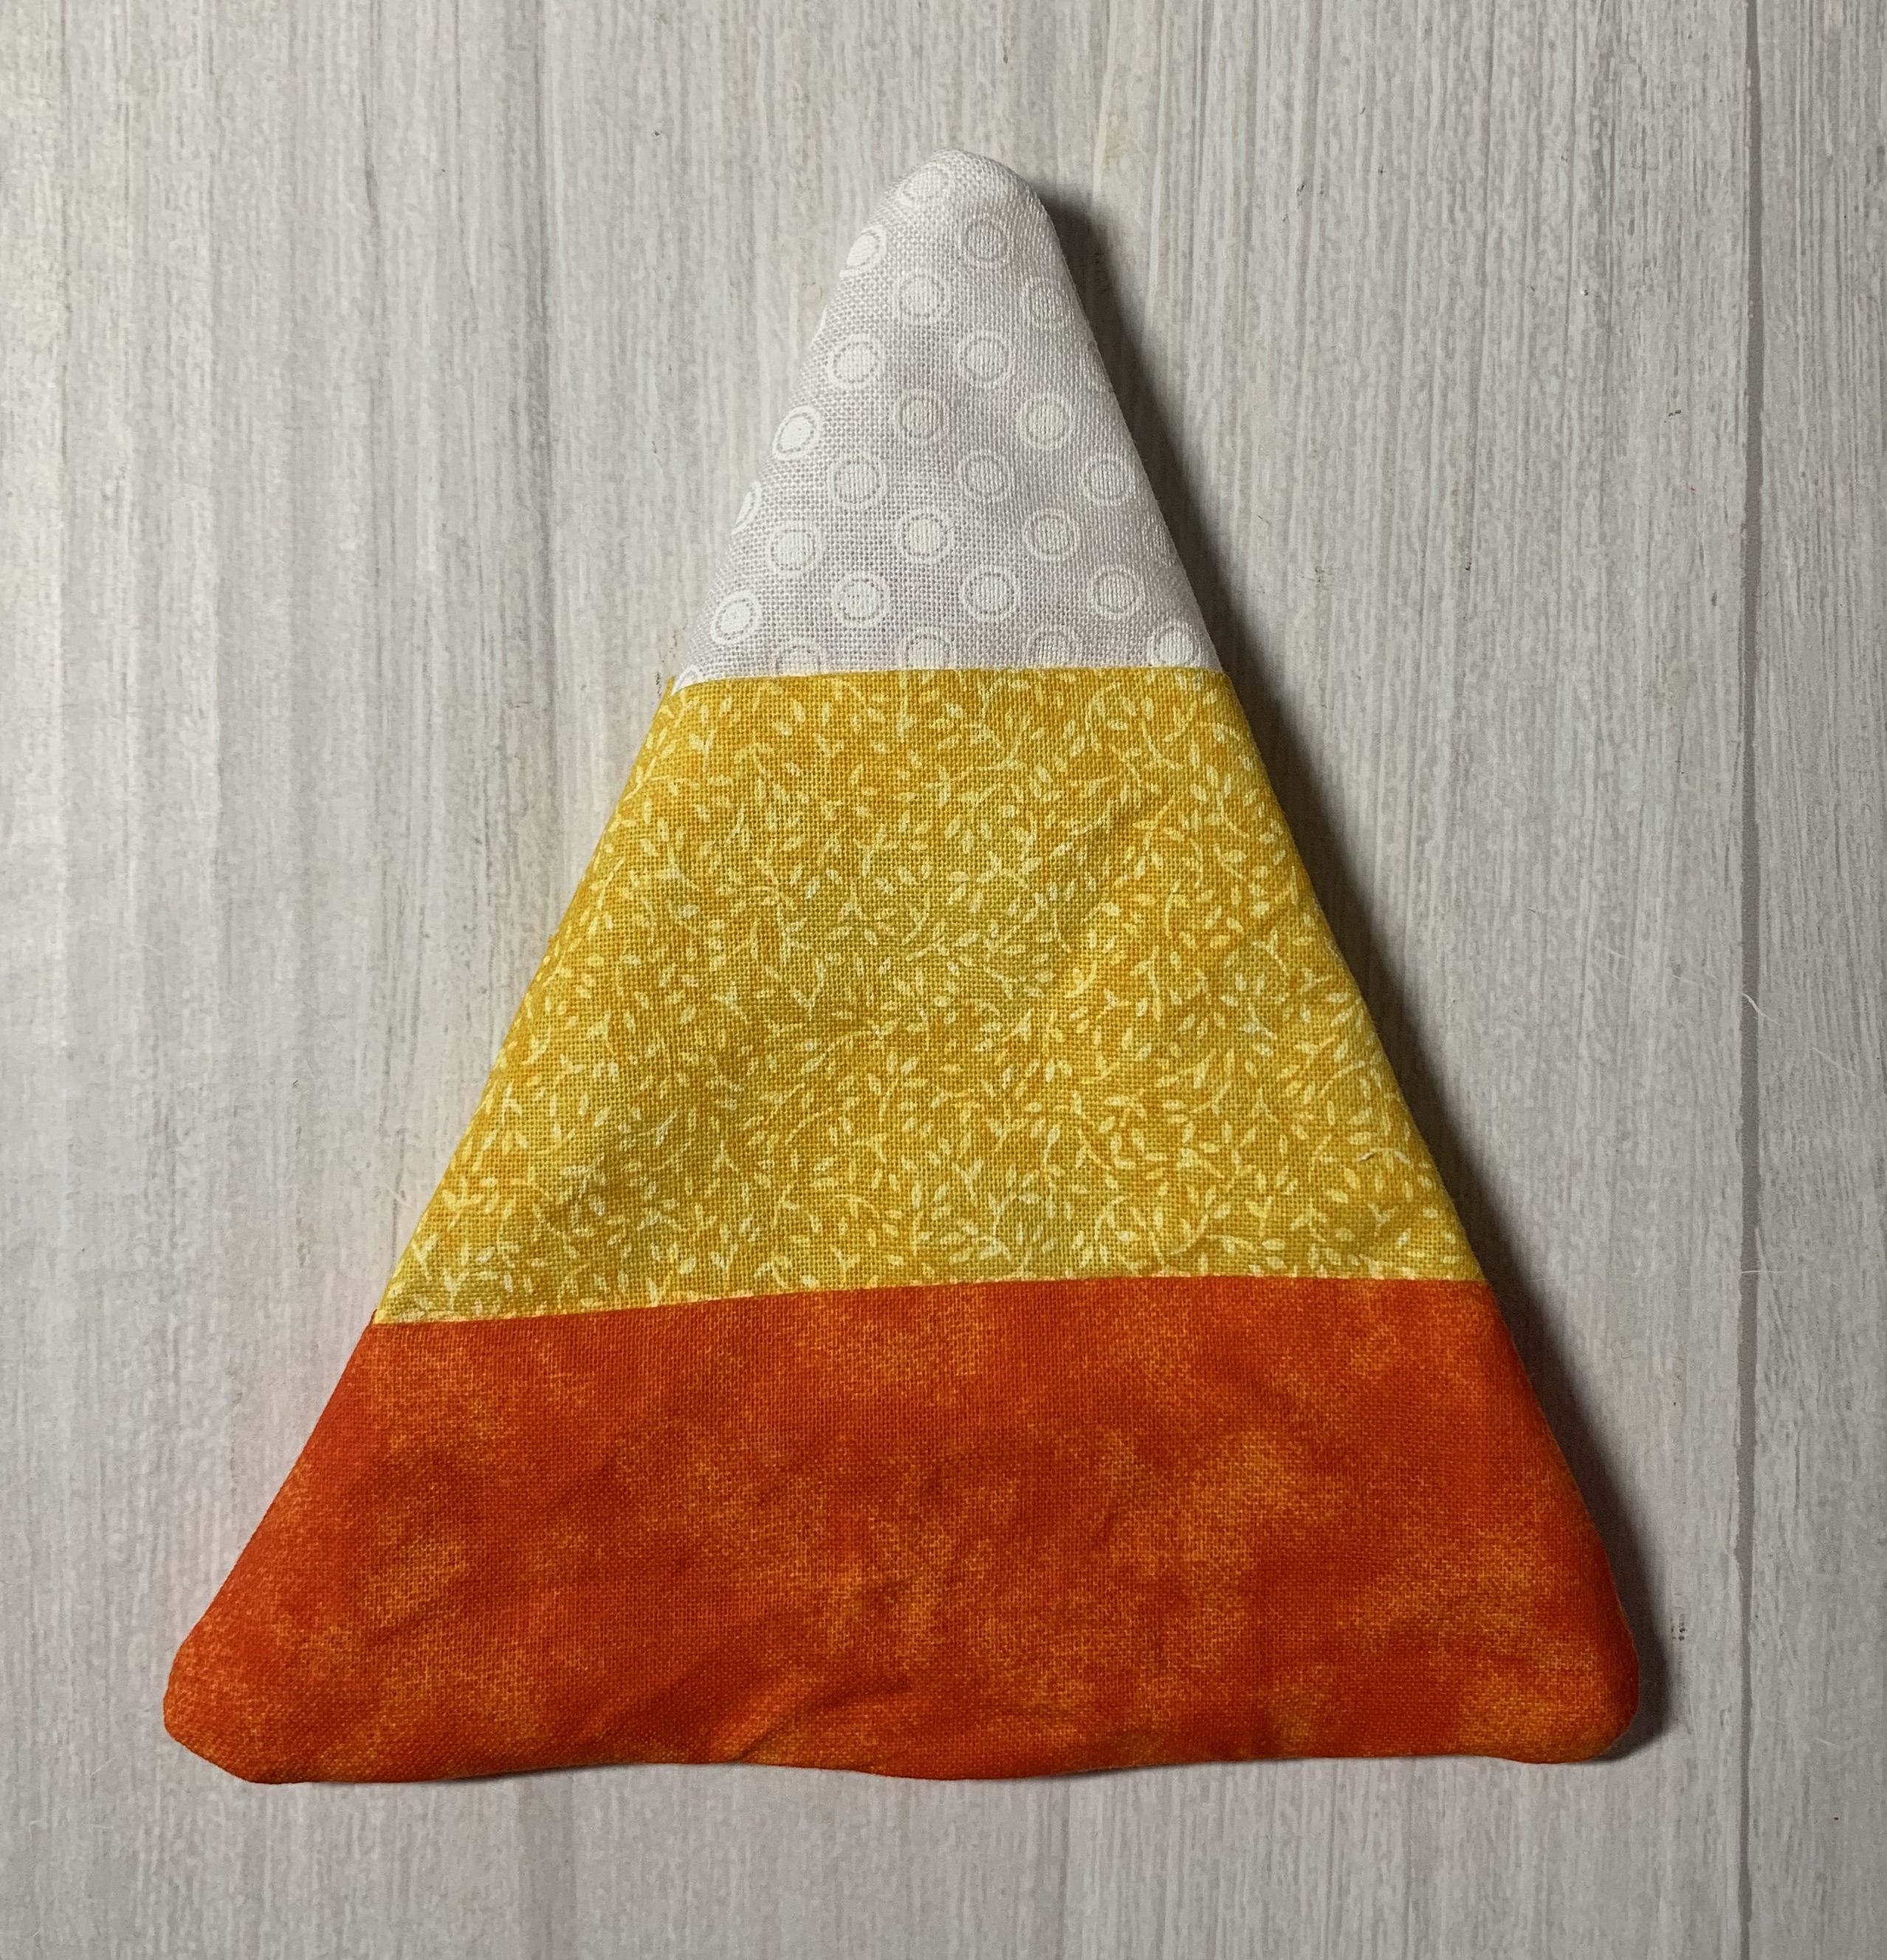
How to Make Fabric Candy Corns – Step 5
Stuff your candy corn with craft stuffing and hand stitch the opening closed. That’s one candy corn done. Repeat the process until you have enough candy corns to fill up your bowl! Have fun decorating for the fall!
I’d love to see how you used your handmade fabric candy corns in your Autumn decorating!

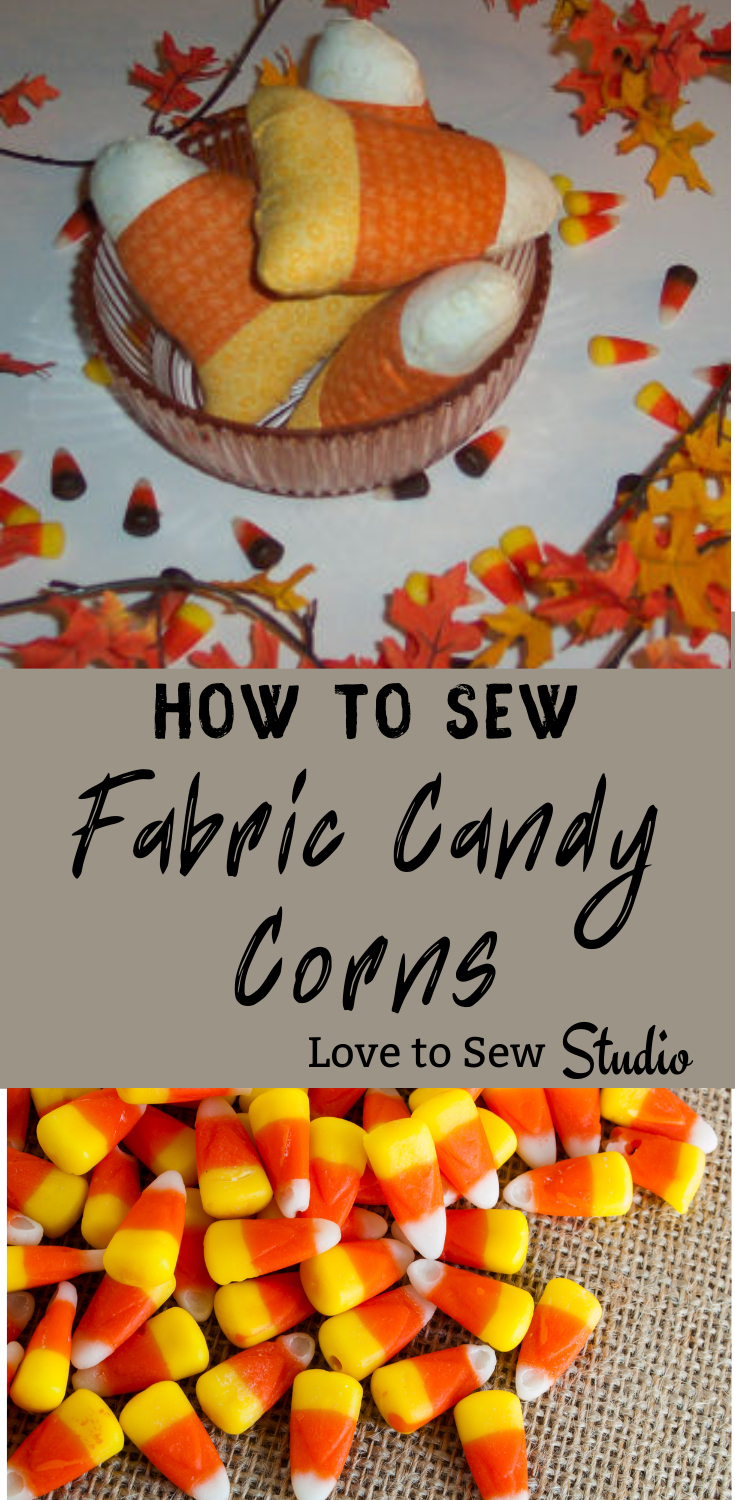
PIN IT FOR LATER:


Janice
I noticed in the instructions it calls for two yellow materials. It dies not mention orange in what needs to be cut.
Maybe that’s because they have the yellow in the middle. That is so wrong.
Judi Harris
Thank you, I fixed it, it now says orange, white, and yellow fabric.
I know, it’s funny seeing the yellow in the middle, but I have seen candy corn to eat made both ways!
Thanks again.
Cindy
Cute as can be!! Thanks so much!
Deborah Stowe
Need the pattern
Judi Harris
Hi, It should be there now. Thank you for advising.
Judi