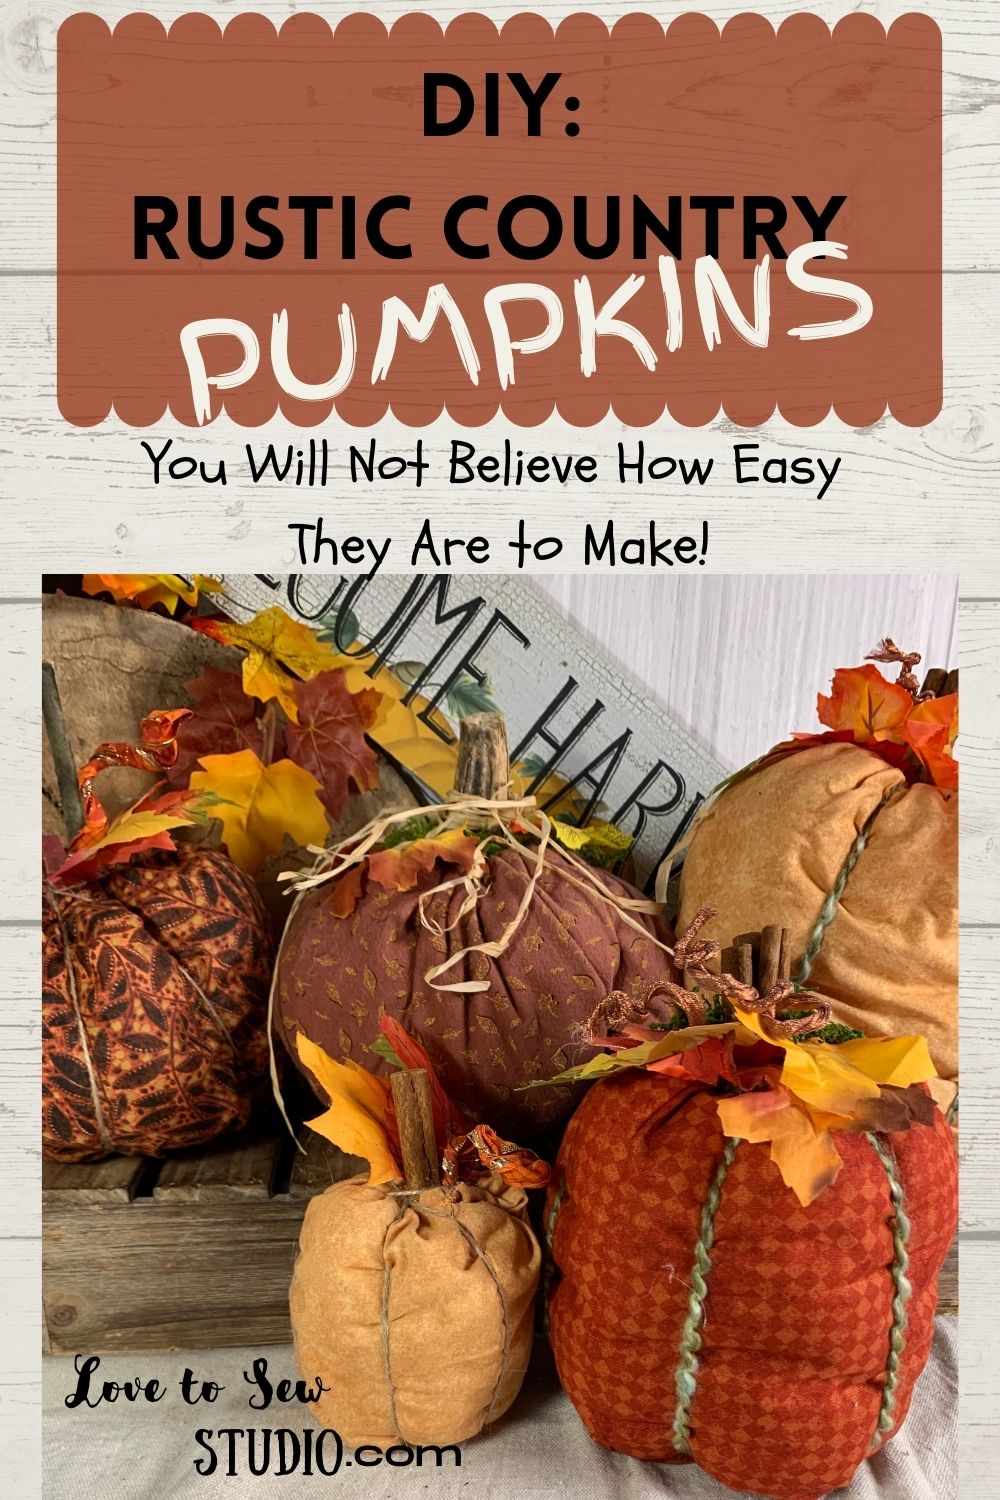
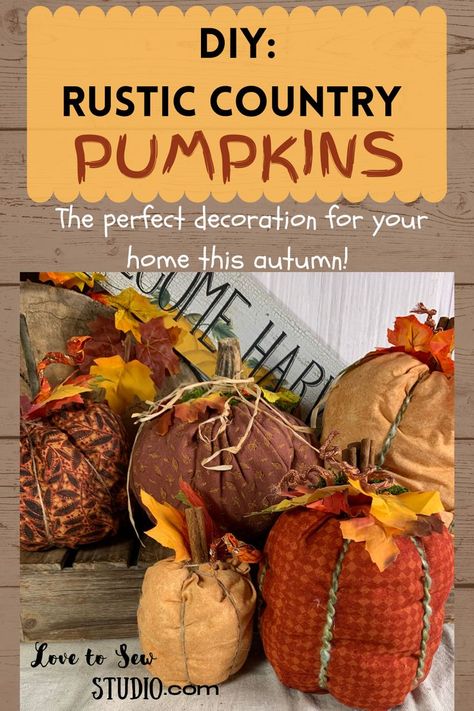
You can easily make your own charming collection of these rustic fabric plump pumpkins in many different autumn prints! I love both making them, and decorating these country pumpkins in my home. They have been my number one selling craft of all time (for the past 22 years). So if you sell your items in crafts shows, I highly suggest making these to sell. Place them on a table on a piece of burlap, along with some real pumpkins, squash, and acorns for a natural setting center-piece.
Itching for a girls night out? This is a good example of how to have a great time with the girls. Each fall I invite friends and family members for a craft night. These rustic pumpkins by far have been my number one craft night success. Each guest makes two, one small and one large, and we all have a wonderful time creating our own set of country pumpkins.
This post contains affiliate links. You can read my full disclosure Here.
OUR RUSTIC COUNTRY PUMPKINS ARE EASY AND FUN TO MAKE! HERE ARE THE SUPPLIES WE USED:
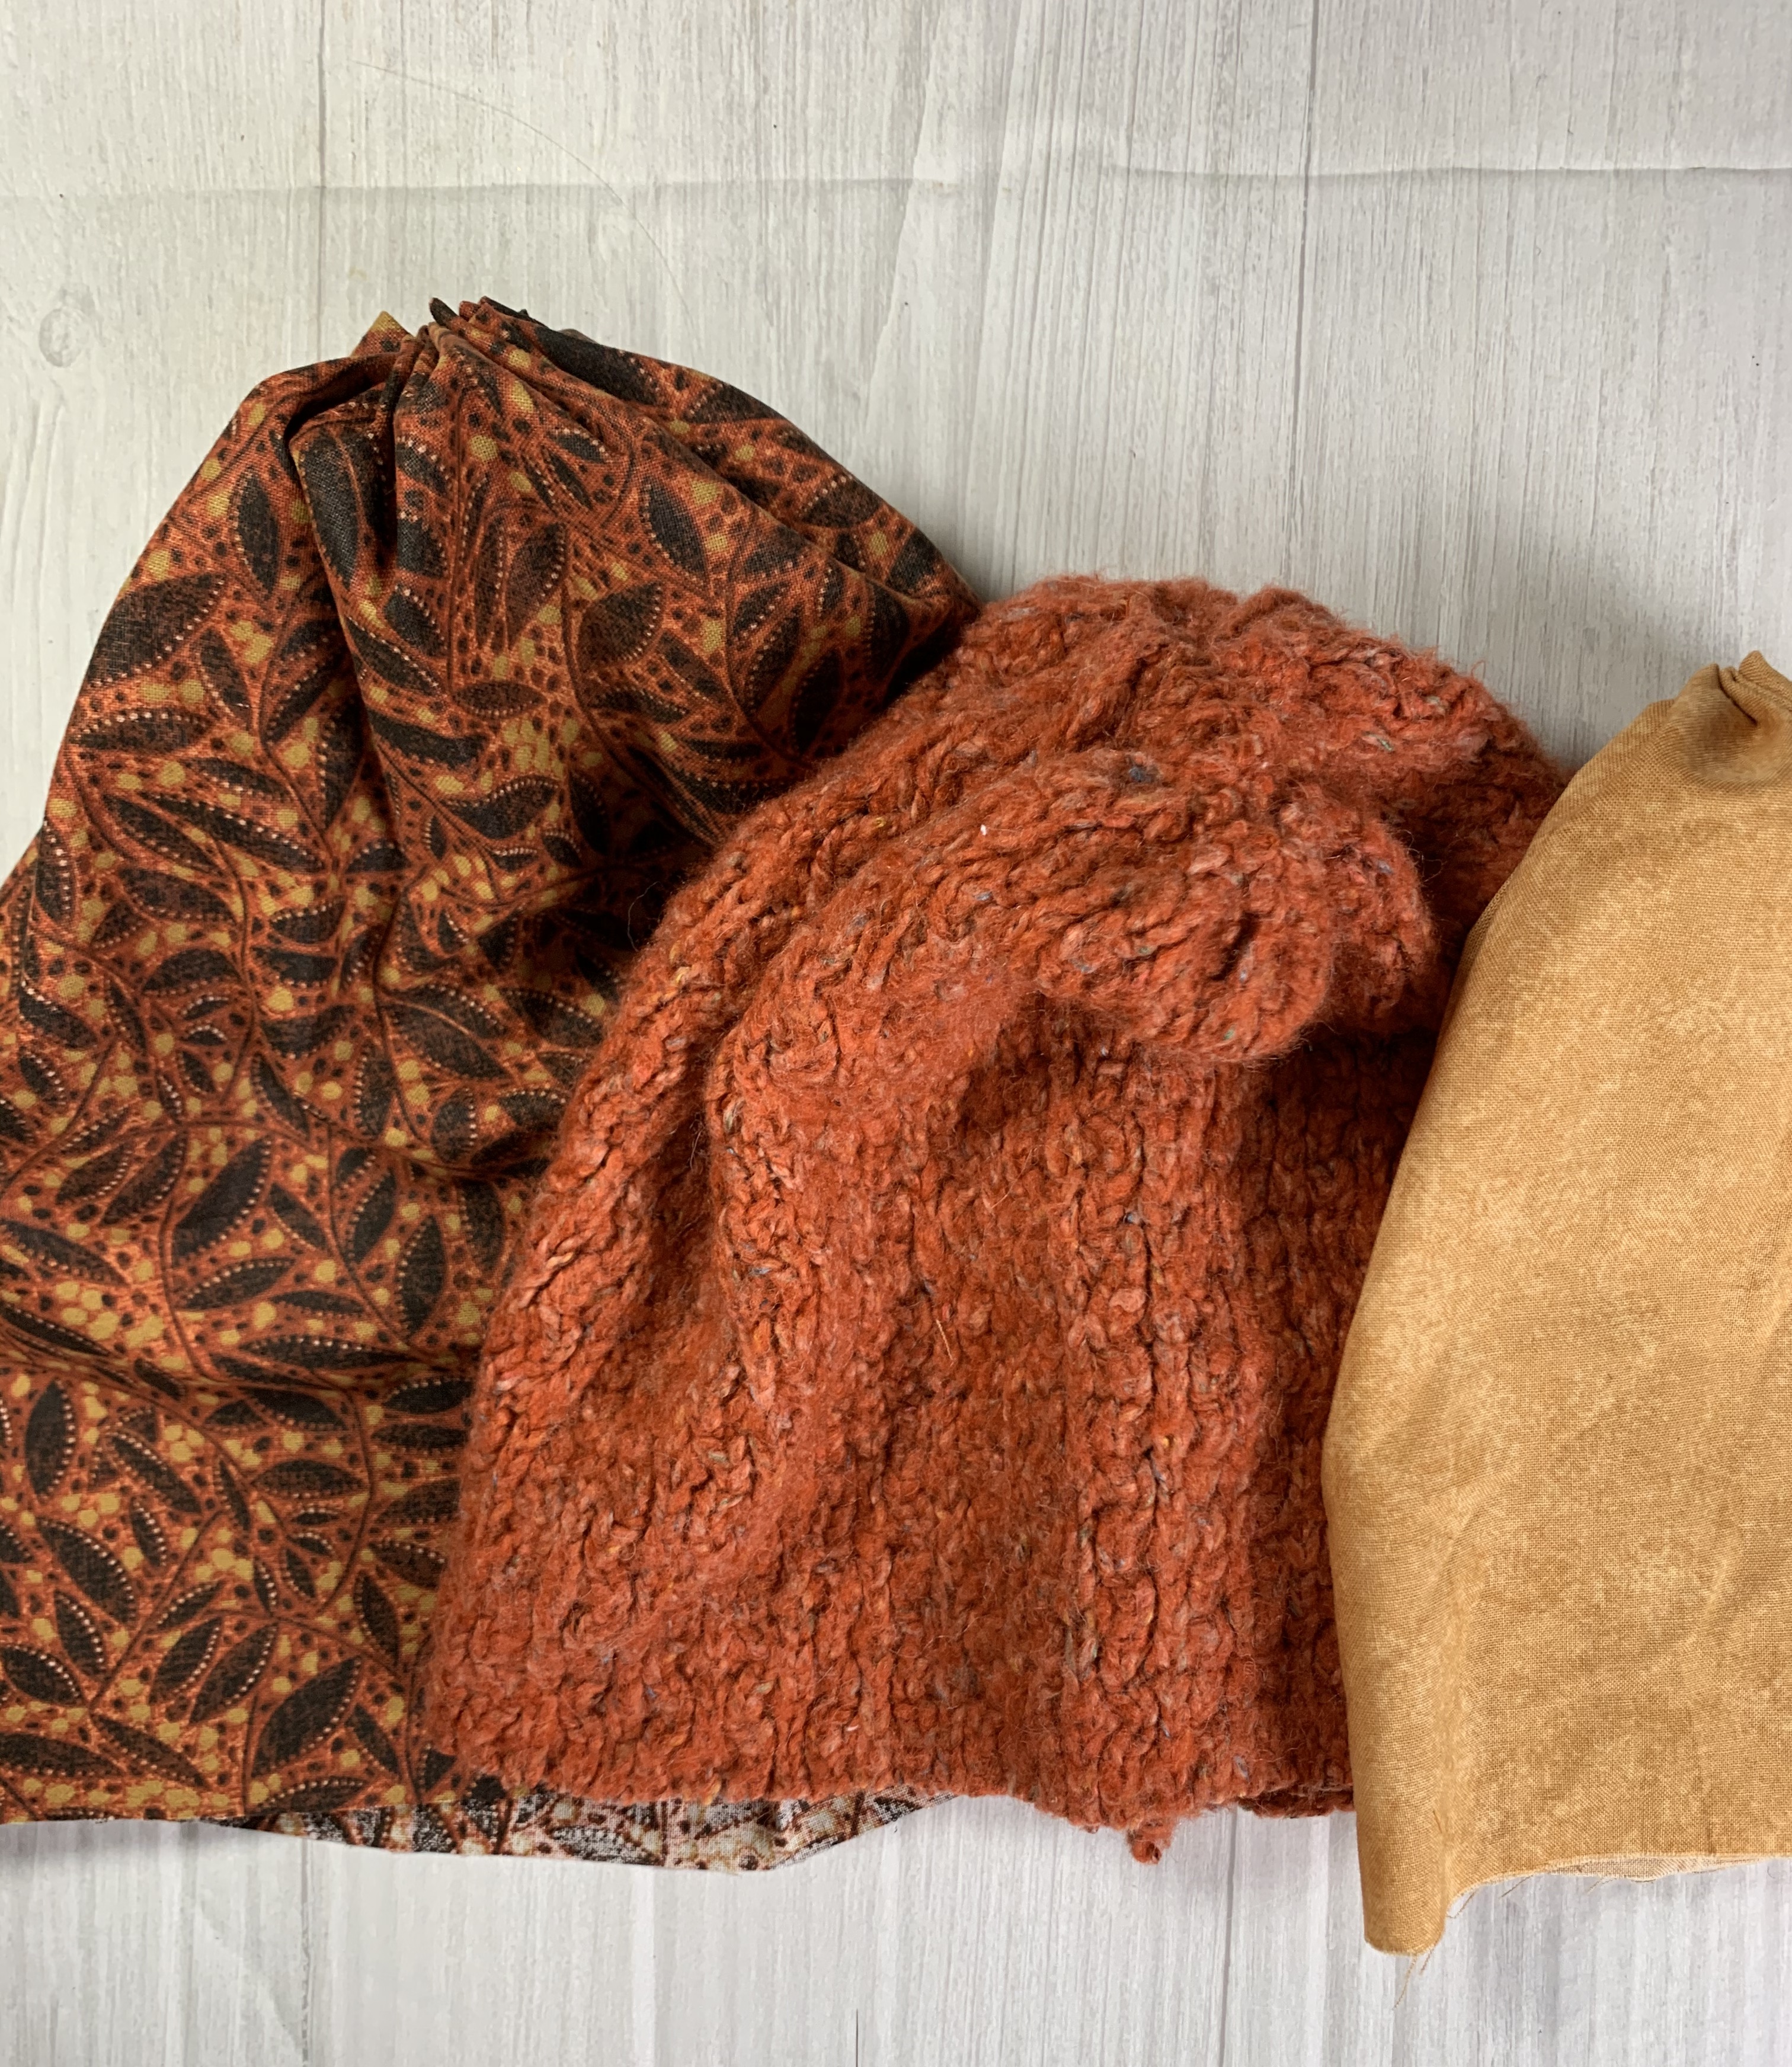
- different autumn print fabrics
- sticks from tree branches outside
- dried natural pumpkin stems or artificial pumpkin stems
- cinnamon sticks
- natural raffia
- jute rope
- artificial autumn leaves
- craft stuffing
- craft pellets (stuffing beads)
- (optional) embellishments like buttons and burlap
- basic sewing supplies
You can make your pumpkins any size you like. The largest one I made was giant and sat beside my baby grand piano on the floor. It measured about 2 1/2 feet high! But it is a beautiful piece of fall that sits in my formal living room! The tiniest pumpkin I made was only about 2″ high and sat on a shelf in my bathroom next to a “Pumpkins for Sale” craft sign.
You can make them round and plump, or tall and thin. You just need to adjust the length and height. I will give you measurements for just a regular size pumpkin and you can adjust accordingly to how you’d like your pumpkins to look.
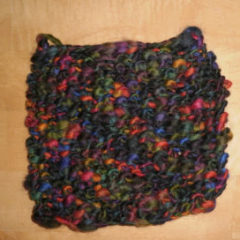
Old sweaters and wool jackets and skirts in autumn colors make beautiful pumpkins. I keep all of my old sweaters and wool clothing just incase projects like this come about!
How to Make a Rustic Country Fabric Pumpkin – Step 1
Cut a piece of fabric measuring 14″ x 10″.
Pin the short sides of our pumpkin piece PRETTY SIDES TOGETHER. Stitch down the seam using the pressure foot as your guide. Or, if you are sewing by hand, do a back stitch or a tight running stitch down the seam. If you look closely at the photo, you will see the stitching line on the right hand side of the pumpkin.

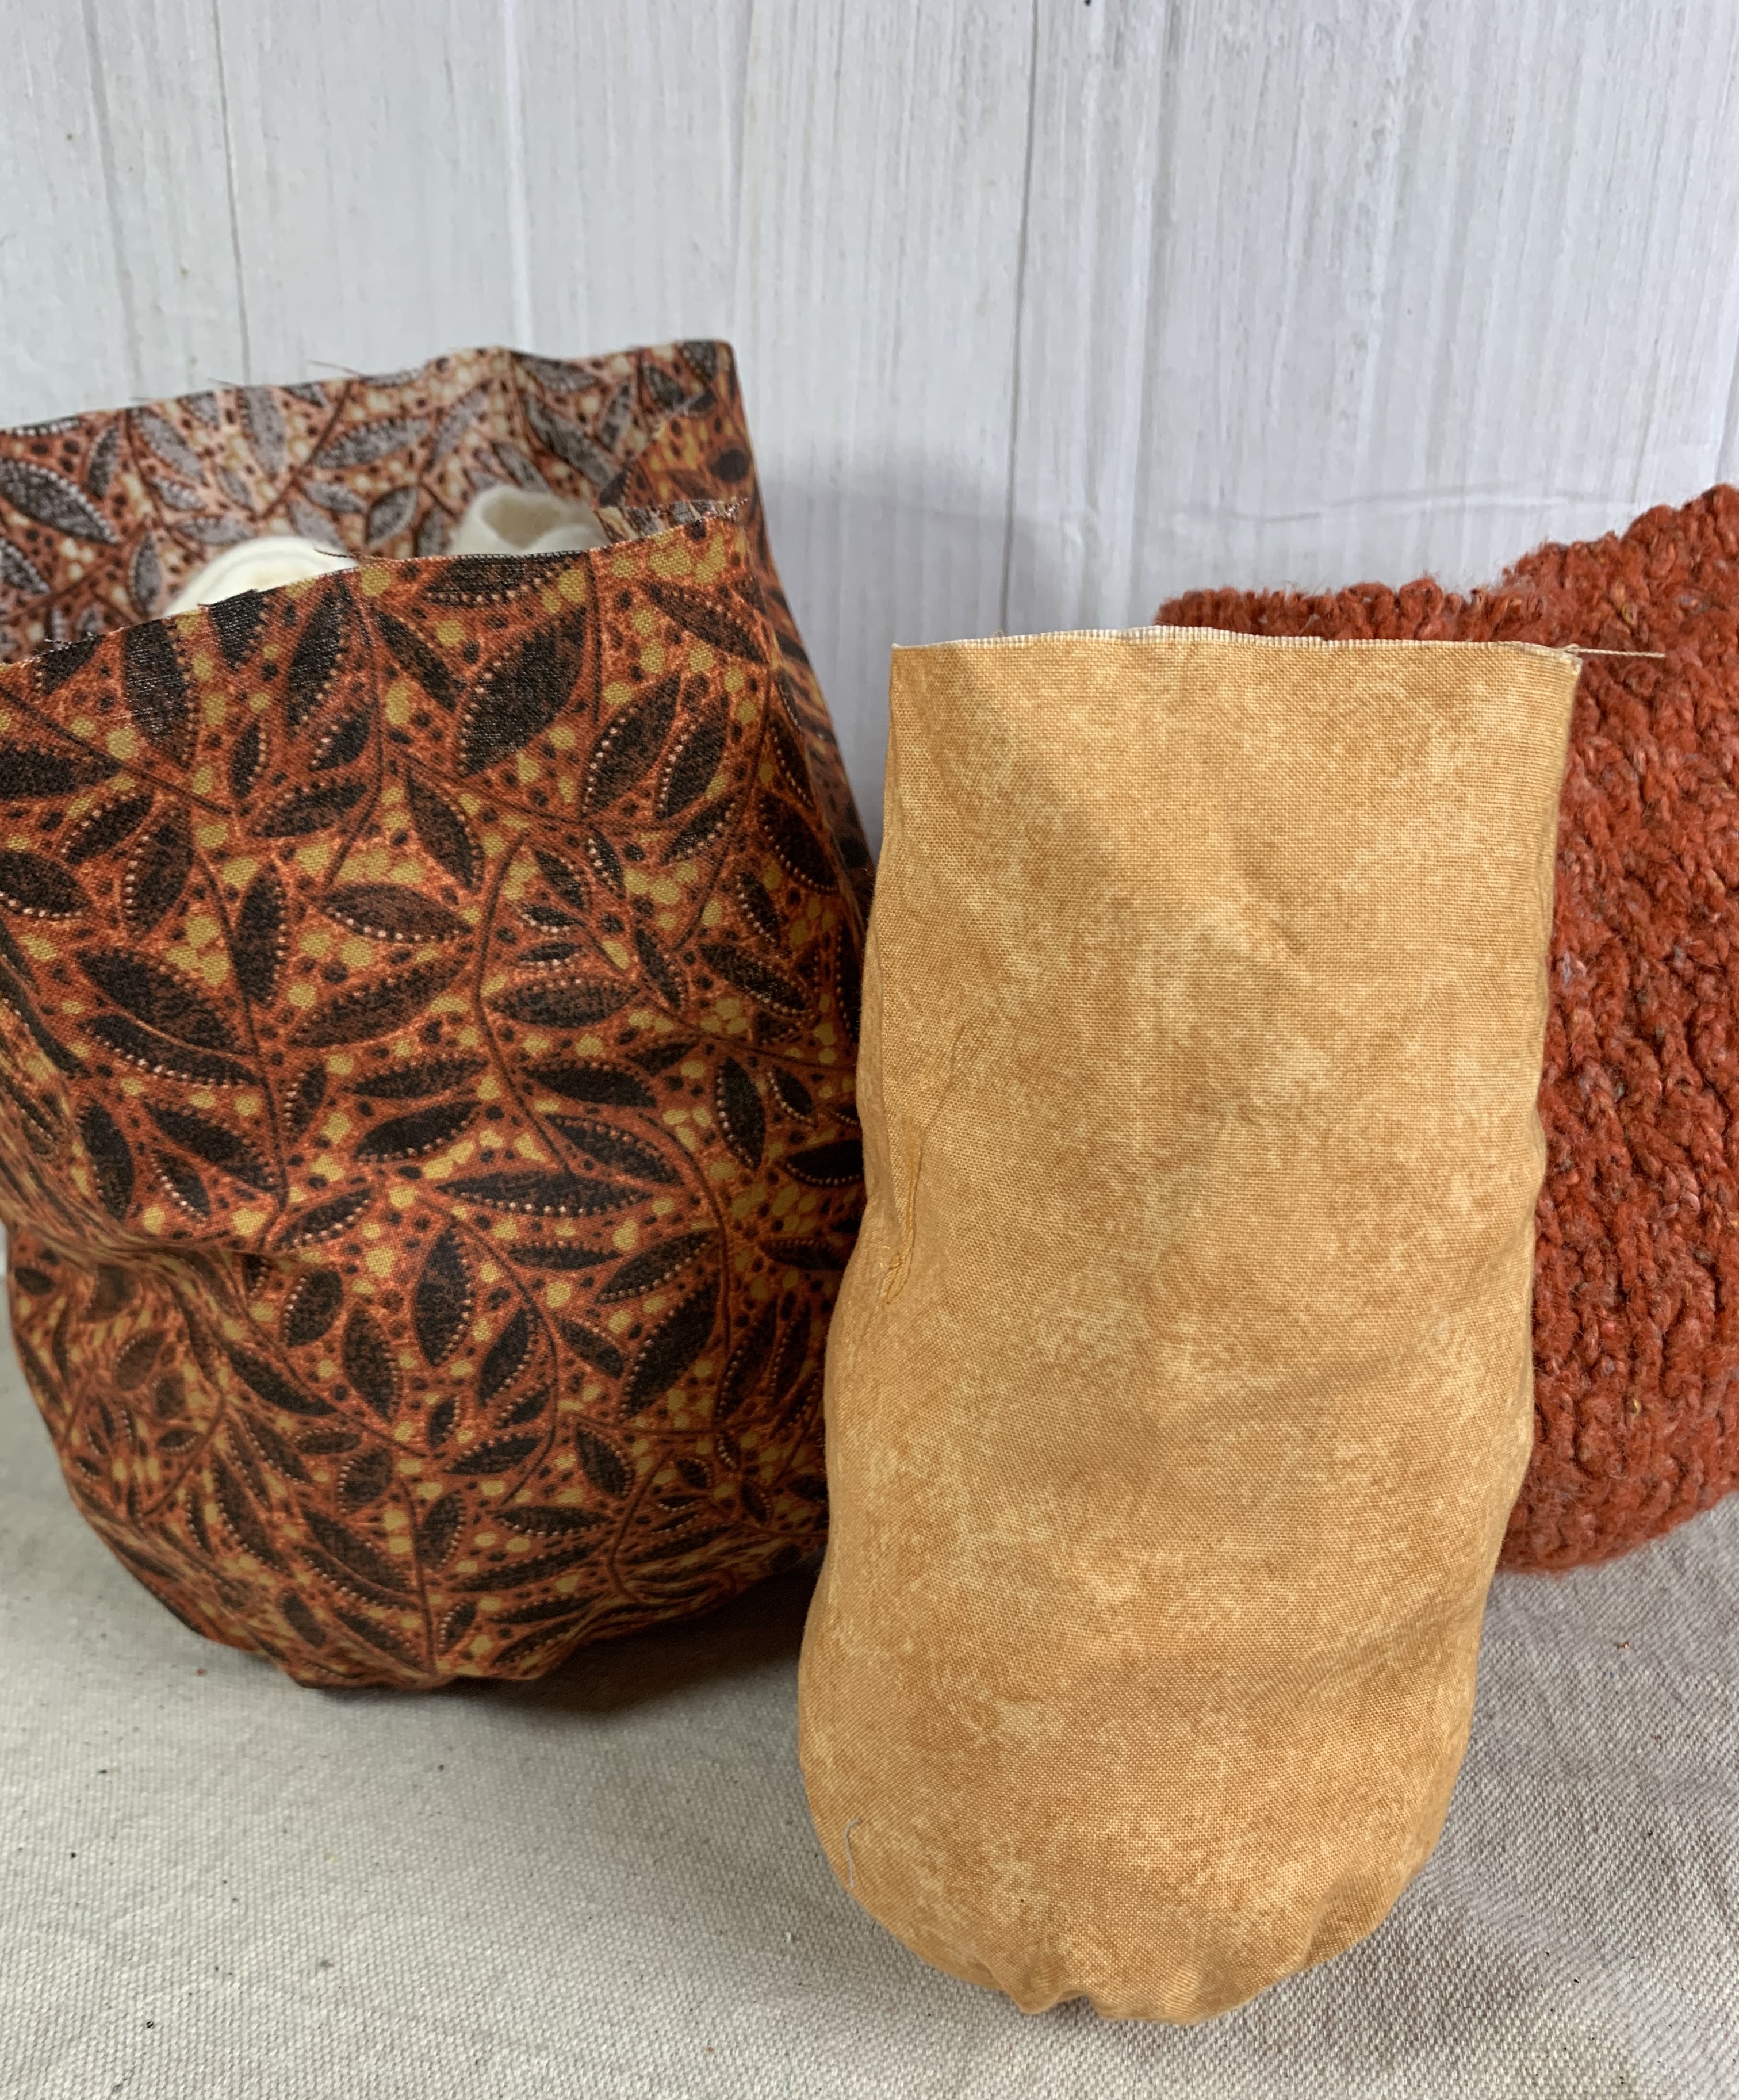
How to Make a Rustic Country Fabric Pumpkin – Step 2
Thread a needle and with both ends of the thread, tie a knot at the end. Sew a basic baste (running) stitch around the circle at the bottom and pull the threads tight and knot in place keeping the gathers as tight as possible. Turn pumpkin pretty side out.
Cut a piece of scrap fabric about 1.5″ x 1.5″ and hot glue it to the bottom of the pumpkin over the gathering. This will help keep the rice or pellets in place and not fall out.
How to Make a Rustic Country Fabric Pumpkin – Step 3
Fill up your pumpkin about 1/4 – 1/3 of the way full with rice or craft pellets. I used to use rice for all my stuffing at the bottom of the crafts that I wanted to stand up. BUT, one year when my husband brought down our fall decorations, all of my stuffed crafts with rice were torn apart by mice. So I had to trash all my handmade decorations and make them again. So even though craft pellets are more money, it is worth for me in the long run to use them.
Then fill up your pumpkin the rest of the way with craft stuffing.
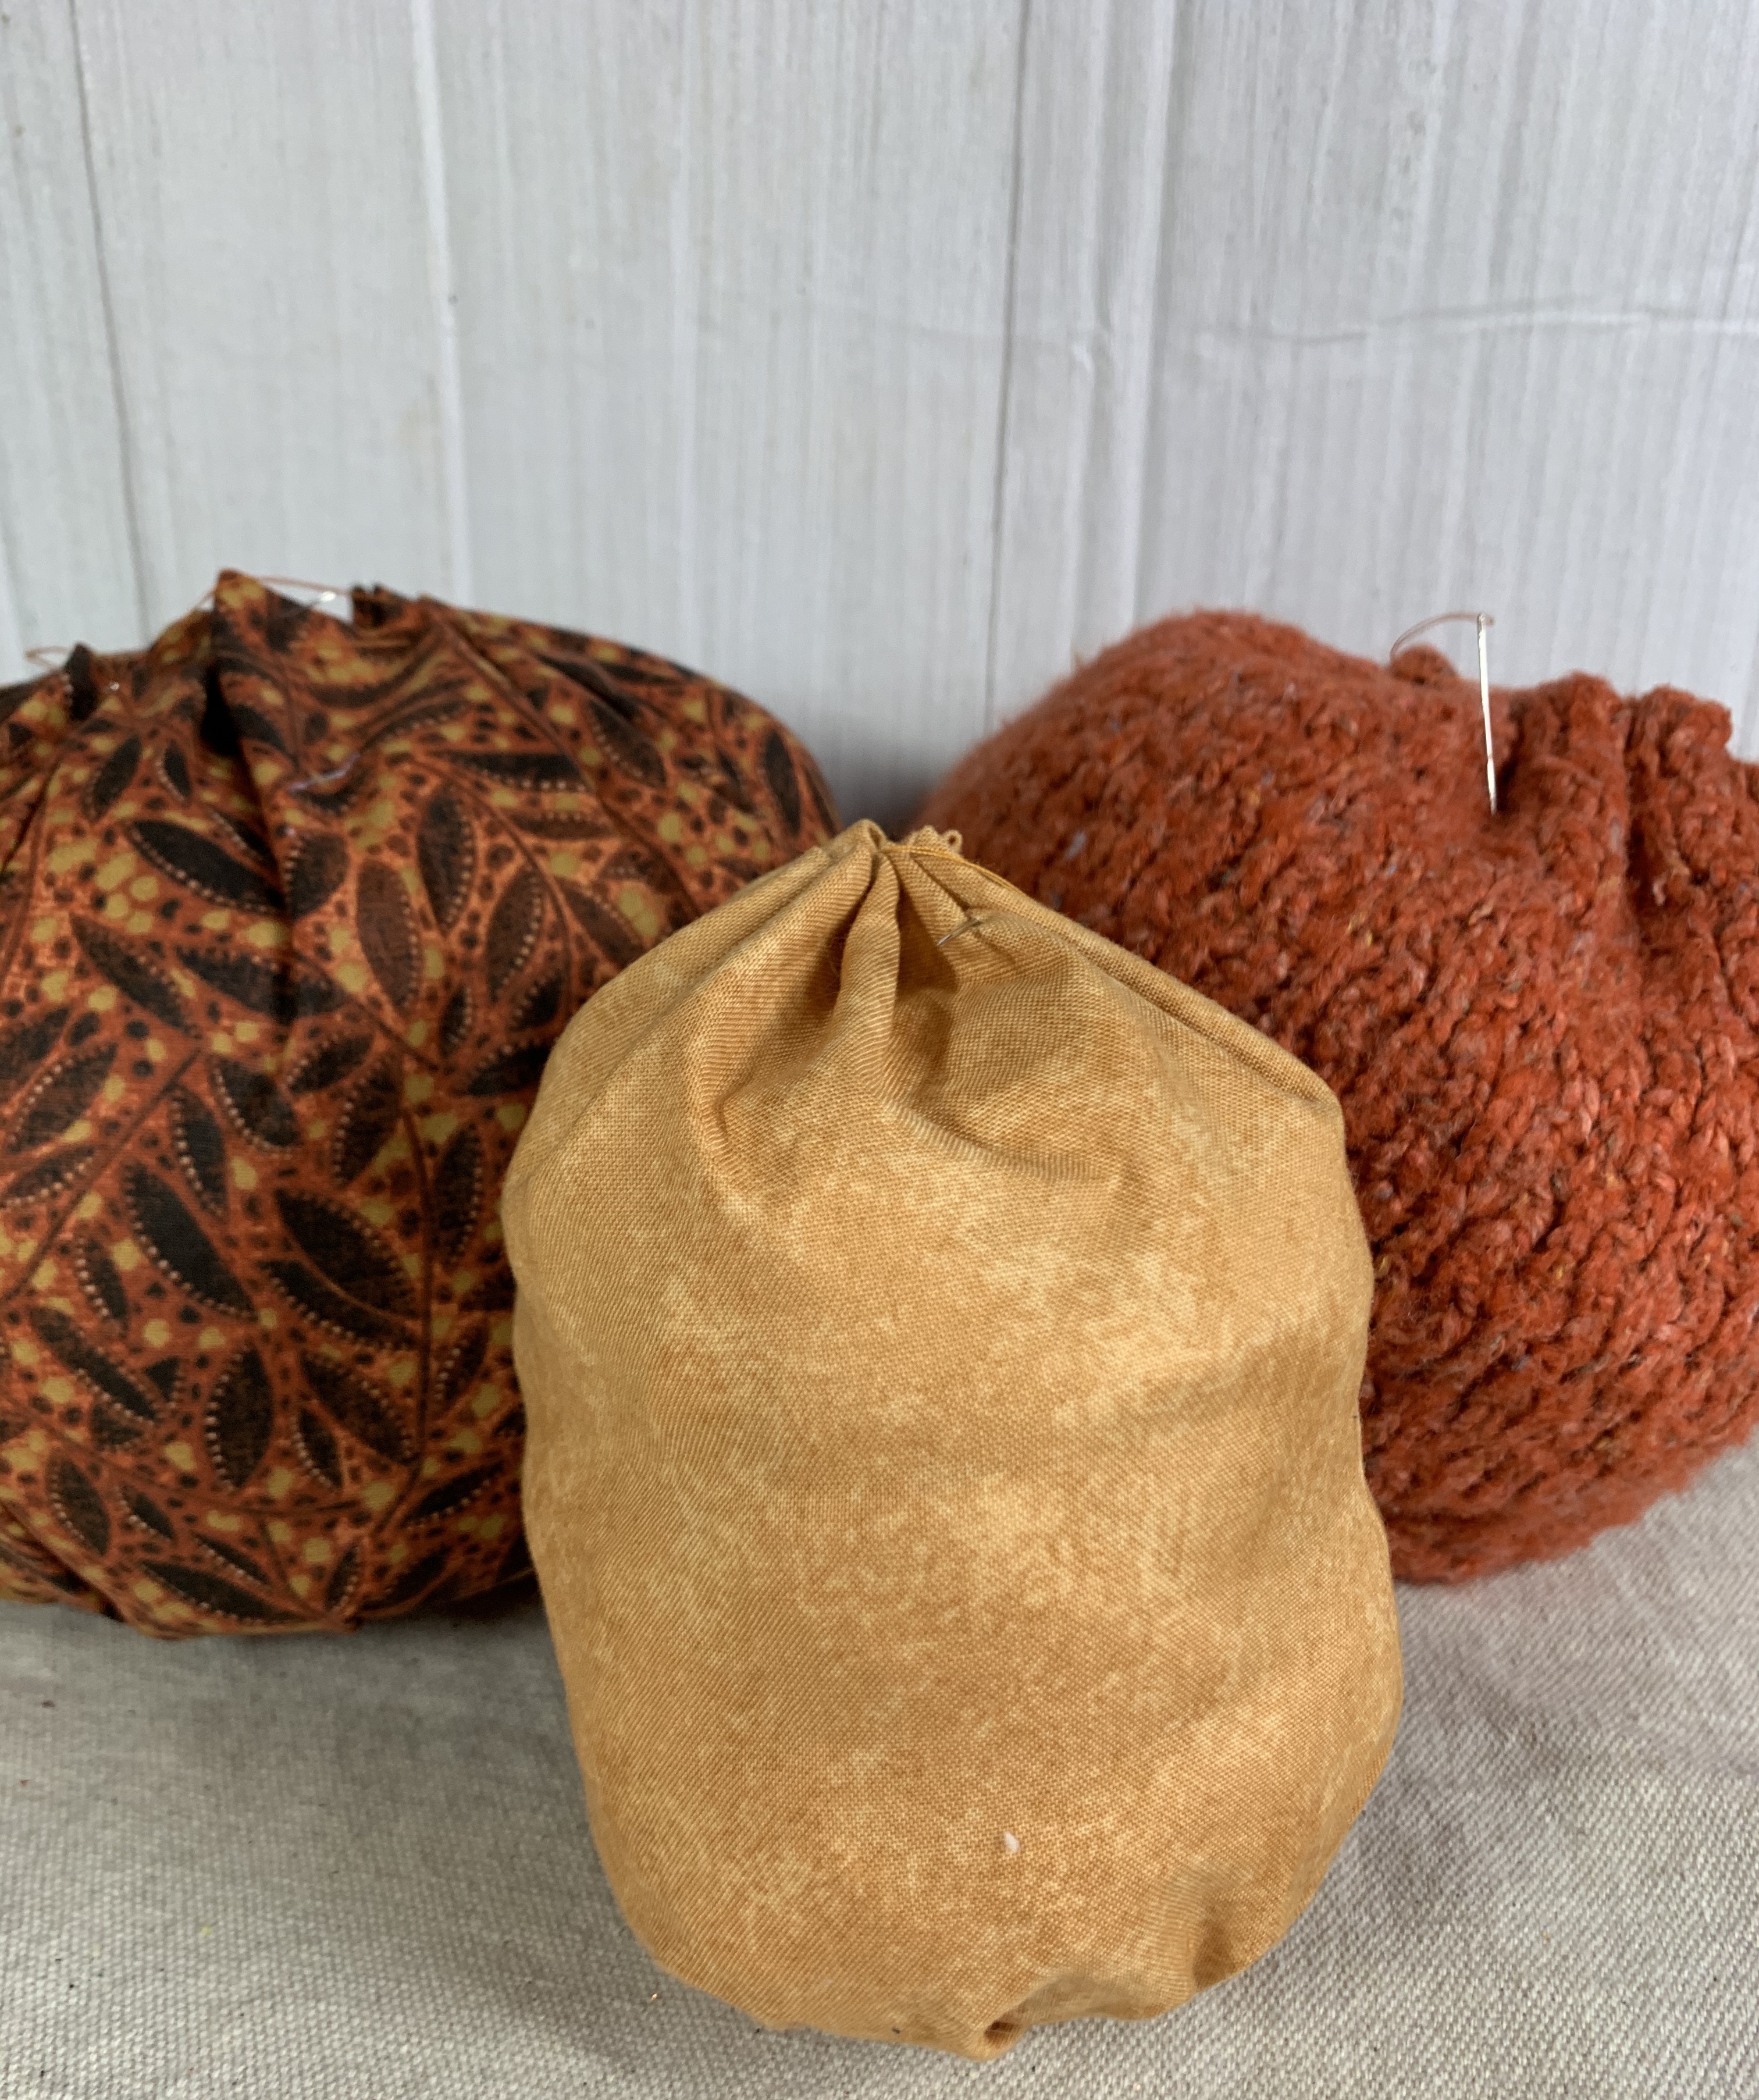
How to Make a Rustic Country Fabric Pumpkin – Step 4
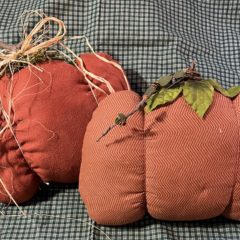
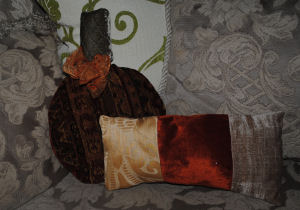
Now we are going to close up the top of the pumpkin in the same manner we did the bottom. Hand sew a baste stitch around the circle close to the edge. But before you close it real tight, add your stick from a tree branch, or cinnamon stitch, or dried natural pumpkin stem. I always put a little bit of hot glue at the bottom of my stick before I insert it in the pumpkin, then I pull the gathering tight and tie a knot. Then I normally add a little more glue just to make sure my stick stays in place. (Below is a photo of what my pumpkins look like just before I add the stick/stem.)
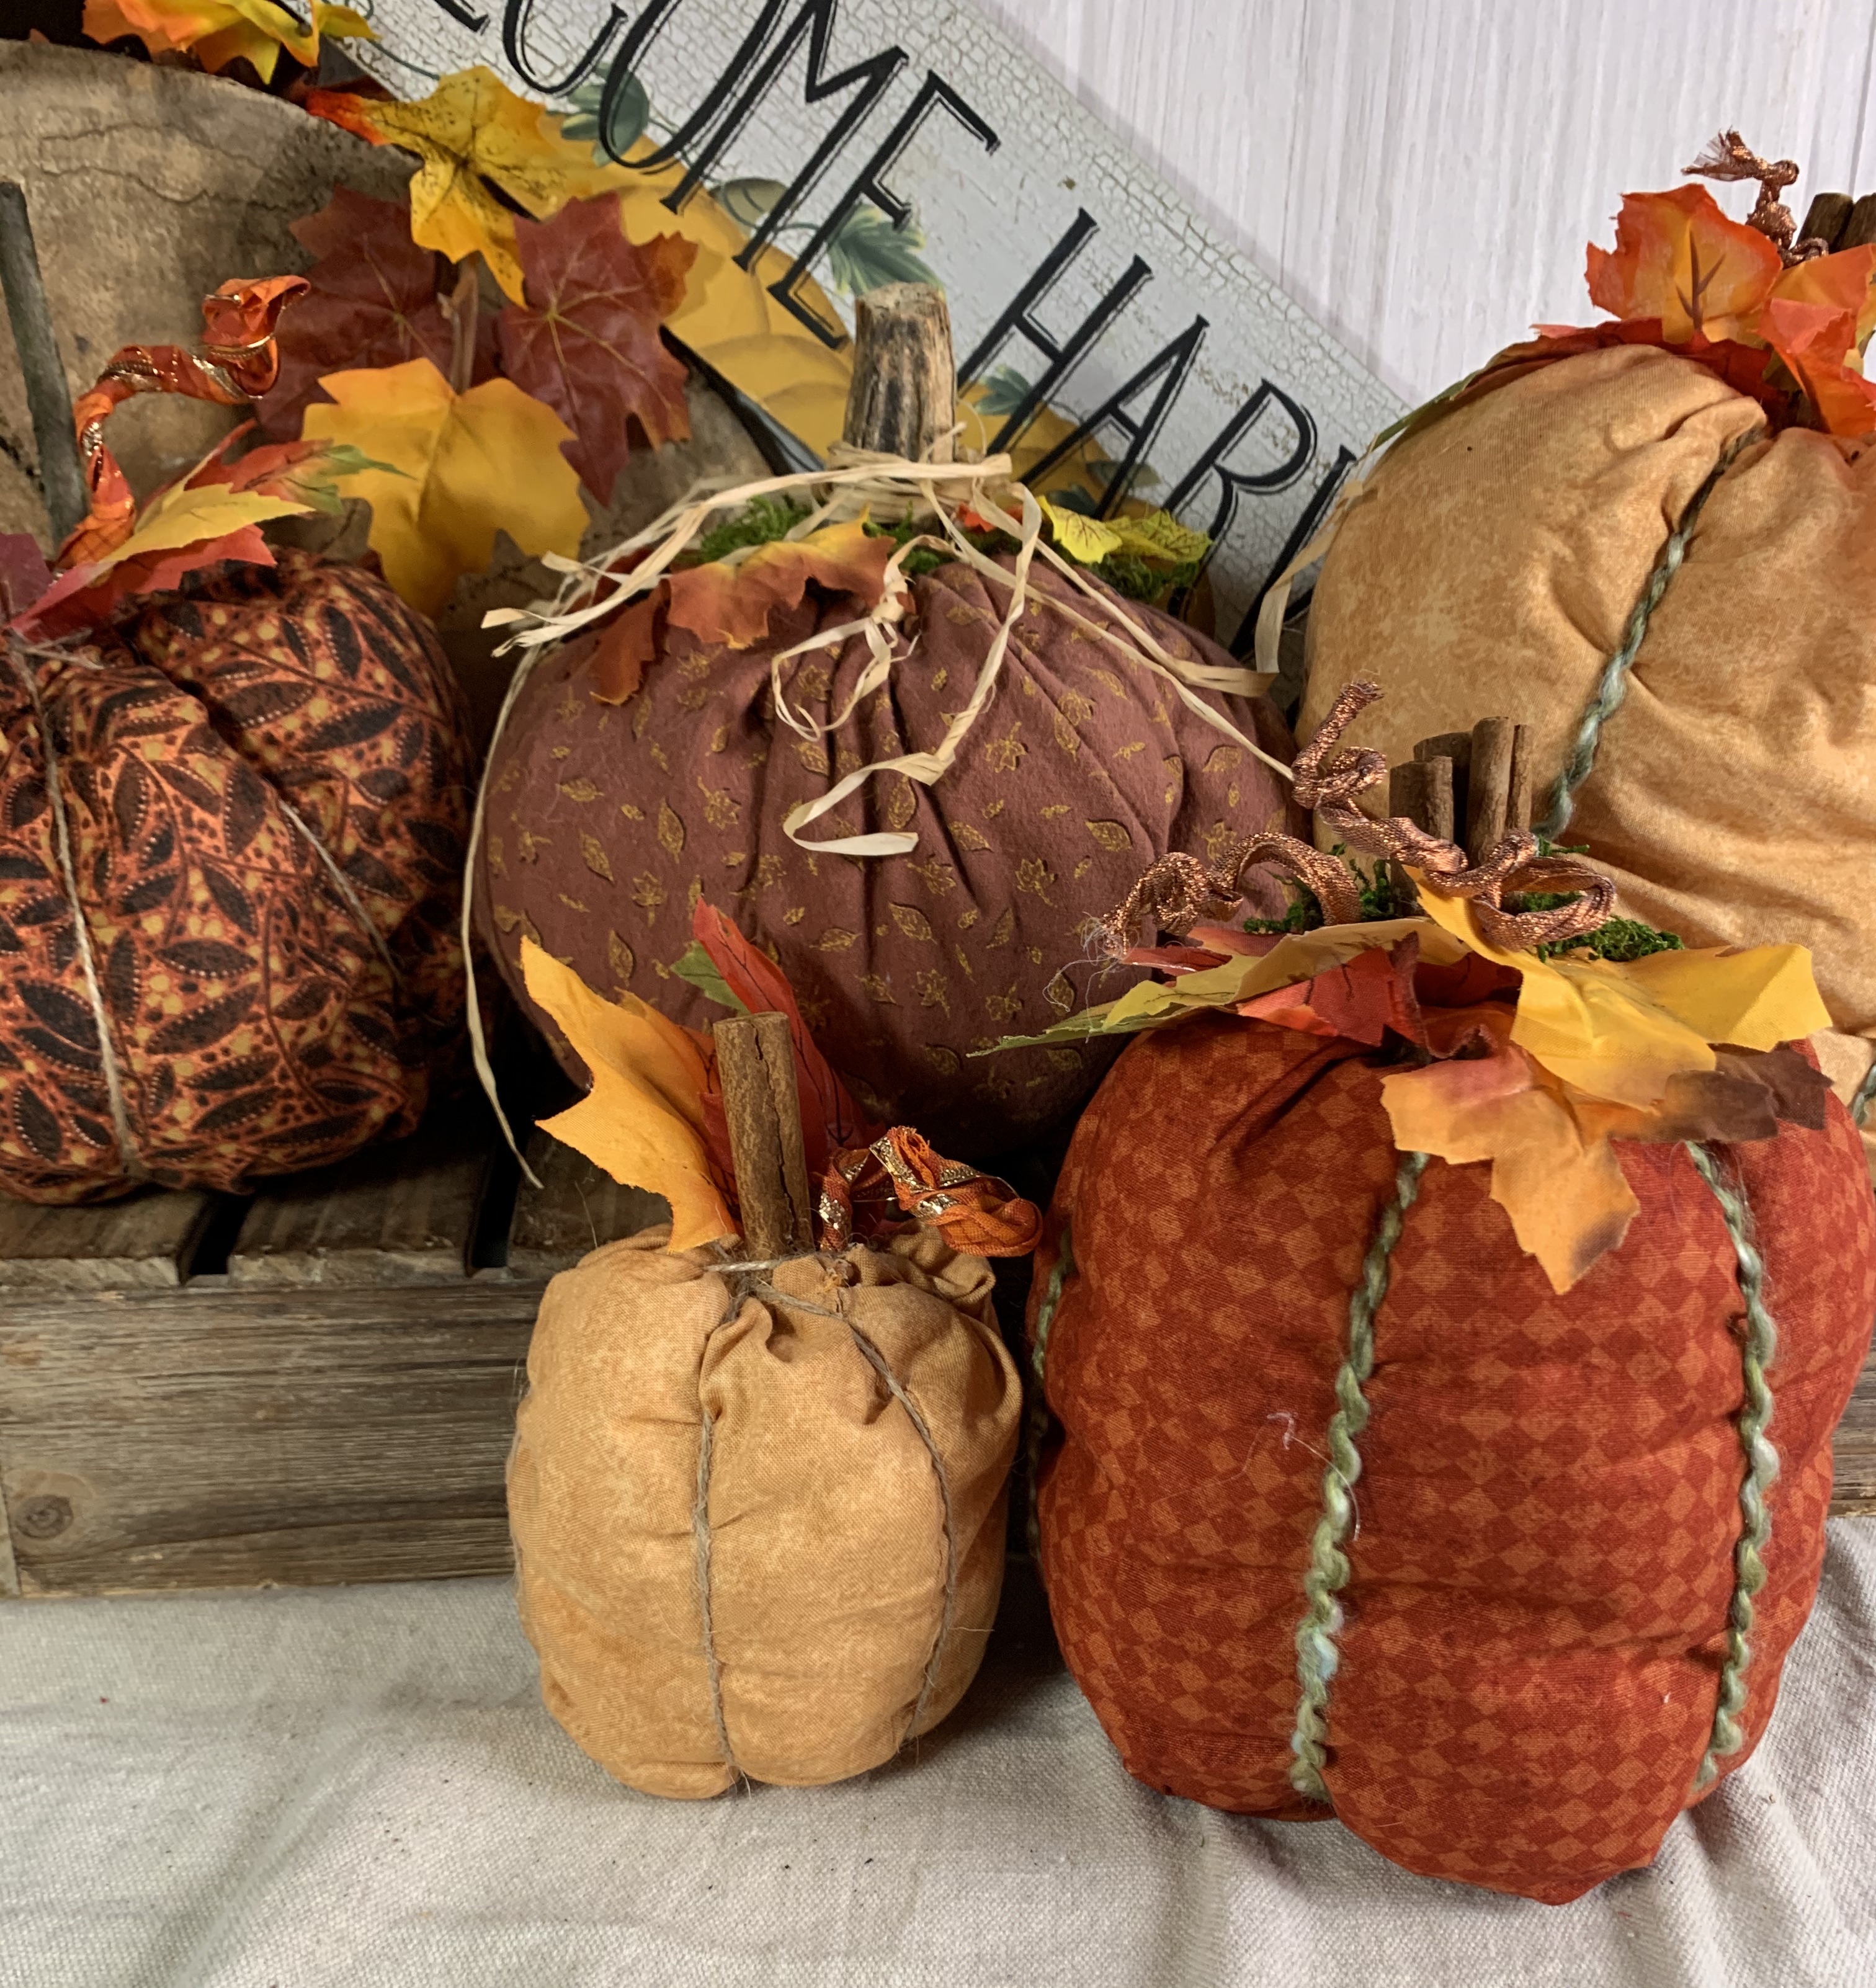
How to Make a Rustic Country Fabric Pumpkin – Step 5
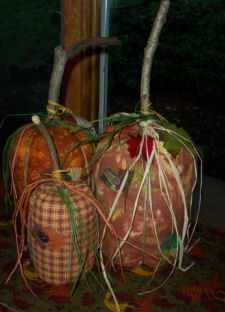
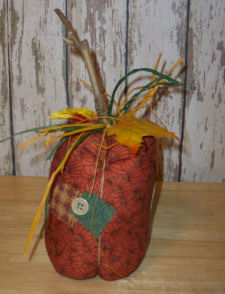
Last is the most enjoyable part of making these fabric pumpkins! Get your creative thoughts flowing and have fun adding raffia, bows, ribbon, buttons, and capture the spirit of the autumn season in embellishing your pumpkin. I like to add jute rope to my pumpkins first before I embellish them. This is optional, but I feel it makes them look more “real” and charming. To do so, cut a piece of jute rope and fold in half. Put the fold at the bottom of the pumpkin and bring the jute rope up both sides of the pumpkin and pull a little tight and form a knot at the top of the pumpkin. I hide that knot with peat moss or leaves when I glue my embellishments on.
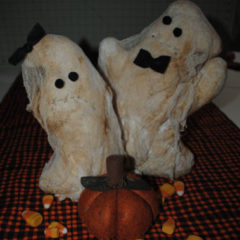
I hope you enjoyed making these rustic country pumpkins. No one would blame you if you made a lot of these. My daughter made a dozen in all different sizes and placed them in a corner of her farmhouse kitchen along with a sign saying “PUMPKIN for Sale”. They are adorable and bring a nice balance of tradition and charm into your autumn decorating! I’d love to know how you displayed your pumpkins!

PIN IT FOR LATER

Leave a Reply