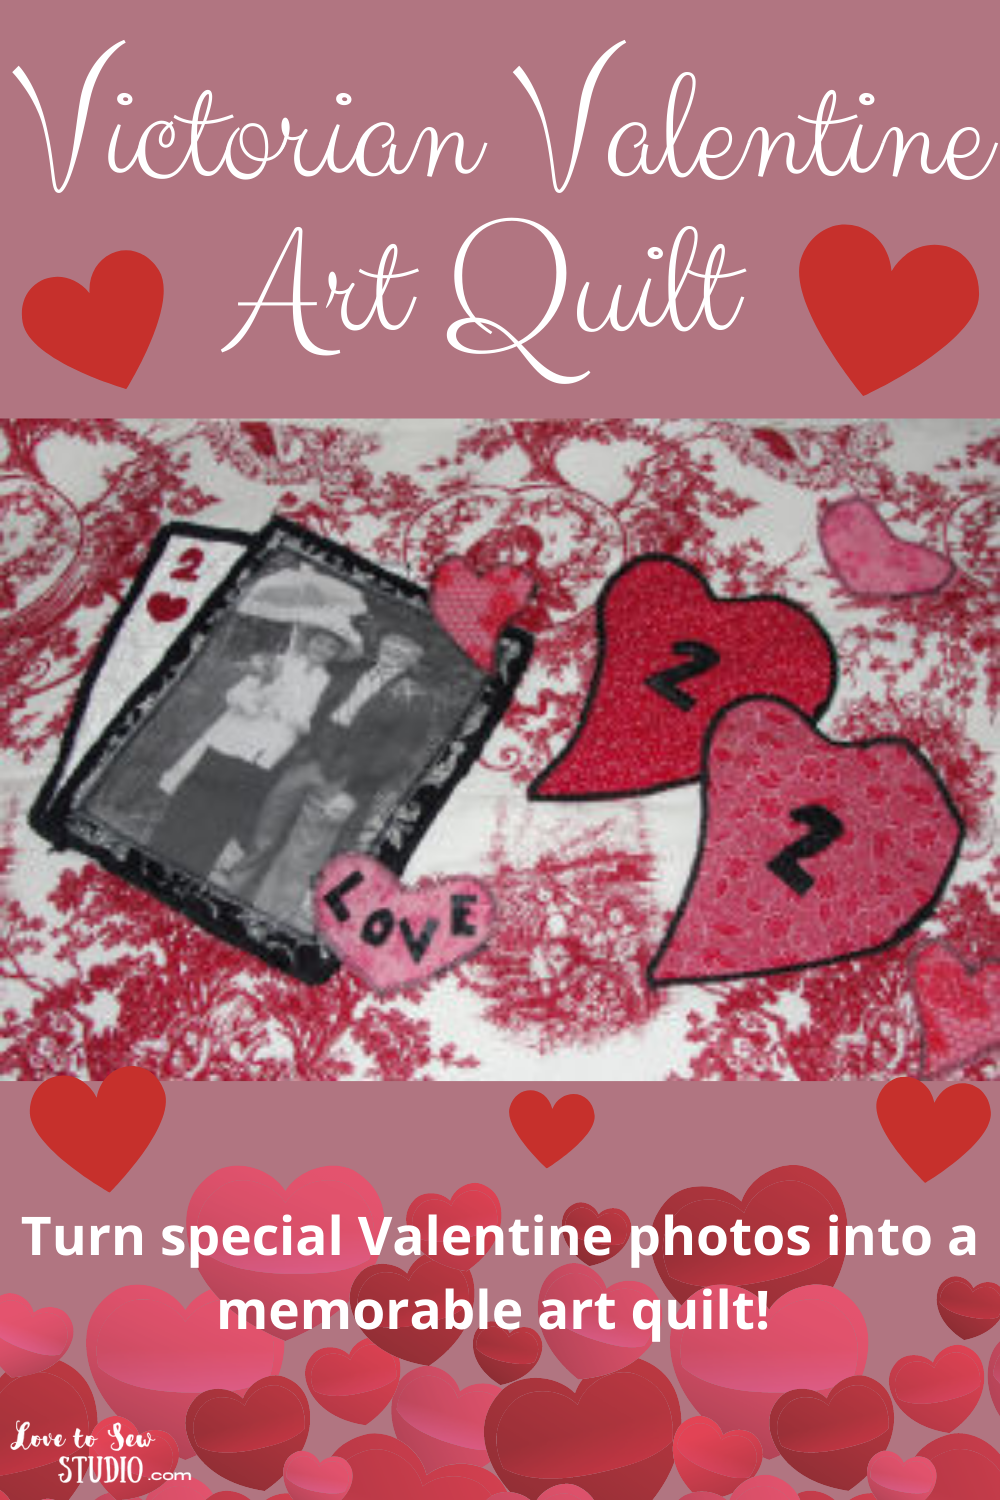
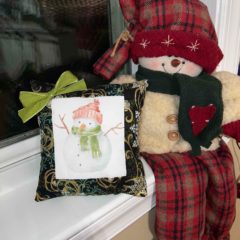
You can impress your sweetie with this very heartfelt Victorian Valentine Art Quilt! Turn memorable photos of you and your loved one into an adorable wall quilt.
This post contains affiliate links. You can read my full disclosure HERE.
DISPLAY PICTURES OF YOU AND YOUR SPECIAL SOMEONE WITH THIS VALENTINE WALL ART! HERE IS WHAT WE USED TO MAKE OURS:
- scraps of Valentine print fabrics
- quilt batting
- yarn
- heat bond (optional)
- fabric computer paper
Victorian Valentine Art Quilt – Step 1
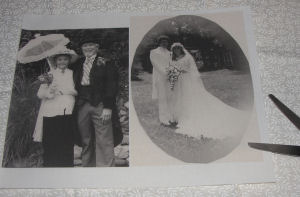
Start by finding a special photo you would like to use. (I have 2 photos for 2 different projects.) Following the manufactures instructions on the fabric computer paper print onto the fabric.
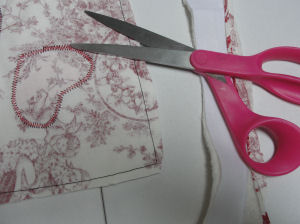
Victorian Valentine Art Quilt – Step 2
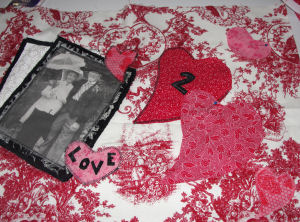
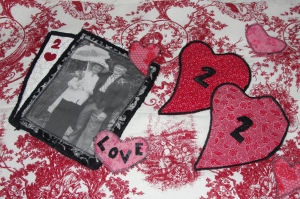
There are no rules in fabric art. Just have fun! Begin by cutting your quilt top piece of fabric the size you want it. Then start by making hearts and words like Love, Hugs, The Two of Us, Kiss, etc… Pin everything in place.
Victorian Valentine Art Quilt – Step 3

To get the effect of the thickness around the photo and the big hearts, just use a wide zigzag stitch going around yarn. For the photo I used very thick yarn, and for the hearts I used a thin yarn. If you have small letters or numbers like I have, use a heat bond following their manufactures instructions. If you have larger ones just zigzag appliqué your artwork on the quilt, like I did with all the hearts. Remember no set rules, just have fun and be creative.
Victorian Valentine Art Quilt – Step 4

Once your top is done it is time to either make it into a quilt or a pillow. This is a Valentine gift for my mom and she wanted a quilt.Place the quilt batting on the bottom, then the quilt backing (cut the same size as your quilt top) pretty side up, and last your quilt top pretty side down.Pin around your quilt through all 3 layers leaving a 4″ opening on one side. Stitch around the quilt. Don’t forget to leave an opening as shown in the photo.
Victorian Valentine Art Quilt – Step 5
Next trim seams, clip corners, and turn your quilt pretty side out through the opening. Poke out the corners with a pencil and press your quilt. Hand stitch the opening closed.
Victorian Valentine Art Quilt – Step 6
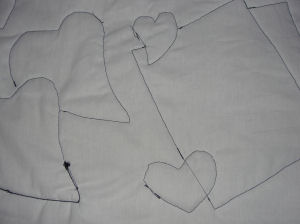
Now we have to actually “quilt” our quilt. The process of quilting is sewing or connecting 3 or more layers together. We will be machine quilting. Simply sew straight stitch over everything that you zigzagged on. Once you are done this is what the back of your quilt will look like.
Victorian Valentine Art Quilt – Step 7
Finally trim all threads and your Victorian Valentine Quilt Art is done!
Enjoy displaying it in your own home or giving it as a gift.

PIN IT FOR LATER

Leave a Reply